Give your holiday meals a creative twist this year with these garlic dinner rolls! Tucked inside the layers is a spread of slow roasted garlic, shredded Parmesan cheese and rich butter.
When I stand in front a table of holiday foods with an empty plate, I start negotiating with myself. I can’t possibly eat it all, so what is it that I can cut out to reduce volume that I also won’t miss much?
Rolls. It’s always the rolls.
I love bread, but I’ve become selective over the years. Usually the rolls I’m confronted with are store-bought from the package and those just don’t entice me. (I’d much rather have an extra sugar cookie.)
Should the scenario change, though, I’d have a longer internal debate on my hands. Say, for example, if the rolls were homemade or something I could only get once a year.
Maybe if they had garlic. And Parmesan. It might even help if they resembled a cinnamon roll. We all know I have a mean sweet tooth.
Simply put, if these rolls were on the table, I might have the roll AND the extra sugar cookie.
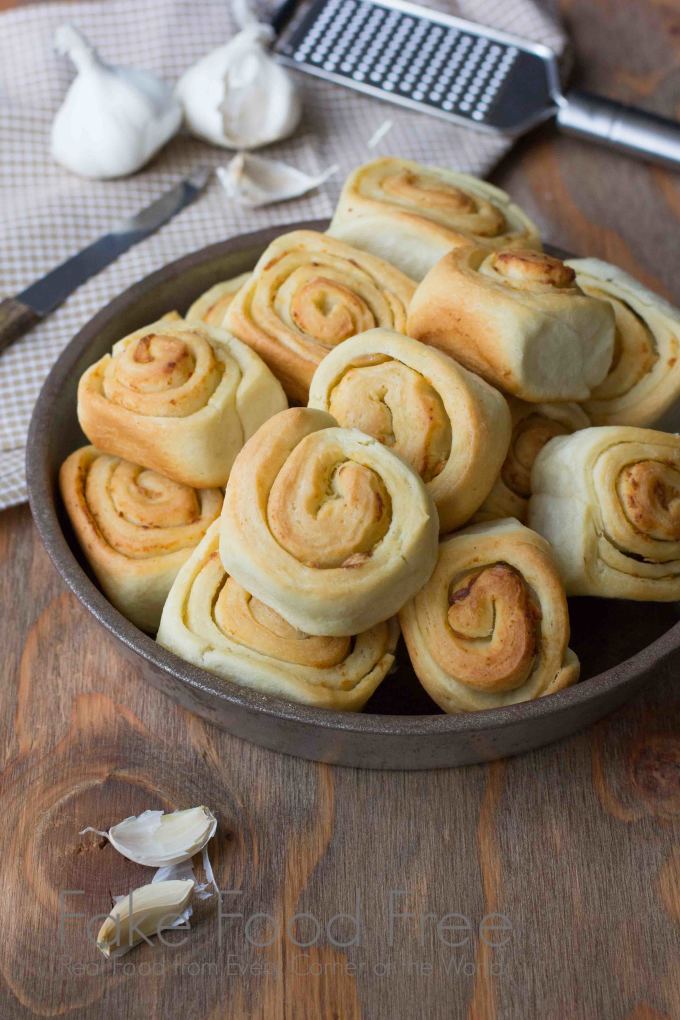
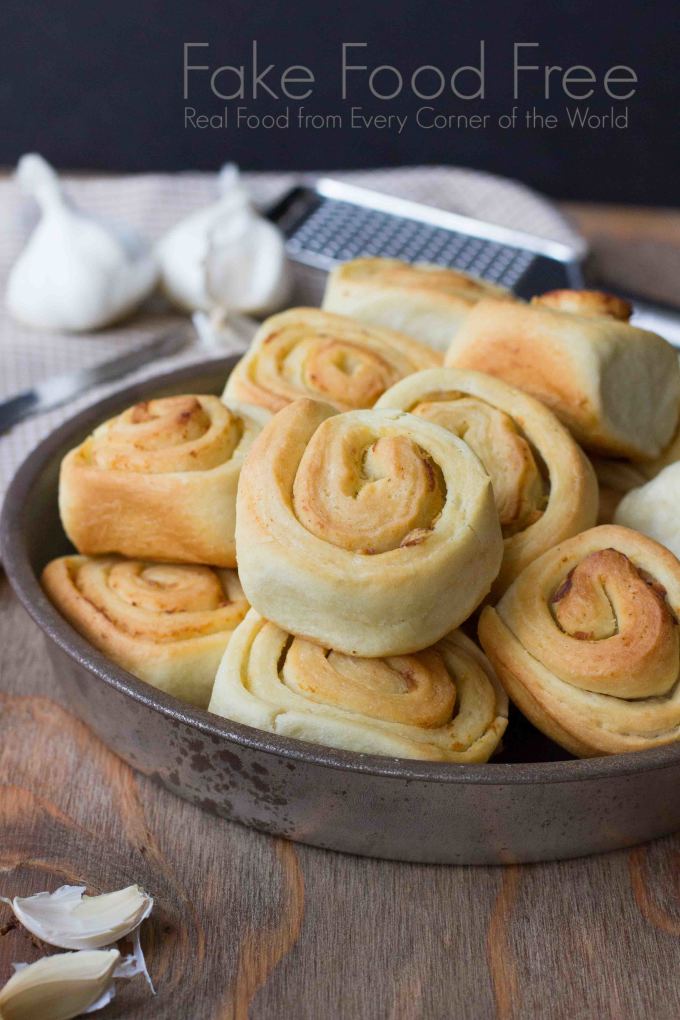
I love how garlic changes when it’s roasted. It gets so creamy, sweet and rich. These rolls are filled with a layer of that goodness and then rolled up, baked and coated in a bit of butter.
They are easy to make, too. I know, I know. You’re saying, homemade bread? Easy? The truth is, the process is pretty hands-off. It’s long, but your attention is only required for a short portion of it.
Here are a few tips that will help your roll baking (and bread baking in general) go more smoothly.
- Use new yeast that you recently purchased. You don’t want to risk it not blooming in the midst of everything else you have to do. Blooming, by the way, is when you let the yeast sit in the water with the sugar and it begins rise the to surface and expand, creating a frothy layer. It’s like mini fireworks that are contained to the surface of the water.
- The metal bowl of your stand mixer can be used as a vessel for your dough to rise in, but the metal can cool off quickly lowering the temperature of the dough. This means it will take longer for the dough to double in size. I cover mine in a clean dish towel and let it sit inside the microwave. Or if I have the oven on, I leave the bowl in a safe spot on top of the stove where it’s warm.
- I read so many recipes that call for 5 minutes or more of kneading. That is a really long time in my book. I have no doubt that some breads could require that, but I baked in a bread shop for a few years and we simply kneaded until the dough came together and was smooth. Maybe about a minute, two minutes, max. So that is what I do at home and it works fine for me.
So now you are equipped with everything you need for some good homemade rolls. Get the mixer started and then enjoy a big smile as you watch your guests grab one of these at dinner with no hesitation. Cookies or no cookies, few people can pass up a garlic Parmesan roll.
Thanks for reading! All images and content are the property of Fake Food Free unless otherwise stated. Please do not republish full recipes and images without written permission. What is okay? Feel free to Pin images, share links to my posts or share the photo in a round up post with the title of this recipe and a link back to the post. Confused about copyright and food blogs? Here is some helpful information on Recipe Attribution. If you want to use a photo or full recipe, just ask. I’m sure we can work something out.



Wowza! This is definitely what I need to be making along with dinner! These look amazing!
Thanks so much! I’m a huge garlic fan!
I love dinner rolls, what would dinner be without them? Excited to try these garlic version, I know I’ll fall in love with them!
I hope you like them, Pamela! Thanks so much for your comment.
I could never ever resist a homemade roll…and especially not if it had roasted garlic scattered throughout! Carb perfection.
Carbs seemed to be made better with garlic for me!