Search results for

scones

Summer Travel: Ireland

July 24, 2011

If you’ve wondered why there has been such an absense of posts, well I have good reason. My husband and I were traveling Ireland last week! I tried so hard to get a post up before we left, but you know what it’s like when you are preparing for a trip. Time got away from me and I just had to wait to post until I returned. And I have returned!

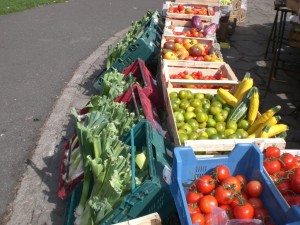
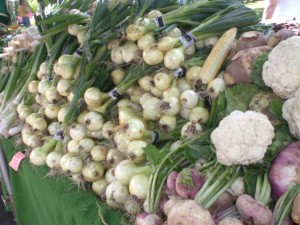
This was my third trip to Ireland and my husband’s fifth and this time around we had some of the best food of any of our trips. Fresh Irish ingredients, food markets, scones, chips, seafood, chocolates, ales, stouts and whiskeys. I’ve definitely got some great material for posting. I’ll even throw in some scenery as not to overwhelm you with food. I also picked up a Rachel Allen cookbook, hot and sweet smoked Spanish paprika and plenty of Butler chocolate.

Until I have a chance to sort through all the photos, I’ll leave you with a few to suggest what is yet to come.

The Scotch Egg with a free range Irish egg and pastured pork sausage – Dublin
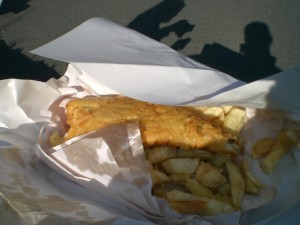
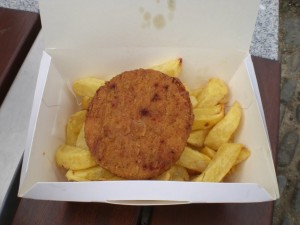
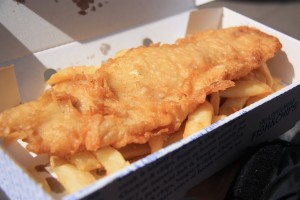
Traditional take away Fish n’ Chips with curry sauce – Bushmills

Seafood chowder with local seafood including West Cork Salmon – Cork

Kilkenny Irish Cream Ale – Kilkenny

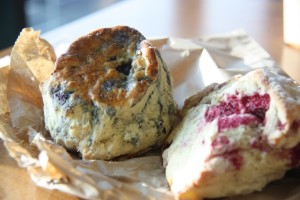
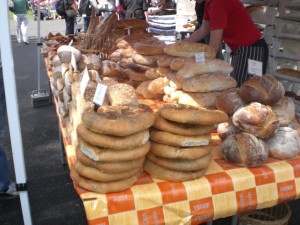
Blueberry and Raspberry Yogurt scones from St. George’s Market – Belfast

Holiday Baking – Oh Nuts Giveaway

December 5, 2010

Remember back in the summer when I received that great package of nuts and dried cherries from Oh Nuts?

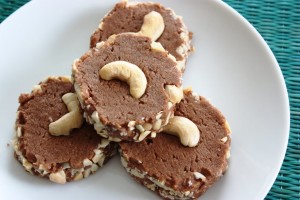
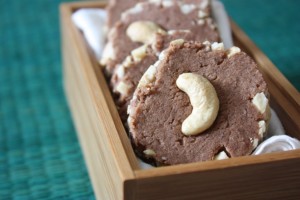
I used them to make Cherry Lemon Pistachio Scones and Chocolate Cashew Shortbread. Both are great for the holiday season.

Well, Oh Nuts has given me the opportunity to share the love so I’m giving away a $25 gift certificate to a lucky winner.

There are 3 ways you can enter. Please leave a comment for each of the things you do so that your efforts will be counted when I select the random winner.

Entries (via comments) will be accepted through midnight EST on December 14, 2010. I’ll announce the winner by December 15, 2010. I’ll need to reach you if you win, so only entries with a valid email address so will be counted.

3 Ways to Enter

Go to the Oh Nuts Christmas Gift Baskets or Hanukkah Gifts page. Let me know in the comments which you like most by leaving the name of the item along with the url.

Check out the Oh Nuts Facebook Page. Post the url and name of your fave gift from the pages above. Please post “I am here via Fake Food Free” for the comment to qualify.

Follow @ohnuts on Twitter. Tweet about the contest using “Win a free Hanukkah Gift from http://bit.ly/6nIsCi Follow @ohnuts & Retweet to enter” or “Win a free Christmas Gift from http://bit.ly/dUpizt Follow @ohnuts & Retweet to enter “

Remember: Leave a comment for each of the 3 things that you do.

Disclosure: Oh Nuts is providing this gift certificate to one winner at random, free of charge. I was under no obligation to blog about this contest. By offering this to my readers, I also received a gift certificate from Oh Nuts.

Baked Explorations: Ginger Rum Molasses Cookies

October 11, 2010

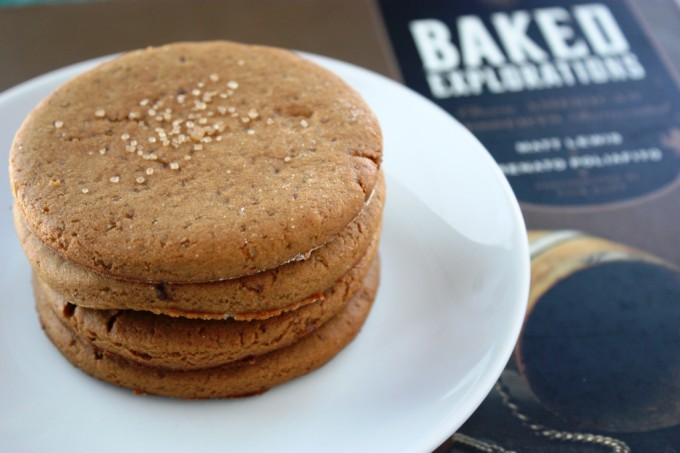
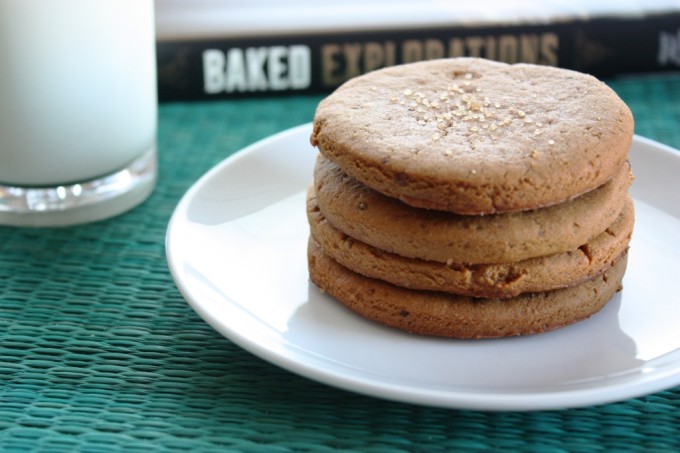
I remake these delicious Ginger Rum Molasses Cookies every year! Soft and chewy, they are by far my favorite spiced cookie. Perfect for the holiday season or any time you have a craving! 

When I received my copy of Baked Explorations by Matt Lewis and Renato Poliafito, I turned directly to the Cookies and Bars section.
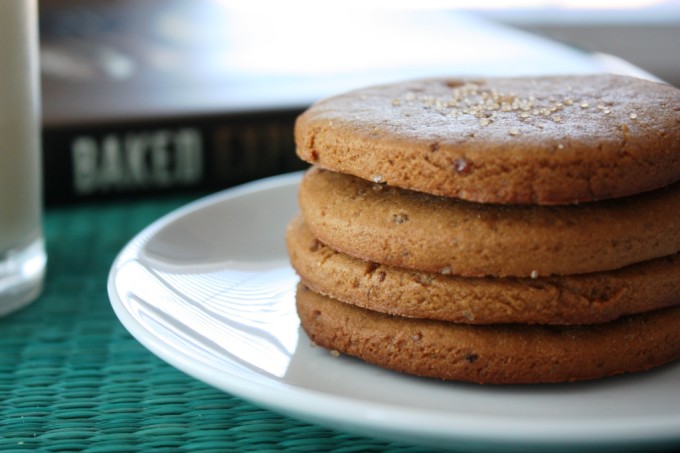
  Baked Explorations: Ginger Rum Molasses Cookies | Fake Food Free


I’m not sure why because the book is filled with every other treat imaginable – pies, tarts, bundt cakes, layer cakes, cupcakes, waffles, donuts and scones. The subtitle of the book is, Classic American Desserts Reinvented, and these experienced authors and bakers have left no stone unturned.

Lewis and Poliafito are authors of another, very popular, cookbook, Baked, and own a Brooklyn-based bakery of the same name. It was love at first word as I read the introduction when Lewis explains how he no longer plans vacations like a normal person. He writes:

“In addition to choosing the mountain, the condo, and the best month to ski, I might also insist that we spend a day off-slope in search of a much-written-up, much-blogged-about creamy bourbon milkshake.”
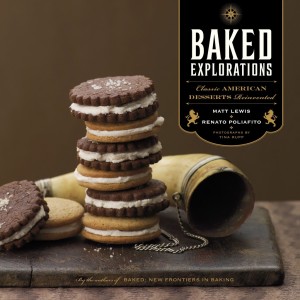
The Cookbook, Baked Explorations | Fake Food Free

One, he mentioned food and travel. Two, he mentioned bourbon.

I’ll sum up my review of this cookbook pretty quickly – if you love to bake or want to love it, you need this cookbook. The recipes will spark some memories of old time favorites, but you might also be introduced to delicious cakes and pies you were previously unfamiliar with.

Each recipe begins with an interesting story. The instructions are straightforward and well explained. The only thing I might fault is that the ingredient list is difficult to read due to small print and italics, but it emits a bit of style that goes so well with the book that I’m willing to overlook it in my recommendation.

The Red Velvet Whoopie Pies, Salt-n-Pepper Sandwich Cookies, Carrot Coconut Scones and the Caramel Apple Cake are all on my to-bake list. For this review, however, given my current schedule I chose something a little ambitious, but no less delicious.

The name given to these cookies in the book is Joe Froggers and a wonderful little story accompanies this name. However, according to the Baked Note (little tips throughout the book) the original Joe Frogger was made with all vegetable shortening. The authors switched this to half butter, half shortening and warned that an all butter cookie just wouldn’t be a Joe Frogger.

 
Baked Explorations: Ginger Rum Molasses Cookies

So unfortunately, I guess I can’t call mine Joe Froggers because I don’t use vegetable shortening in my baking. I can, however, give it the second name given in the book – Ginger Rum Molasses Cookies.

If you are looking for your next gingerbread man, I’ve found him for you.

This cookie bakes up into a chewy, soft, spicy cookie. As you have probably already guessed, yes, it is going on the holiday baking list! I love this cookie!

I used my standard white whole wheat flour, dememara and mascavo sugar, but I am printing the original recipe here for you to do as you wish. The dough needs to be refrigerated so plan ahead when making these.

This cookbook is one for your baking bookshelf. If you can’t get it in time for your holiday baking, I’d highly suggest putting the book itself on your gift wish list!

Ginger Rum Molasses Cookies

Reprinted with permission from the publisher.

Makes: 36 to 48 cookies (depending on the size of your cookie cutter)

Ingredients

4 cups all-purpose flour
1 ½ teaspoons salt
1 ½ teaspoons ground ginger
½ teaspoon freshly grated nutmeg
½ teaspoon ground cloves
1 teaspoon baking soda
4 tablespoons (1/2 stick) unsalted butter
¼ cup vegetable shortening
¾ cup firmly packed dark brown sugar
¼ cup granulated sugar
1 ¼ cups molasses
3 tablespoons dark rum
Coarse sugar for décor

Prep

Whisk the flour, salt, ginger, nutmeg, cloves, and baking soda together. Set aside.

In the bowl of a standing mixer fitted with the paddle attachment, beat the butter and shortening together until there are no visible lumps. Add both sugars and beat just until incorporated. Scrape down the bowl, add the molasses, and beat until the mixture is uniform in color.

Prepare 1/3 cup very hot water. Add the flour mixture to the butter mixture, alternating with the hot water; in three parts, beginning and ending with the flour mixture. Scrape down the bowl, add the rum, and mix for 15 seconds. Cover the bowl and chill for at least 3 hours or overnight.

Preheat the oven to 375 degrees F. Line two baking sheets with parchment paper. Dust a work surface with a sprinkling of flour. Roll the dough into a ¼ – inch thick round. Cut out the cookies with a 2- to 3-inch round cookie cutter, and transfer them to the prepared baking sheets. Sprinkle a tiny bit of sanding sugar onto each cookie.

Bake the cookies for 8 to 12 minutes, until they are set. The author notes – 8 minutes for a chewy cookie, 12 minutes for a crispier cookie. Place the baking sheet on a wire rack to cool for 5 minutes. Use a spatula to transfer the cookies to the rack to cool completely. Store in an airtight container for up to 3 days.


Baked Explorations: Ginger Rum Molasses Cookies

Disclaimer: This book was sent to me for review purposes. I was not required to write about it nor did I receive any compensation for doing so.

Thanks for reading! All images and content are the property of Fake Food Free unless otherwise stated. Please do not republish full recipes and images without written permission. What is okay? Feel free to Pin images, share links to my posts or share the photo in a round up post with the title of this recipe and a link back to the post. Confused about copyright and food blogs? Here is some helpful information on Recipe Attribution. If you want to use a photo or full recipe, just ask. I’m sure we can work something out.

Chocolate Cashew Shortbread

August 17, 2010

It’s starting.

That point in the year where I see a cookie recipe and I think – oh, now that would be nice on my holiday cookie tray. I know it seems a bit early, but it starts for me about this time every year.

I had cookies on my mind this week because I still have some of the fabulous raw cashews that Oh Nuts sent to me a few weeks ago. While I haven’t tired of eating them as a snack or in stir-fry, I’ve felt the need to get a little more creative.

As a result I turned to my favorite shortbread recipe. I doubled the batch to make a few more for freezing, added cocoa because I’ve been hungry for chocolate, and then incorporated the cashews.

What I like most about these cookies is that they turn out pretty darn cute with very little effort. Few ingredients, easy to bake, and a rich, buttery chocolate flavor with a nutty crunch. Hello, holiday baking list!

Chocolate Cashew Shortbread

1 cup unsalted butter, softened
½ demerara sugar
2 cup white whole wheat flour
2 tbsp cocoa powder
1 tsp vanilla
½ cup raw cashews, finely chopped
24 to 30 raw cashew halves (optional)

In a mixer, combine the butter and sugar. Let it mix on medium and then high for about 3 minutes. The demerara takes a while to get incorporated. Mix in the flour, cocoa powder and vanilla.

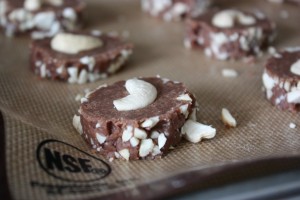
On a piece of plastic wrap, spread out the chopped cashews. Remove the cookie dough from the mixing bowl and form it into a log with your hands. The length is up to you and depends on how big you want your cookies. Mine ended up being about 18 inches long, give or take a bit.

Place the cookie dough log on the plastic wrap and gently roll in the cashews until it is fully coated in nuts. Wrap the plastic wrap around the cookie dough and refrigerate for at least 30 minutes.

Preheat the oven to 350 degrees F. Remove the cookie dough from the fridge and use a serrated knife to cut the cookies about a ½ inch in thickness. Place on an ungreased cookie sheet, or on a baking mat on a cookie sheet. Press a cashew half into the top of each cookie if using.

Bake for 12 minutes or just until cookies are firm. The edges and cashews will brown only slightly, if at all. Allow to rest for 3 or 4 minutes and carefully move to a cooling rack. Makes about 24 to 30 cookies.

Disclaimer: I’m sure you are just dying to read one, so you can check out the original when I used Oh Nuts in a recipe a few weeks ago. Oh, alright, I won’t make you surf the web. Oh Nuts were sent to me free of charge for review, no obligation, no compensation.

July in Food

August 8, 2010

What a beautiful weekend it was around here! It cooled off Saturday and I had a great 6 mile run around the horse farms. My husband and his coworkers run every Saturday morning and when I was training for my last half marathon, I would join them. Well, not really join them. I’m not nearly as fast so I would just start at the same time and then set off at my own pace.

I hadn’t been in a while, and yesterday was a great reminder of why Kentucky is such a great place to be active. There is usually a fog that settles around the horse barns in the morning and the horses sometimes come up to the fence and run along with you. As I was finishing mile 3, I looked over at the white horse fences and saw that there were cobwebs speckled with dew about every 10 feet. It is amazing how the atmosphere puts you at peace even when you are huffing and puffing to make it up a huge rolling hill.

I’m not sure if I’ve shared it here yet, but I have signed up for my next half. I debated for a long time whether or not I wanted to do a second one this year. I finally decided I needed another goal to shoot for and the discipline that comes along with training so I will be running the Columbus Half in October!

I plant to use some weekend posts to share more about my experiences and discuss the process. I will likely begin to incorporate those posts on Sundays. It will be a break from the food focus for a day and I hope anyone interested will stop by for a comment.

For now, back to food. Can you believe that I completely missed out on posting June in Food from my Project 365 on Flickr? Perhaps you didn’t miss it, but it bothered me all of July. I had done so well with keeping up and then missed a recap. As days rolled by this summer I never got around to posting it.

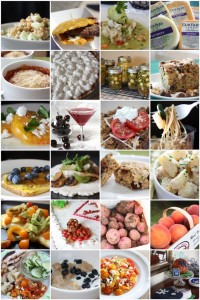
I decided I didn’t want to end this trend though, so I am picking back up with July. I didn’t manage to get a photo everyday, but I do have about 24 to share with you.

Hope you have a wonderful week!

Cucumber Dill Wheat Berry Salad
Jibarito Sandwich from Taste of Chicago
Ceviche from Bien Trucha in Geneva, IL
Cheese from Fair Oaks Farms in Indiana
Baked Zucchini and Japanese Eggplant
Banana Cream Pie (a bit of a fail, but it looked okay)
Pickled Jalapeno and Banana Peppers
Chocolate Chip Zucchini Cake with Candied Walnuts
Mister Stripey Tomato with Aged Goat Cheese and Basil
Cherry Margarita
Spiced Local Lamb over Israeli Couscous
Lemon Pasta with Shrimp and Zucchini
French Toast with Fresh Blueberries and Maple Syrup
Mushroom Fajitas
Cherry Lemon Pistachio Scones
Mustard and Chive Potato Salad with Greek Yogurt
Omelet with Cherry Tomatoes, Avocado and Salsa Verde
Dad’s 70th Birthday Garden Cake made by my Mom (Sugarbabies as potatoes and frosting tomatoes)
Potatoes from our garden
Peaches from Reed Valley Orchard
Garden Dinner with cucumbers, potatoes, tomatoes and herbs from our garden
Amaranth with Coconut Milk and Blueberries
Sweet and Simple Tomato Pepper Salad
UK birthday cakes made by a friend for a recent party

A Trip to Ireland in Food

March 17, 2010
I’m ashamed to say that this year I have let St. Patrick’s Day arrive with no food celebration in my kitchen. It seemed everything I wanted to make was an Irish-inspired dessert, and well, I thought it best to wait to fill the house with sweets until after Easter.
I haven’t completely forgotten the day, though. I have my Guinness shirt on and made sure my husband was wearing green before he left the house this morning.
Since I have no recipe to offer today I thought I’d turn to my backup – travel.
My first trip to Ireland was in 2007 and then I had the opportunity to go again in 2008. Unfortunately I skipped 2009 to take our month long tour around SE Asia last October. With the new house chances I’ll make it in 2010 are slim, but I have decided that I’ll get there in 2011 even if I have to swim myself! As you can image by this point withdrawal symptoms from the lack of fresh Guinness, Irish coffees, brown bread and fruit scones are almost unbearable.
In honor of St. Patrick’s Day I decided to sort through my photos and take you on a food tour of trips to the country. If you have ever been to Dublin then you know that this tour will include much more than traditional Irish food. In fact, the traditional stuff can sometimes be hard to come by in such an international city.
So here you have my Ireland through food.

Fish & Chips from Leo Burdocks

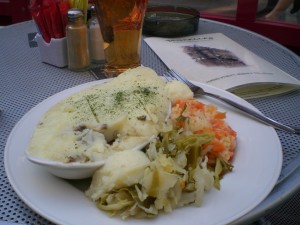
My first real Shepherd’s Pie from Bruxelles in Dublin

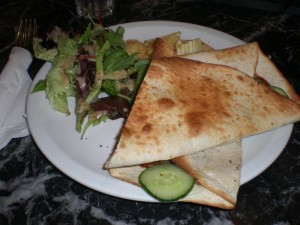
Hoisin Duck Wrap from Bewley’s Graffton Street Cafe

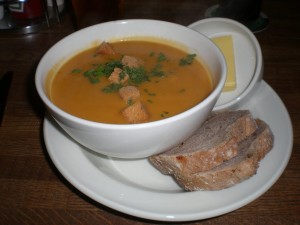
Sweet Potato Coconut Soup with Brown Bread at the GastroPub in Dun Laoghaire

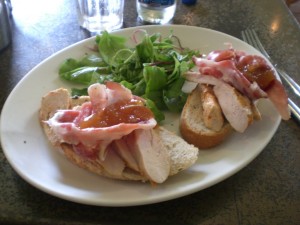
Chicken & Pancetta Open-faced Sandwich from Harry’s Cafe Bar in Dun Laoghaire

Thai Vegetable Yellow Curry from Cafe Mao in Dun Laoghaire

Irish Fruit Scone, Clotted Cream, Jam & a Latte from Poppies in Dun Laoghaire

Weekend Farmer’s Market in Dun Laoghaire

Thai Prawn and Cod Cake & Chips for Beshoff Bros in Howth

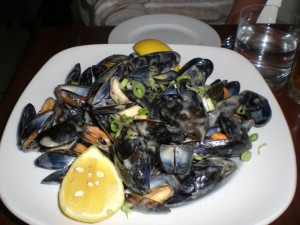
Mussels, Clams & Cockles and Crayfish Pizza from Deep in Howth

Bailey’s Irish Cream ice cream from Maud’s in Howth

Drinks of Choice – Guinness, Bulmer’s Cider and Irish Coffee

If you would like a little scenery with your food check out my Photo Tour for St. Patrick’s Day.

Taking on the 30 Foods List: Single Serve Sweet Rice

July 30, 2009
If you will remember I have this ongoing list of foods I intended to make to celebrate my 30th year, the 30 Foods List. So far I’ve completed about seven, although I haven’t posted about them all, and guess what? Tomorrow is the last day of July! It seems maybe I was a bit ambitious considering that some of the foods I chose may require ingredients that I can’t get here in Brazil. I am still hopeful, but I am giving myself a little leeway and re-setting my goal to make all the foods by the end of 09.
One of the foods on the list is sweet rice, a very popular dessert here in a Brazil and in many other cultures as well. I made canjica a while back, a sweet rice-like dessert made with hominy, but I didn’t think this truly counted. Considering the sweet rice is a bit basic, I decided I need to make it original somehow.
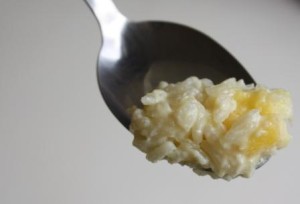
The other day my lunch was screaming for something sweet to seal the deal and I had about a ½ cup of leftover rice in the fridge. I decided to turn that, along with a Palmer mango, into a single serving of sweet rice for dessert.
Really easy, wonderfully tasty and it meets a 30 Food List goal. That’s all the motivation I need so here you go.
Single Serve Sweet Rice with Mango
½ cup cooked long grain rice
2 T sweetened condensed milk
2T coconut milk
3T whole milk
¼ cup chopped mango
In a small sauce pan combine the rice and all three milks. Cook on medium high heat until the mixture becomes bubbly and thick, about 10 to 15 minutes. Stir in the mango and heat through. Enjoy!
Here are a few other things I’ve already made on my 30 Foods List:
Beijinhos (also see the guest post at 5 Star Foodie)
Brigadeiro
Croissants

Irish Fruit Scones

#5 Croissants

May 7, 2009

I love a good croissant, almost as much as I love scones. A few years ago, I read the book French Women Don’t Get Fat by Mireille Guiliano. At that time I was just getting interested in real foods made from scratch and putting in the time and effort to make them.

I’m sure many of you have read the book and will remember that there is a croissant recipe featured. I was really intrigued when I came across the recipe. I guess I always knew you could make them at home, but a croissant was something I always associated with a bakery…as in for purchase.

I was motivated at how simple the recipe appeared and after reading the book I copied it and filed it away, knowing one day I would try my hand at making them. Well the day finally arrived a few weeks ago! The croissants made their appearance at our Easter breakfast this year.

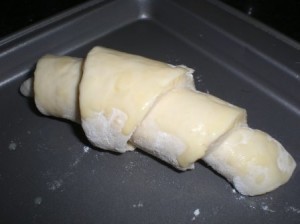
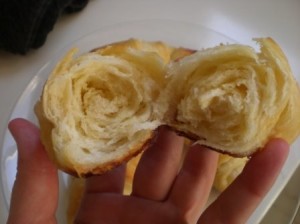
I was pleased considering this was my first attempt. They came out flaky and buttery. I do need to adjust the baking time on the next batch as they got a little too brown on the bottom. That’s okay because it only means I get to make them again!

At first it appears to be a complex process, however, there really are very few ingredients involved. Although the steps are spread out, each one is fairly simple. It got a bit confusing while reading the original recipe because I wasn’t sure when to use what, so I’ll split it up according to the day.

The croissants take three days to make and are ideal for a weekend treat on Sunday morning. To do this you’ll need to start on Friday.

Croissants
Recipe from French Women Don’t Get Fat by Mireille Guiliano

Friday Night

1 cup milk
2 tsp active dry yeast
2 ¼ cups flour
2 Tbsp sugar
1 tsp salt

Dissolve yeast in 1/4 cup of warm milk. Measure out 2 ¼ cups flour and add 2 Tbsp of this flour to the milk and yeast. Whisk until smooth, and then cover with plastic wrap. Set aside for about 20 minutes or until it doubles in size.

Meanwhile, mix the sugar and salt with the remaining 2 1/8 cups of flour. Prepare you mixer by putting on the dough hook attachments.

Next, transfer the raised dough of milk, yeast and flour to the mixing bowl. Warm the remaining ¾ cup of milk and add it to the bowl. Turn the mixer to high and gradually add in dry ingredients of flour, sugar and salt. Reduce the speed to low and allow it to mix until the dough is sticky and soft. Cover the bowl with plastic wrap and refrigerate overnight.


Saturday Morning

12 Tbsp unsalted butter at room temperature
3 Tbsp flour

Using your hand and a plate or a clean surface, knead the flour into the softened butter until fully incorporated. Shape into a square.

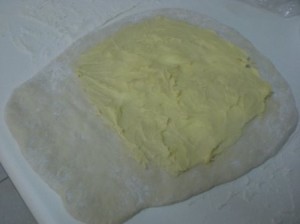
Cover your work table with flour. Remove the dough from the fridge and begin to shape it into a 6 inch x 15 inch rectangle. Spread the butter on the top 2/3 of the rectangle of dough leaving a ½ inch border around the outside.

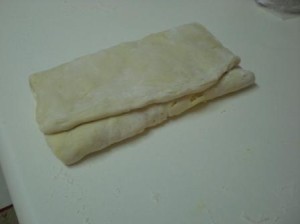
Fold the dough like a letter, folding the bottom 1/3 up first and then the top 1/3 down. Turn it counter clockwise so the open flap is to the right.

Roll it out again to a 6 inch x 15 inch rectangle and fold again. Transfer to a baking pan, cover tightly with plastic wrap and put back in the fridge for about 6 hours.

Saturday Afternoon

Remove the dough from the fridge, place on a floured work surface. Roll out the dough and fold just like during the morning. Do this two times, wrap it again and refrigerate it overnight.

Sunday Morning (You’re almost done!)

2 Tbsp milk for brushing
1 egg yolk + 1 Tbsp milk for glaze

Plan to start this process about 2 hours before you want to eat the croissants. Transfer the dough to a floured work surface. Roll it out to a 16 inch circle. Cut the dough into quarters and each quarter into 3 triangles.


To make each croissant, roll the wide base of triangle toward the corner. Transfer each one to a baking sheet. Brush with milk and then let them stand for about 45 minutes. They should double in size.


Preheat your oven to 400 degrees F. Brush each croissant with the egg, milk glaze. Bake for 15 to 20 minutes. If they brown to quickly lay a piece of foil over the top during baking. Let them cool 20 minutes before serving.

Croissants also just happen to be #5 on my 30 Foods List!

Bread Success!

March 26, 2009

Despite my past work in bread bakeries I rarely have bread success at home. I’m not sure what it is – atmosphere, yeast, lack of talent. My mom makes amazing bread and I’ve always strived to develop a similar skill at making it.
Good news! I think I finally had a bread success.
I will admit it came after a few failures, though. I had a simple baguette recipe I found in a book a long while back that I play with occasionally. It has never turned out well. One reason is that it has too much salt. I never could get used to the flavor. I decided, however, that the recipe had potential if adjusted it enough and if I set my sites on more of a loaf as opposed to a baguette.
I had some golden raisins left from my scones and a bread from my past came to mind today – Cinnamon Raisin Walnut. It has been forever since I’ve had it so I decided to give my base recipe one last attempt at being successful.
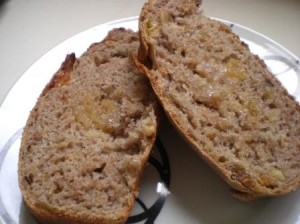
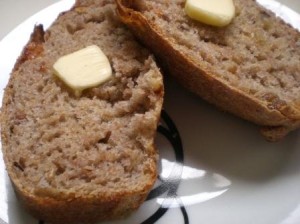
I am so happy about the loaf I ended up with. It has a hard, crusty outside and a soft inside just the way I like my bread. The cinnamon and raisins add just a touch of sweetness without being too overwhelming. I had to wrap it up and push it to the corner of the kitchen after two pieces for fear it would be gone before the end of the day.
I will warn you in advance that this is an all-day kind of bread, or at least all morning. It might be a good idea to leave this one for a relaxing weekend. My next mission will be to increase the whole wheat flour (I was almost out) and incorporate some different grains.
Cinnamon Raisin Nut Bread
1 ¼ cups warm water
1 tsp instant dry yeast
1 ½ cups white flour
1 ½ cups whole wheat flour
¾ tsp salt
1 ½ tsp cinnamon
½ cup golden raisins
1/3 cup walnuts
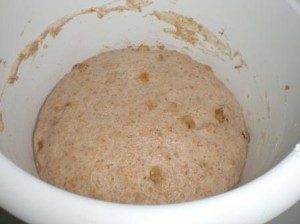
Mix the yeast with water and let it sit while you mix the other ingredients. Combine the flour, salt, cinnamon, raisins and walnuts in a mixing bowl. Pour in yeast and mix with a spoonula until combined. Turn the dough out on a floured surface and knead for five to eight minutes. Form the dough into a round loaf and place in a greased bowl. Let rise for about one hour or until it has doubled in size.


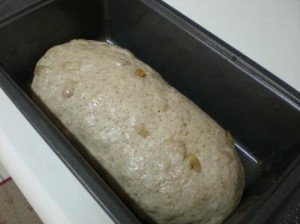
Punch down the dough and form it into a long loaf. Place it in a greased loaf pan. It will look something like this.


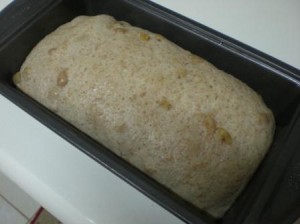
Let it rise for 2 more hours at which point it will look more like this.


Bake at 400 degrees Fahrenheit for about 25 minutes or until the loaf is nicely browned on the outside. Remove from oven and use a knife to loosen the sides and de-pan immediately. Let cool on a wire rack.

Irish Steel Cut Oats

November 24, 2008

First of all let me say the oatmeal craze among food and health bloggers has been off the charts lately. It is making me crave oatmeal like never before. Growing up oatmeal was always an “old person” food to me – something grandparents ate. I’m so glad the health benefits have come out and now it seems to be enjoyed by just about everyone.

Once I found out how good homemade whole oats were I left instant oatmeal behind a few years ago. All that artificial flavor just can’t compare. The time issue isn’t an argument either. It takes me 2 ½ minutes to make my oatmeal in the microwave and maybe an extra 5 to add ingredients and the flavor is 10 times better.

Before I go on, I have to tell you some very cool news I found out last week – I’m part Irish! As I’ve gotten older I’ve become a lot more interested in my roots especially regarding food. I’ve always known I was German and I’m very drawn to that culture and food. My recent trips to Ireland over the past two years have created similar feelings.

I have an uncle who has followed our family tree back and last week he shared some of the information with us. Apparently my grandfather’s family (not sure how far back yet) came over from Ireland to Virginia. I have to say I’m very proud of this. Bring on the brown bread, scones and Guinness pie!

So anyway, this really doesn’t have anything to do with my new family history finding, but I have always wanted to try Irish Steel Cut Oats. I’m pretty sure this is what I had in the form of porridge while in Dun Laoghaire this year, but I had never made them myself.

The difference in the steel cut oats isn’t really in the nutritional value, but as the name implies, in the way they are cut and processed. They are the whole grain groats cut into 2-3 pieces. Everything I read talked about the heartier texture and I agree. They have a bite to them; a chewiness. Boiling them also results in a creamy texture so there is no need to make them with milk.


I was worried I wouldn’t want to put in the time to cook them, but I have learned it is completely worth it. I may not always have time to make them during the week, but Irish Steel Cut Oats will definitely be a part of my regular weekend breakfast.
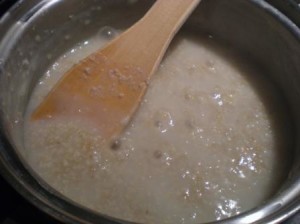
For this type of oat, ¼ cup dry is considered on serving. I prepared a ½ cup and it really made three small, but adequate servings. Combine ½ cup of the oats with 2 cups of water and boil stirring often. Watch them because they might boil over if the heat is too high. As they begin to thicken, stir constantly until they reach your desired thickness. The whole process took me about 30 minutes.

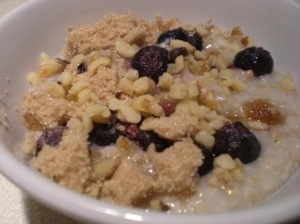
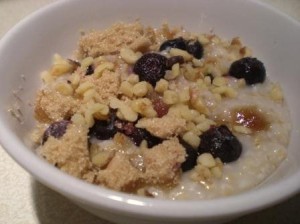
I topped mine with frozen blueberries, brown sugar and walnuts. If you’ve seen these oats in stores and haven’t tried them yet, I say go for it. They are one of my new favorite breakfasts.

PS. I also wanted to mention that I got my Larabar JamFrakas thanks to Megan’s Munchies! They were pretty good. I saved the banana chocolate one to the very last because I thought I wouldn’t like it, but it ended up being my favorite. I’ve eaten a lot of bars in the past when I worked in gyms from the ultra high protein to those filled with ephedrine (when it was allowed). I try to steer clear of them now and go for real food, but from time to time they are convenient. I did like the health profile for the Larabar. A good choice for traveling for me.

Want to create beautiful food and product photos that you can't wait to share?!
Discover your style, control the light, and shoot using the tool you know how to use (yes, your phone included). Learn about free resources, Live Q&As with Lori, and online courses you can take from anywhere in the world!
We respect your privacy. Unsubscribe at any time.