Browsing Category

Seasonal

Grilled Chipotle Peach and Nectarine Tilapia Packets

August 19, 2014

Grilled Chipotle Peach and Nectarine Tilapia Packets | fakefoodfree.com

We’ve lived in California less than two years and I’ve already started to lose track of the seasons. I grew up around all sorts of berries in Indiana and I visited the orchards in Kentucky so I could tell you exactly when strawberry, blueberry, peach, plum and apple season where in full swing at different points throughout the summer.

But here? Here, most of those fruits last all summer long.

It’s quite the experience for the fruit and vegetable lover. I aim to cherish every moment of it, while still grounding myself with thoughts of those produce-lacking winter seasons spent in Kentucky.

Continue Reading…

Picnic Chicken Salad with Blueberries and Pecans

July 7, 2014
 
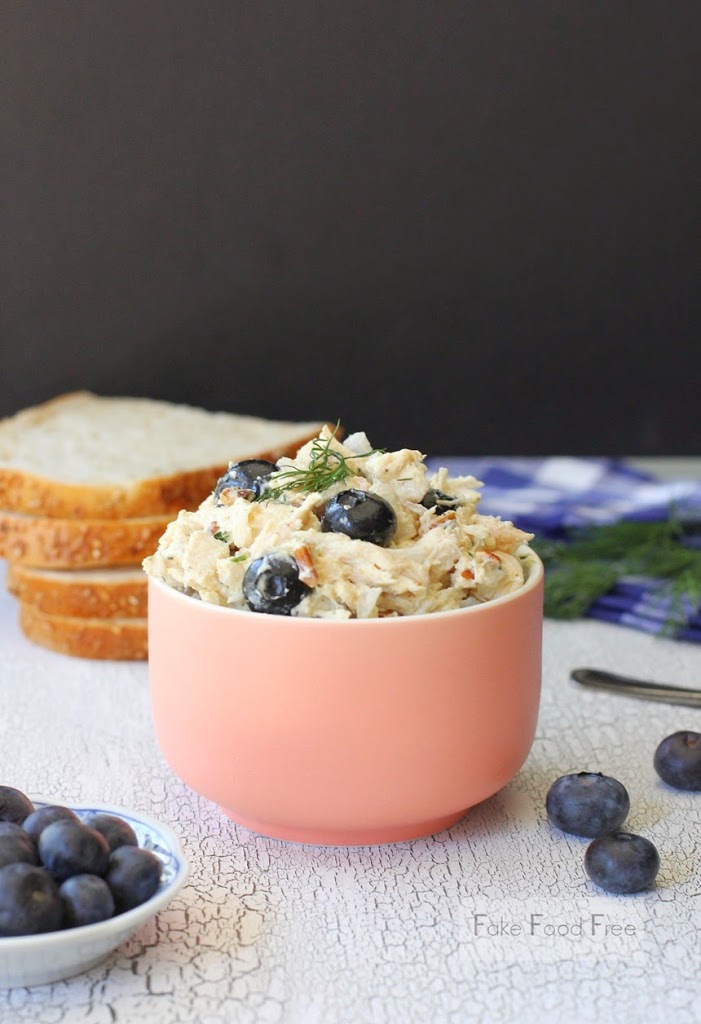
Picnic Chicken Salad with Blueberries and Pecans | fakefoodfree.com
 
I like my chicken salad loaded. It’s  to the point that I want it to contain equally as many other ingredients as it does chicken. Nuts, grapes, dried cranberries, celery, onion, bell peppers – you name it and I’ll mix it in.
 
My favorite part is the fruit. I love that little touch of sweetness against all the other savory ingredients. Grapes and dried cranberries are my standards, but this time of year, nothing says summer like fresh blueberries.
 
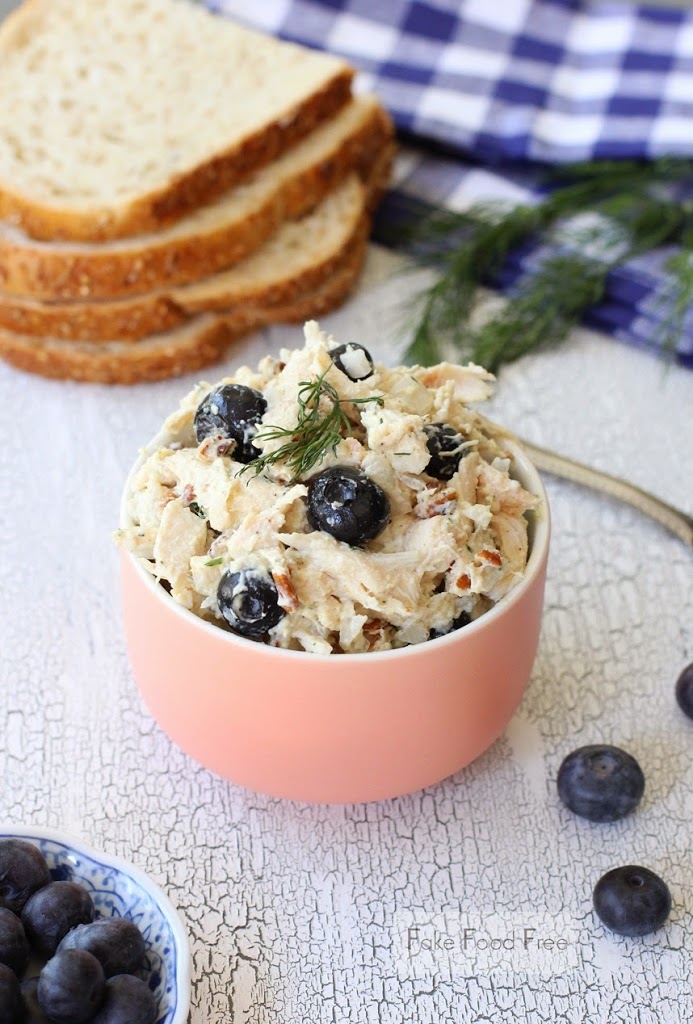
Picnic Chicken Salad with Blueberries and Pecans | fakefoodfree.com
 
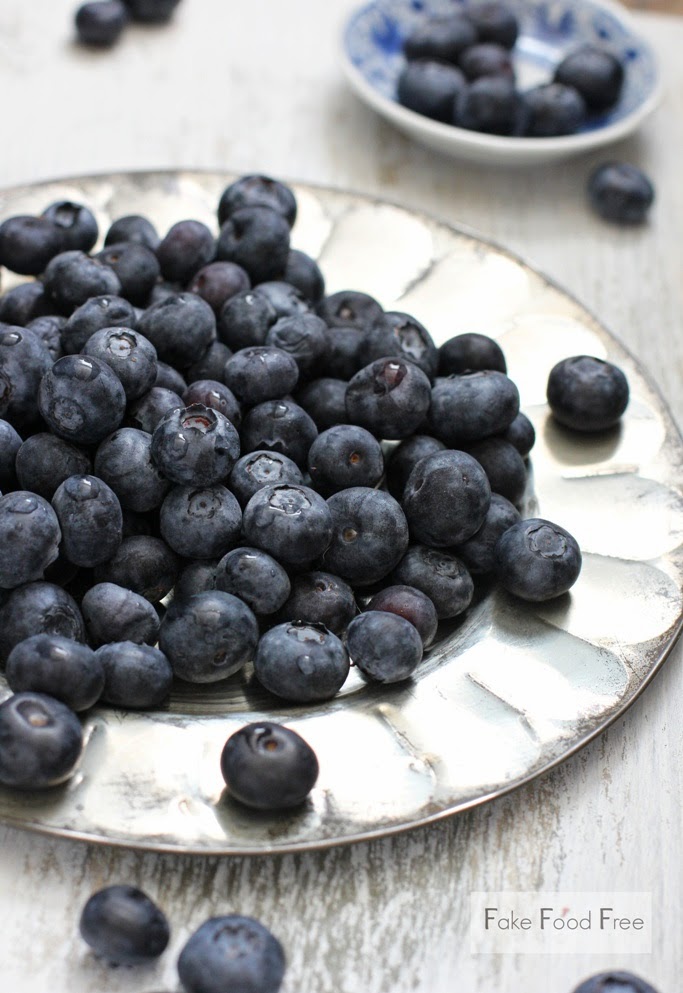
Normally when I get my hands on some I ask around on social media as to what other people would do with them. The response is always to eat them fresh, and believe me, I’ve got that covered. But after I’ve downed a couple gallons, I still need a few good ideas that aren’t jam.
 
So when I got hungry for chicken salad last week, I decided to use blueberries in place of my old stand-bys. It was my first time trying it and it beat my old versions by a mile. Not to mention that there is something so pretty about those deep blue berries no matter what you use them in.
 
I use a mix of Greek yogurt, mayonnaise and spicy brown mustard as a dressing for my version of chicken salad. It’s become my favorite combination not only for chicken, but for potato salads and slaws, too. If you have your own favorite, don’t hesitate to stick with that and just add the blueberries. They are the real star here, but I do have to admit I am loving them with both the pecans and dill in this recipe.
 
Picnic Chicken Salad with Blueberries and Pecans | fakefoodfree.com
 

Picnic Chicken Salad with Blueberries and Pecans
Makes: 2 to 3 servings
Write a review
Print
Ingredients
  1. 6 to 7 oz. roasted chicken, shredded
  2. ¼ cup finely diced onion
  3. ½ tablespoon chopped fresh dill
  4. ¼ cup full-fat or 2% plain Greek yogurt
  5. 1 tablespoon mayonnaise
  6. 1 teaspoon spicy brown mustard
  7. ½ teaspoon sugar (any type - white, raw, brown, etc)
  8. ¼ teaspoon ground black pepper
  9. Pinch of salt
  10. ¼ cup chopped pecans
  11. ½ cup fresh blueberries
Instructions
  1. Place the chicken, onion and dill in a medium bowl. In a separate bowl, stir together the yogurt, mayonnaise, mustard, sugar, salt and pepper. Pour the dressing over the chicken and stir well until the chicken is coated and the dill is distributed throughout the chicken salad.
  2. Stir in the pecans. Add the blueberries and very gently stir just until all ingredients are combined. Refrigerate until ready to serve.
Fake Food Free https://www.fakefoodfree.com/


Disclosure: The Sierra Cascade organic blueberries used in this recipe were provided by Whole Foods Oakland. I was not required to write about them and received no compensation for doing so.

Thanks for reading! All images and content are the property of Fake Food Free unless otherwise stated. Please do not republish full recipes and images without written permission. What is okay? Feel free to Pin images, share links to my posts or share the photo in a round up post with the title of this recipe and a link back to the post. Confused about copyright and food blogs? Here is some helpful information on Recipe Attribution. If you want to use a photo or full recipe, just ask. I’m sure we can work something out. 

Taco de Papa from The Taco Revolution

June 6, 2014
Friday is cookbook review day throughout the summer here at Fake Food Free. If you have a love of cookbooks be sure to swing back by for plenty of new ideas and recipes. 
 
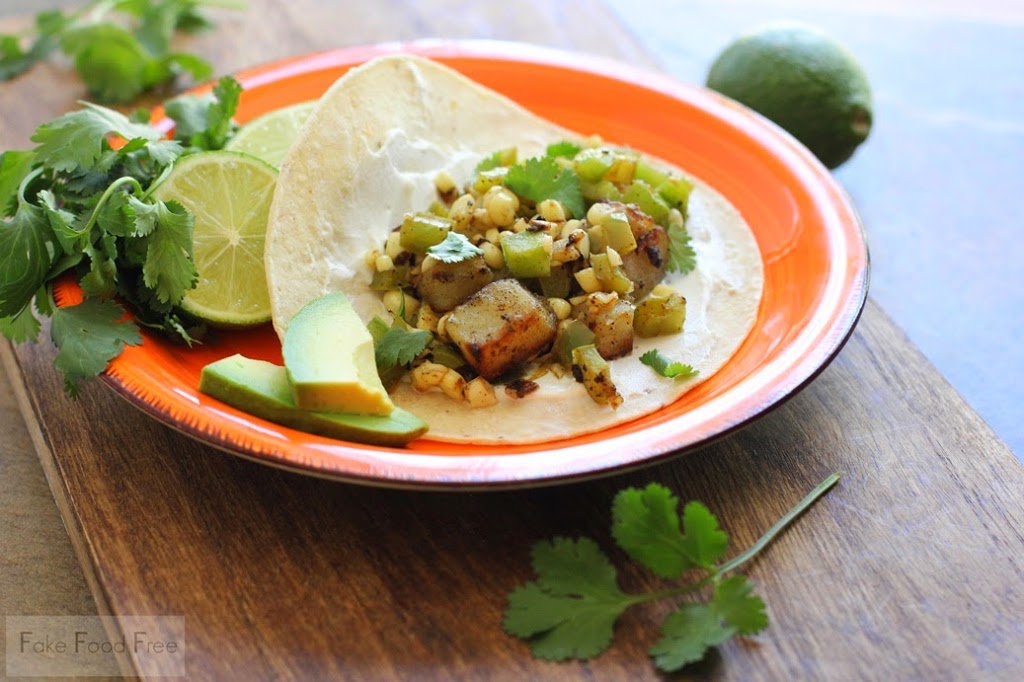
Taco de Papa from The Taco Revolution | fakefoodfree.com
 
Do you remember the first time you had a taco that wasn’t school cafeteria style? You know, with the crunchy shell, crumbly beef (well, hopefully it was beef), orange cheese and iceberg lettuce? I loved taco day as much as the next kid, but there is something about biting into your first street taco that changes you forever.


If you haven’t noticed yet, things are getting kind of crazy with the taco; crazy in a very good way. Around here you can get just about every type of ethnic cuisine in the form of a taco.


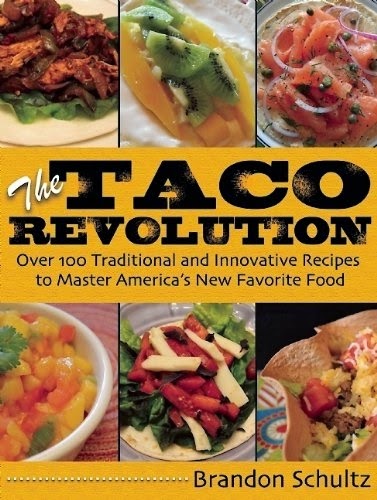
Tacos are fun, easy to make, easier to eat and come to think of it, I should probably be making my own more often. That rings even truer after I made the Taco de Papa (Potato Tacos) from the new cookbook, The Taco Revolution by Brandon Schultz.


The book holds 100 taco recipes to experiment with in your kitchen. Some are familiar, some you will likely have never had as a taco. I know I hadn’t. There are also some great ideas for condiments and creating homemade tortillas and baked crispy taco shells.  The recipes are also simple and straightforward so if quick weeknight meals are what you need, this book will deliver.


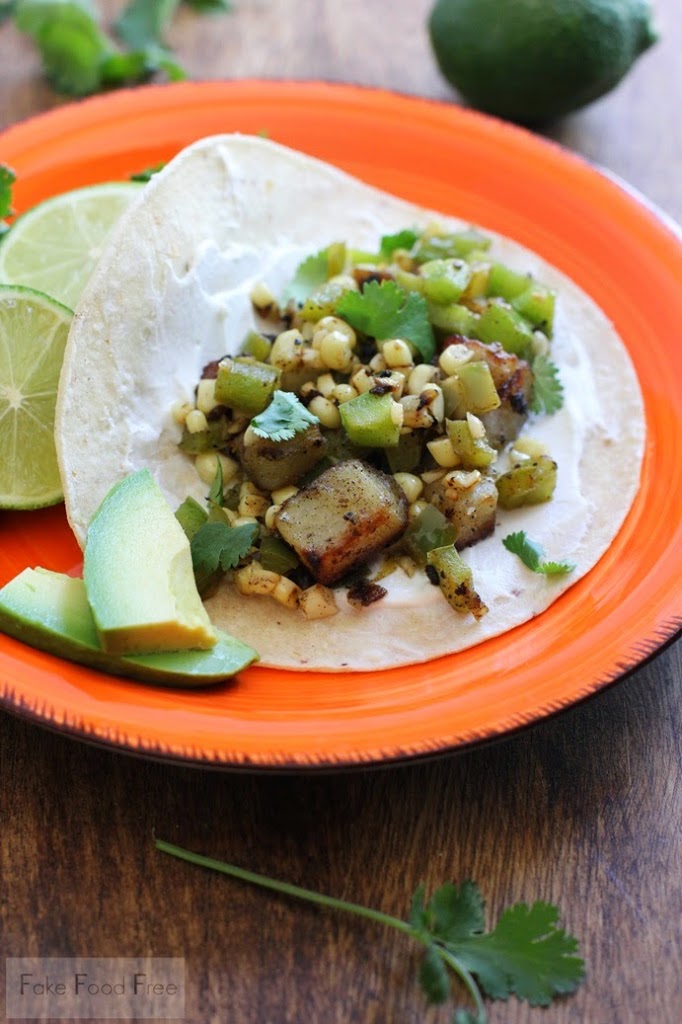
I went for a classic because I love tacos with potatoes and I’d never made a version at home before. They were delicious! With so many seasonal ingredients it could almost be called the garden taco. With or without a tortilla, this recipe has quickly become a favorite. Just a note, I noticed that after removing the hot pepper from the skillet, the recipe doesn’t suggest when to add it back in. Either adding it to the filling mix or using it as a garnish works fine. Oh, and for a taco like this, definitely use fresh corn if you can get it. It adds such a delicious flavor and pleasant texture.


Taco de Papa from The Taco Revolution | fakefoodfree.com

Potato Taco (taco de papa)

Excerpted with permission from The Taco Revolution by Brandon Schultz. Copyright, 2014. Skyhorse Publishing, Inc. 
 
Makes 4 tacos.


1 small hot pepper (as hot as you like it), seeded
2 Tablespoons olive oil
2 cups red potato, peeled and diced in ½-inch cubes
½ cup green pepper, diced
½ cup fresh corn kernels (canned whole kernels, well drained, will work)
4 cloves garlic, minced
Salt and black pepper to taste
Juice of 1 small lime
½ cup sour cream
1 small avocado, cubed
½ cup torn cilantro
Tortillas


DIRECTIONS:
1.  Heat cast-iron skillet over medium-high heat until hot. Slice hot pepper and sear, cut-side down, about 4 minutes. Remove to cutting board to cool.
2. Reduce heat to medium and add olive oil to skillet. When hot, add potatoes and cook until golden brown and starting to blacken, about 10-12 minutes. Remove to a plate lined with a paper towel to dry.
3. If skillet is completely dry, add a teaspoon of olive oil. Otherwise, simply add green pepper, corn, garlic, salt, pepper, and lime juice to skillet and cook 4-5 minutes, until corn begins to blacken and peppers become slightly tender.
4. Add a teaspoon of sour cream to the center of a tortilla and pat down gently. Top with potato and vegetable mixture. Top with avocado and garnish with cilantro.


Thanks for reading! All images and content are the property of Fake Food Free unless otherwise stated. Please do not republish full recipes and images without written permission. What is okay? Feel free to Pin images, share links to my posts or share the photo with the title of this recipe and a link back to the post. Confused about copyright and food blogs? Here is some helpful information on Recipe Attribution. If you want to use a photo or full recipe, just ask. I’m sure we can work something out. 

5 Things You Will Love About the Fit Bottomed Girls Anti-Diet

May 7, 2014
Have you ever picked up a book and after reading the first couple of paragraphs you were suddenly in a better mood? A smile slowly starts to spread on your face, the wheels in your brain kick into gear and a voice somewhere inside starts chanting – you can do this!


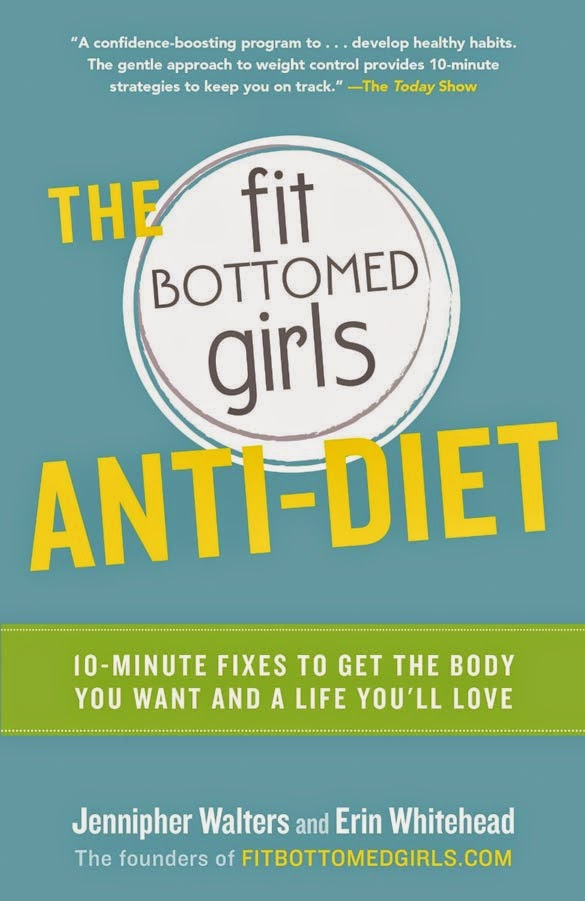
That’s how I felt the moment I cracked open Jennipher Walters and Erin Whitehead’s new book The Fit Bottomed Girl Anti-Diet. 
 
 
I think most people assume that if you work in health promotion in any way, or if your persona is all about eating vegetables and staying active, that a healthy lifestyle comes super easy for you. That choosing kale over French fries requires no internal debate and that every evening you lace up your shoes ecstatic over the four miles you have get to run.


Untrue.


I have my ups and downs. Times when I gain weight and lose weight. Times when kale tastes good and when it tastes awful. Times when I bust through an eight mile long run and when I have to walk after just one mile.


I have to admit I was experiencing a down when I got this book. It launched me right out of it!
If you are a blogger, you remember those blogs you associated with at the very beginning when you first started out. Fit Bottomed Girls is one of those for me; one I connected with. I can still remember Jenn’s motivating comments on some of my original posts here at Fake Food Free. She and the Fit Bottomed Girls crew continue to motivate me. I’ve been thrilled to be featured a Fit Blogger We Love on the site and share a few guest posts on Fit Bottomed Eats over the past few months.


Their new book truly encompasses what is great about their site. These are five things I loved about it, and you will, too.


  1. It’s about ditching the diet mentality and getting back in touch with eating because you’re hungry, because it tastes good and because it nourishes you.
  2. It’s loaded with tips for quick exercise sessions that encourage movement, not punishment. It even gave me a few new ideas.
  3. It focuses on the positive and being grateful. Too few healthy lifestyle books emphasize gratefulness. Being grateful for what you have, for the simple fact that you can walk or run, changes your attitude.
  4. It emphasizes balance. I know there are people who feel that balance is not an achievable reality, but I completely disagree. It’s one of those journey, not a destination type of things and this book highlights that.
  5. When you read scenarios in the book like the dreaded weigh-in you will laugh out loud while saying – holy crap, that is exactly me.
Intrigued? Good news, the book was released yesterday! Get yourself a copy and as they say – drop the diet drama.


If you are already a fan of the FBG website, then I’m sure you are also familiar with the Big-Ass Salad. It always makes me giggle a bit when I read the term, but I love it when Jenn shares her ideas for healthy lunches.


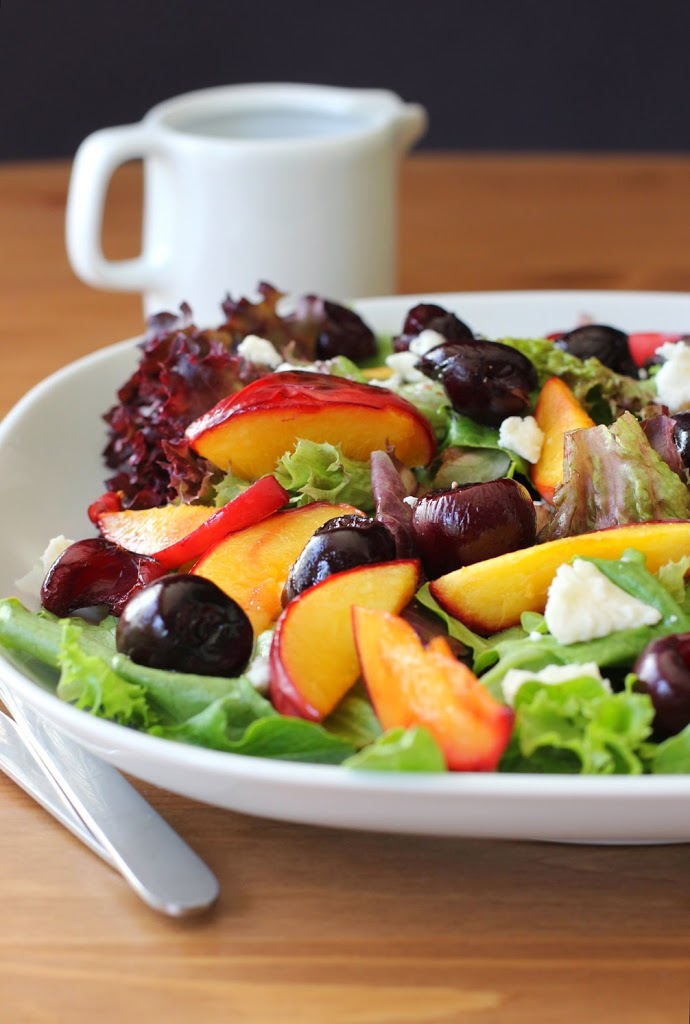
There are some quick and healthy recipes in the book that you’ll love, but I decided to share one of my salads with you in celebration of a healthy eating attitude.
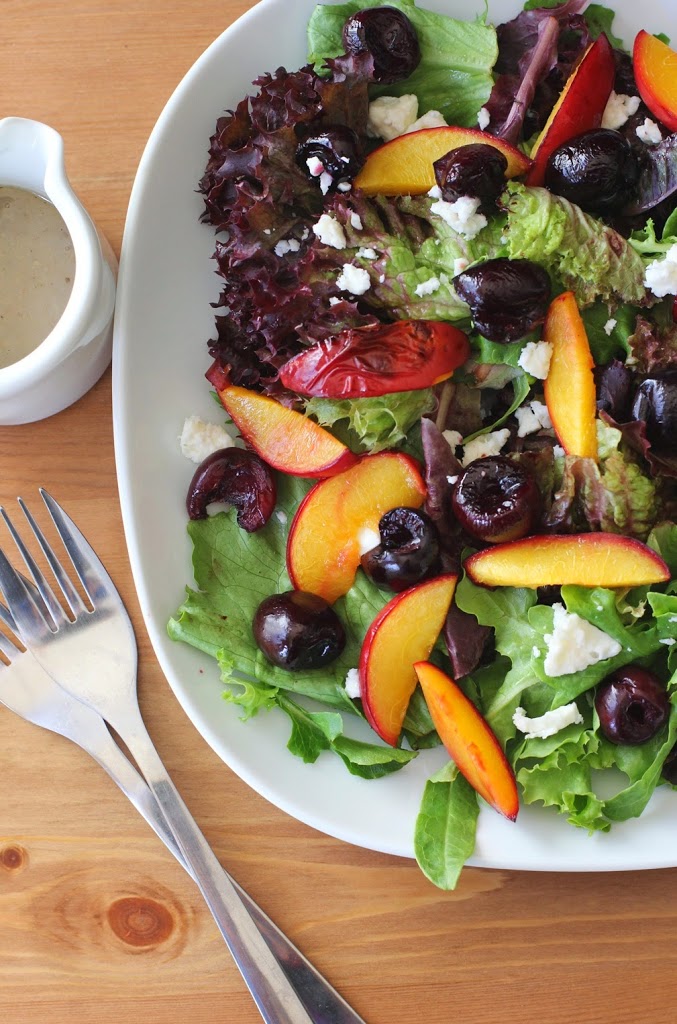
Roasted Cherry and Nectarine Salad with Honey-Walnut Dressing | Fake Food Free
It felt like such a long wait, but cherries, nectarines and peaches are beginning to show themselves at the farmers market here. Since they come at a time when we go back and forth between cool and warm temps (well, that’s pretty much always the case in the Bay Area), I struggle to decide between a cold salad or a hot lunch. This recipe combines the two. Perfect solution.
Congrats to Jenn and Erin on the book!

Roasted Cherry and Nectarine Salad with Honey-Walnut Dressing

Servings: 2 to 3


Dressing
4 tbsp walnut oil
2 tbsp chopped walnuts
1 tbsp honey
1 tbsp apple cider vinegar
Pinch of salt


3 yellow nectarines, pitted and sliced
1 cup cherries, pitted
4 cups mixed greens
3 oz. crumbled cheese (Blue cheese or feta works well. I used goat milk feta.)


Preheat the oven to 400 degrees F. Spray a baking sheet with olive oil or coconut oil.


In a small food processor, add 2 tablespoons of the walnut oil, walnuts and honey. Puree until the walnuts are finely chopped and a paste forms. Add the remaining 2 tablespoons of walnut oil and puree for about 30 seconds. You will be left with a thick walnut paste and a sweet milky liquid. Transfer to a bowl.


Whisk in the vinegar and salt. This will take a little time, but trust me, it will turn into a thick dressing. Keep whisking. Set aside.
Place the nectarine slices and cherries in a single layer on the baking sheet. Bake for 10 minutes, until softened and the juices begin to bubble.


Place the greens in a bowl, add the warm fruit and cheese. Pour in the dressing and toss well to coat. (You can also serve the dressing on the side as pictured, but because the dressing is thick, it really works better to toss the salad in it.) Serve right away.
Roasted Cherry and Nectarine Salad with Honey-Walnut Dressing | Fake Food Free
 
Disclosure: The book in this post was sent to me for review purposes. I was not required to write about it and received no compensation for doing so. 

Thanks for reading! All images and content are the property of Fake Food Free unless otherwise stated. Please do not republish full recipes and images without written permission. What is okay? Feel free to Pin images, share links to my posts or share the photo in a round up post with the title of this recipe and a link back to the post. Confused about copyright and food blogs? Here is some helpful information on Recipe Attribution. If you want to use a photo or full recipe, just ask. I’m sure we can work something out.

12 Favorite Kentucky Derby Recipes

April 30, 2014
12 Favorite Kentucky Derby Recipes | Fake Food Free

You don’t have to live in Kentucky long to catch the Derby bug. We were there for about ten years, but I was hooked after our very first Derby celebration.

Did I mention that I’ve never actually been to the Kentucky Derby?

Everyone seems shocked when I tell them this. It’s a bit of a long story, but you basically have two choices – the infield with loads of intoxicated folks having a good time where you can’t even get a clear view of the race (or so I’ve been told), or tickets for the Grandstand side which, if you can even get your hands on some, are a bit expensive. Add to that, all the people I know who have gone (on the Grandstand side) and had a less than stellar time to see the big, but very short, race.

Compare that to hanging out at the local race track, Keeneland, in Lexington and watching the race on the big screen or having your own party at home. No traffic, no hot sun, you can still wear a hat if you want and there are plenty of bourbon-based beverages and good food.

What can I say? The latter won out for us every year.

Over those ten Kentucky Derbies, and within the past year, I’ve made a few favorite recipes that are perfect for celebrating the big day. Most with bourbon, some with mint and others with Kentucky classics in mind. There will be more to come in the future, but these should give you plenty of ideas for your own Derby celebration whether you need breakfast, brunch, drinks or dessert.

(Click on the recipe name to go to the recipe.)

Cornmeal Waffles with Bananas Foster Sauce from Jonathan’s Bluegrass Table

Bourbon Sweet Potato Waffles with Maple Cinnamon Butter

Mint Julep Scones

Bourbon Banana Scones with Walnuts

Wild Ginger Mint Julep

Kentucky Bourbon-Vanilla Soaked Cherries

Kentucky Bourbon Dogs

Pimento Cheese Dinner Rolls

Maple Bourbon Budino with Spiced Pecans from Bakeless Sweets

Mint Julep Blondies

Bourbon Chocolate Chip Pecan Cookies with Coconut Oil

Kentucky Bourbon Barrel Ale and Pretzel Caramels

Yellow Squash Dumplings with Spiced Tomato Sauce from Vegetarian for a New Generation

April 28, 2014
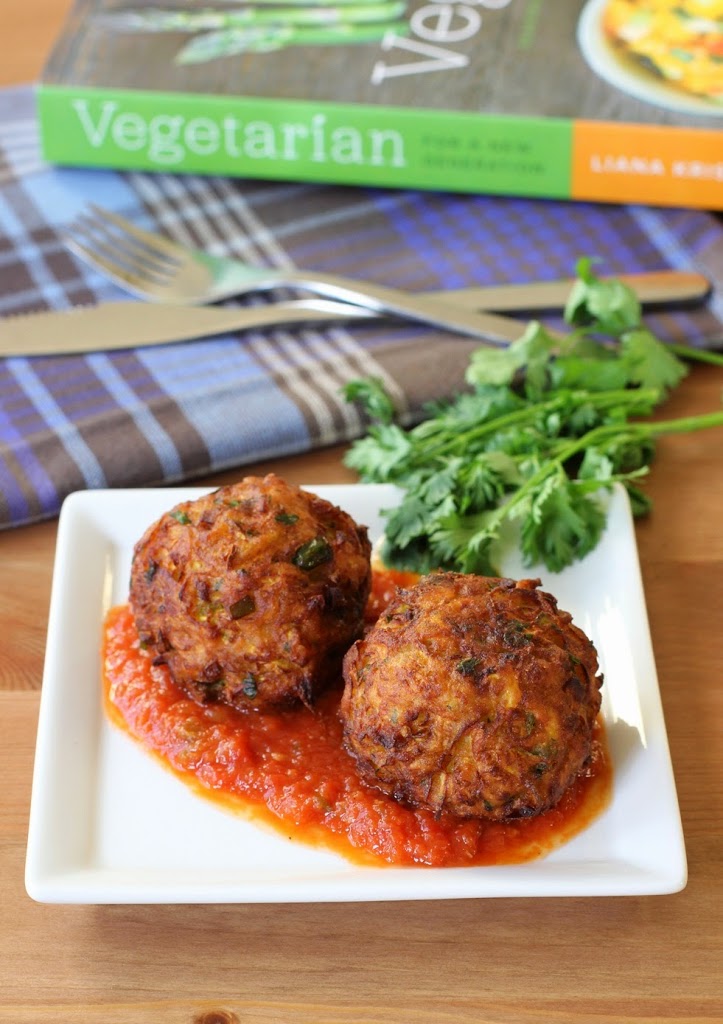
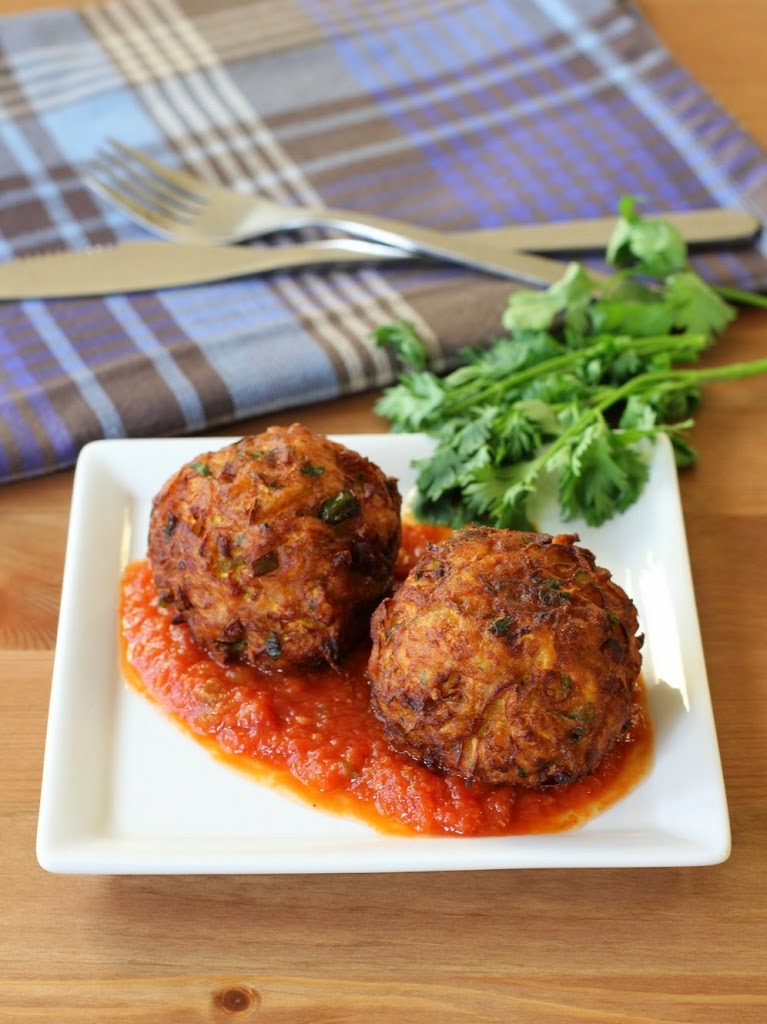
Yellow Squash Dumplings with Spiced Tomato Sauce from Vegetarian for a New Generation | Fake Food Free

Growing up with a big garden I probably liked vegetables more than most kids, but I can still remember my brother and I taking our peas like pills. Pop them in your mouth, hold your breath, take a big gulp of iced tea and swallow. It put them safely in your stomach without having to taste them. I’m sure there where dinners where broccoli and green beans had a similar fate.

When I think back, I can’t quite remember when I started to truly enjoy vegetables, but I’d be willing to bet it was well into adulthood. I’m not sure if it was the taste or an increased knowledge of the health benefit that helped me turn a corner, but getting my recommended servings of vegetables is easy-breezy these days.

Now that doesn’t mean I don’t turn my nose up at bland broccoli, or eat all my vegetables first to get it over with from time to time. Everyone has their days. But I really do look forward to kale, tomatoes, arugula, zucchini and just about every other veggie out there.

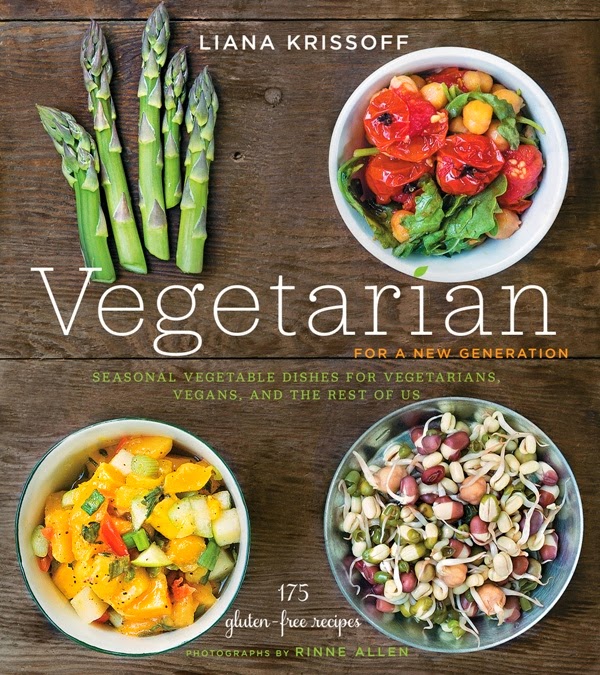
The only thing I welcome as much as a new season of fresh vegetables is a book that gives me new ideas for how to prepare them. So I’m practically giddy over Liana Krissoff’s new cookbook, Vegetarian for a New Generation.

If you’ve been reading this blog for a while, you know that I have her other two cookbooks, Canning for a New Generation and Whole Grains for a New Generation. Both are excellent. I use them all the time to get new ideas for canning and ways to use grains. Liana was kind enough to answer some interview questions for me when Whole Grains came out. She truly inspires me with her creative ideas and delicious recipes.

Vegetarian for a New Generation carries on the tradition of those other two books with 175 recipes that will have you repeatedly saying – That’s such a great idea! The gorgeous food photos will have you day dreaming about how good it must taste.

The recipes in the book are also gluten-free. I don’t eat 100 percent gluten-free, but what makes this great for me is that the focus is on vegetables, not a lot of heavy fillers like breads and grains. The recipes are light and refreshing while being comforting at the same time. Not an easy task with vegetables, but well accomplished in this book.

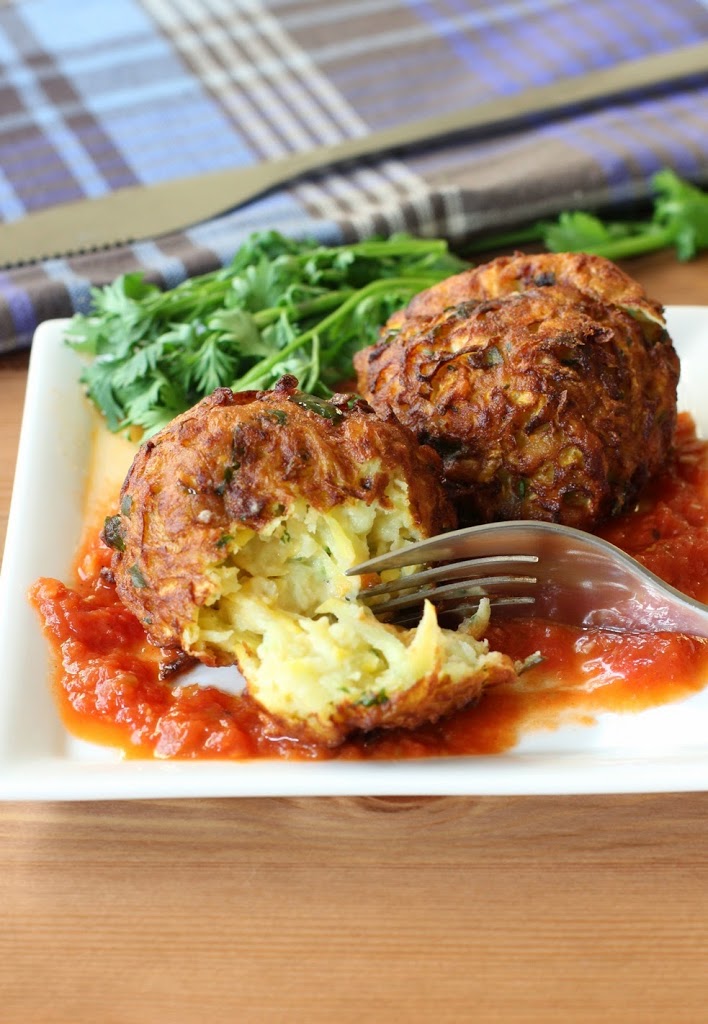
The recipe I had to try was the Yellow Squash Dumplings with Spiced Tomato Sauce. It caught my attention because the herbs and spices used were very different from what I would use with yellow squash. It also used garbanzo bean flour to thicken the batter, something I’ve been been experimenting a lot with lately. I didn’t doubt that it would be delicious and I wasn’t disappointed. The hint of cilantro in the dumplings went so well with the clove and cardamom in the tomato sauce.

Yellow Squash Dumplings with Spiced Tomato Sauce from Vegetarian for a New Generation | Fake Food Free

It was flavors I would never combine on my own which speaks to the value of this book. It will help you step out of your vegetarian cooking comfort zone. It’s almost like tasting vegetables for the first time and learning that you really like them. No swallowing them like pills required.

Yellow Squash Dumplings with Spiced Tomato Sauce

©2014 Liana Krissoff. Reprinted with permission from Abrams Books.

Serves 2 to 4
Vegan

From the book:  
These tender, lightly spiced walnut-size balls are like a cross between pakora (batter-fried vegetable fritters) and vadai (soft grain- or legume-based dumplings). They’re fried and deeply browned, but not crisp-crunchy. The spicing here is fairly mild, and you should feel free to add more chile, some garam masala (page 247), or any other spices you wish. Even if you’re wary of frying (as I am—I really dislike cleaning up after a messy frying experience), you should try these: They don’t spatter or absorb much oil at all, and the croquettes don’t even have to be served right after frying, as they’re served with a sauce and aren’t meant to be especially crisp or crunchy anyway.

I’d suggest doubling the recipe and freezing the extra fried balls and sauce separately—they reheat nicely for a quick meal. The warmed-up sauce can be used in nearly infinite ways: Simmer some chunks of potato and cauliflower in it until tender, then add a few croquettes to warm through and serve over Spiced Brown Rice (page 219).

For the Tomato Sauce

2 tablespoons vegetable oil
1 to 2 fresh hot green or red chiles, seeded and chopped
2 cloves garlic, chopped
3/4-inch (12-mm) piece fresh ginger, peeled and chopped
1/2 teaspoon freshly ground cardamom
1/4 teaspoon ground cloves
2 bay leaves
1 (28-ounce/790-g) can whole peeled tomatoes with their juices
Salt
Pinch of sugar

For the Squash Dumplings

1 pound (455 g) yellow squash (about 3)
1/2 to 1 cup (60 to 120 g) chickpea flour (besan), or more if needed
1 fresh hot green or red chile, seeded and minced
1 tablespoon chopped fresh cilantro
1/2 teaspoon grated fresh ginger
Salt
Pinch of freshly grated nutmeg
Vegetable oil, for deep-frying

Make the Tomato Sauce
In a medium saucepan, heat the oil over medium-high heat until it shimmers. Add the chiles, garlic, and ginger and cook, stirring, until softened but not browned, about 2 minutes. Add the cardamom, cloves, and bay leaves and stir for 10 seconds, then pour in the tomatoes and their juices. Add a generous pinch of salt and the sugar. Bring to a boil, then lower the heat and simmer, stirring to break up the tomatoes a bit, until the flavors are developed and the liquid is reduced a bit, about 20 minutes.

Remove and discard the bay leaves. Puree the sauce using an immersion blender. Taste and add more salt, if needed. Cover to keep warm and set aside. (The sauce can be made, cooled, and stored in an airtight container in the refrigerator for several days. It also freezes very well.)

Make the Squash Dumplings
Coarsely grate the squash into a large bowl. If the squash is quite damp, squeeze handfuls of the shreds over the sink to extract as much liquid as possible. Sift 1/2 cup (60 g) of the chickpea flour through a sieve into the squash. Add the chile, cilantro, ginger, 1/2 teaspoon salt, and nutmeg and stir very well. If it’s too soft or wet to shape into a very loose, soft ball, add more chickpea flour, a little at a time, until it comes together.

In a large, heavy saucepan, heat 2 inches (5 cm) of oil until it registers about 375°F (190°C) on a candy thermometer. Line a plate with paper towels.

Using your hands, shape some of the squash mixture into a walnut-size ball—it will be soft and will just barely hold its shape, but don’t worry, as it’ll firm up in the oil. Set it in a slotted spoon and quickly lower it into the oil; repeat to make 2 or 3 more balls. Don’t overcrowd the oil. Fry, turning occasionally, until deeply browned and cooked through, about 6 minutes. If the balls start to brown too quickly, lower the heat. Remove to the paper towels to drain. Repeat until you have used all of the squash mixture.

Reheat the sauce, if necessary. Serve the dumplings hot or warm, or even at room temperature, with the sauce ladled over or under them.

Variation
Instead of the spiced tomato sauce, serve the croquettes with a simple raita: Rinse off the grater and run a large seeded cucumber (peeled or not) through it. Squeeze out all the excess moisture and put it in a medium bowl. Finely grate 1 clove garlic into the cucumber, add salt, pepper, and chopped fresh cilantro to taste, and stir in about 1 cup (240 ml) plain Greek yogurt.

Yellow Squash Dumplings with Spiced Tomato Sauce from Vegetarian for a New Generation | Fake Food Free

Disclosure: This book was sent to me for review purposes. I was not required to write about it and received no compensation for doing so. Recipe was reprinted with permission from the publisher.
12 Favorite Recipes for Game Day

January 31, 2014

 
It’s that time of year again — the time that makes football fans, commercial watchers and puppy lovers happy. And let’s not leave out those of us who can’t get enough of everything food. I think we have the best deal of all – the challenge to come up with the most coveted snacking spread of the year.

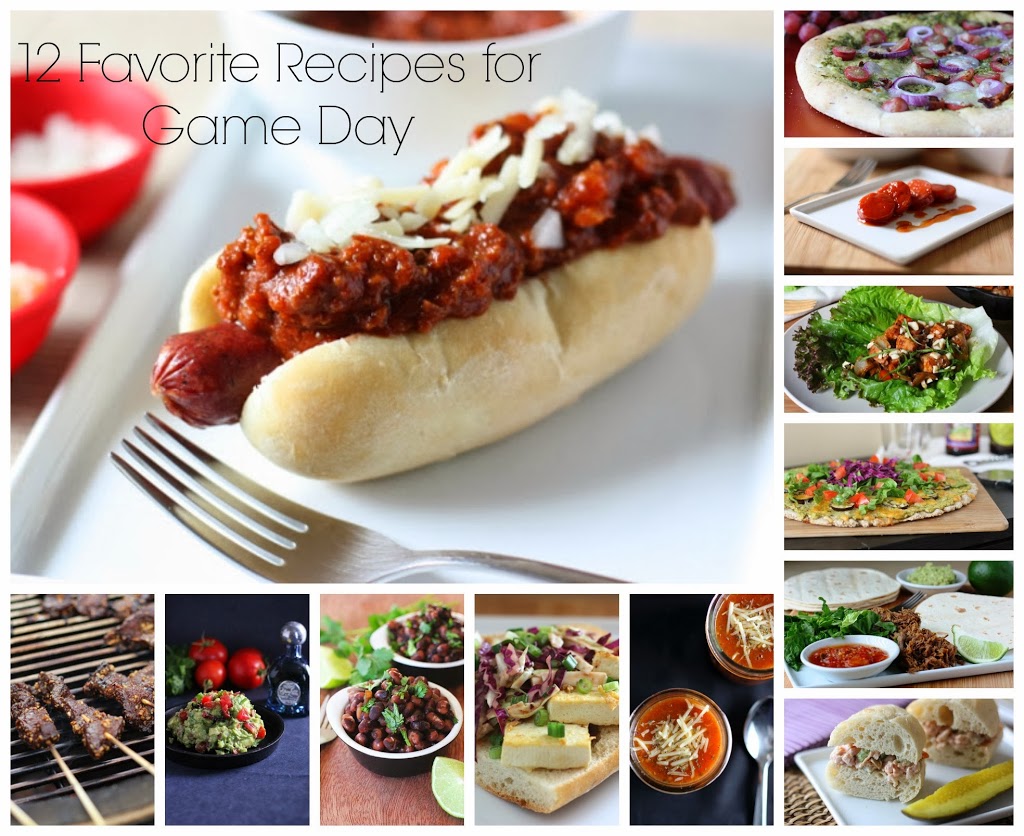
In case you are short on ideas, I’ve gone back into the Fake Food Free archives and put together a collection of some great options. Unfortunately, there are no foods shaped like footballs and tiny helmets, but there are plenty ideas for meat eaters and vegetarians who want to keep the focus on real, homemade foods.

Enjoy the game!

Lettuce Wraps with Almond-Basil Chicken
Slow Cooker Black Calypso Beans with Beer and Bacon
Kentucky Bourbon Dogs
Classic Chili Dogs
Spicy Spiked Bacon Guacamole
Roasted Garlic and Black Bean Tomato Soup
Pesto Pizza with Red Grapes and Bacon
Tex Mex Poblano Eggplant Pizza
Tamarind Beef Satay
Smoky Ham Salad with Olives
Tofu Po’Boy with Barbecue Cole Slaw
Tequila Lime Shredded Beef
(Clicking on the title will take you to the recipe.)

Baked Coconut Curry Cauliflower Recipe

January 22, 2014

I’ve been trying to come up with some side dishes that aren’t grain-based. Don’t get me wrong, I love grains. But when I’m not training for specific events, I find I have to keep an eye on overloading my plate with carbohydrates. I’m usually good with some sautéed kale or spinach, but I have reached my limit on leafy greens at the moment.

Since I am awful at getting stuck in vegetable ruts, variety has been the focus when I’m at the farmers markets. Last week I stumbled on a table that was filled with beautiful white bundles of cauliflower so I couldn’t resist stocking up. Cauliflower is another vegetable that I tend to overdo it on, but I had a short break recently so it was time to work it back into the rotation.

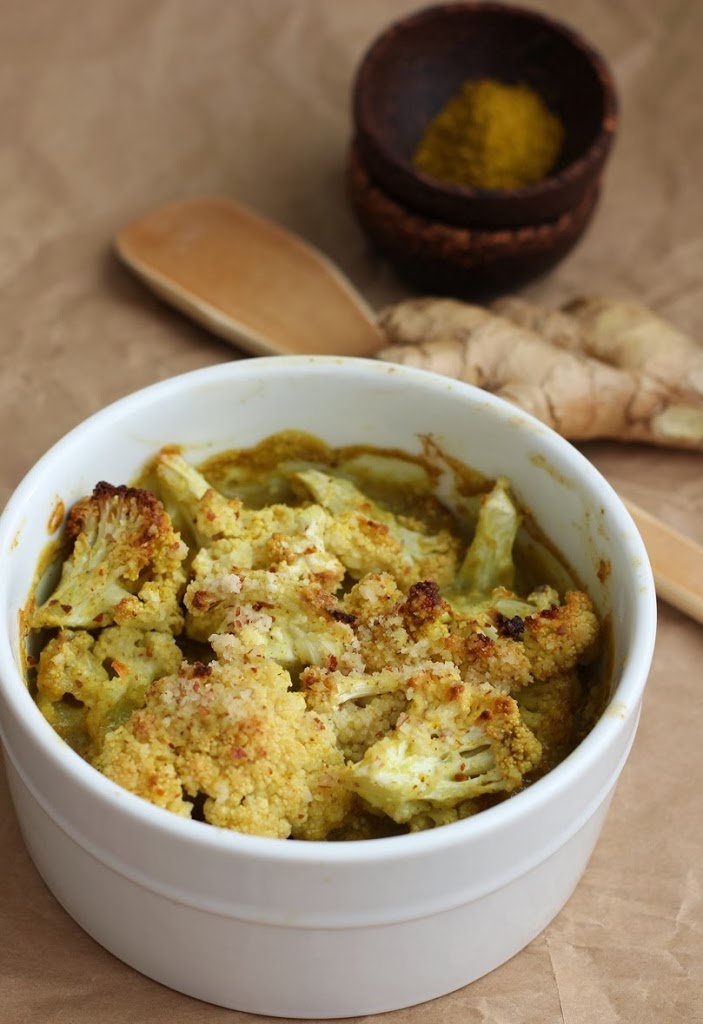
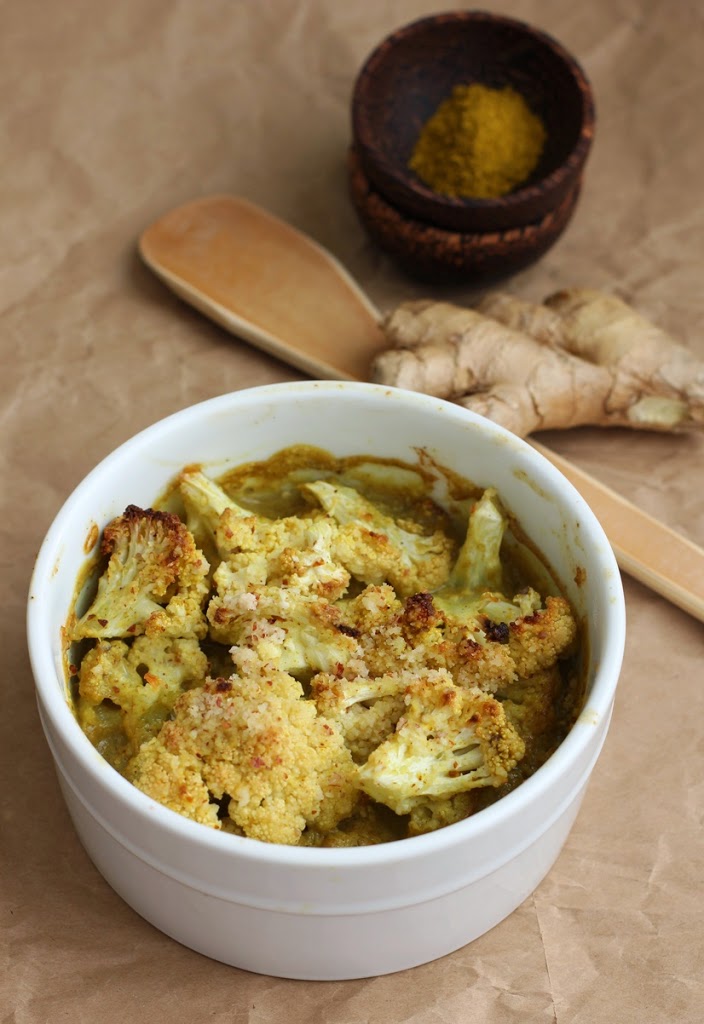
Instead of roasting it with some curry powder like I often do, this time I decided to dress it up a little bit. I used light coconut milk because I thought the regular coconut milk I use would be too thick. Adding the almond meal gave the curry sauce just the right consistency. It came out rich and creamy with a wonderful curry flavor that was slightly sweetened with coconut.

Baked Coconut Curry Cauliflower

Makes: 4 servings

1 medium head of cauliflower, broken into florets
1 (14 oz.) can light coconut milk
¼ cup + 2 tbsp almond meal
1 tbsp curry powder
1 tsp grated fresh ginger
½ tsp salt

Preheat the oven to 425 degrees F.

Place the cauliflower in a large bowl. Pour in the coconut milk, ¼ cup of almond meal, curry powder, ginger and salt. Stir until everything is combined and the cauliflower is coated.

Spray or grease an 8 x 8 inch baking dish, or three 2-cup ramekins. Transfer the cauliflower to the baking dish and pour any remaining liquid over the top. Sprinkle the top with the 2 tablespoons of almond meal.

Bake for 30 minutes, until the tops are browned and the cauliflower is tender. Serve warm.

Thanks for reading! All images and content are the property of Fake Food Free unless otherwise stated. Please do not republish recipes and images without written permission. Feel free to Pin images and share links to my posts, but please do not copy and paste recipes or photos and share them on other sites. Confused about copyright and food blogs? Here is some helpful information on Recipe Attribution.

8 Best Cocktails for New Year’s Eve

December 30, 2013
 
After two weeks of travel to visit New York City, explore the Christmas markets in Vienna and Krakow, and spend time with family in Indiana and Kentucky, I’m back at my computer. 
2013 has been so amazing I can hardly put it into words. I’m sure I’ll miss some things, but here are a few highlights.
Aside from how wonderful it is to now be a California resident, I also live by the water with access to fresh seafood and salty air. Something I’ve always wanted to do.
I ran my first marathon. (And I ran it across this.)
My husband and I celebrated 10 years of marriage.
I landed my first magazine column. (You can find it at Hobby Farm Home.)
I’ve finally (successfully) transitioned into a full-time freelancer. Writing about food, developing recipes and taking food photos is now my job. 
I got to gaze in awe at Lake Tahoe for my 35thbirthday. 
I was able to show my family around the Bay Area on their first visit to California.
I saw New York City at Christmas time.
I explored the Christmas markets of Vienna and Krakow.
What a year! I have no idea how 2014 is going to top it, but I’m convinced that it will.
A great year deserves a special toast. So here are 8 of my favorite cocktails to help you close out 2013 and ring in the New Year. Some are here on Fake Food Free, and others are from the work I’ve done for the blog the Daily Squeeze. 
(Just click on the drink name to get to the recipe.)
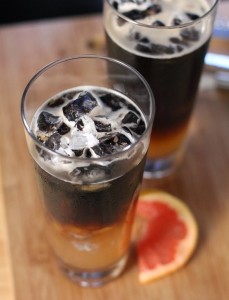
Grapefruit Moon Beer Cocktail 
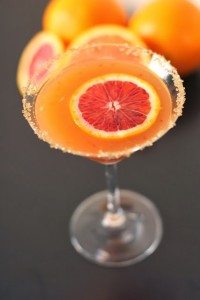
The Spicy Citrus
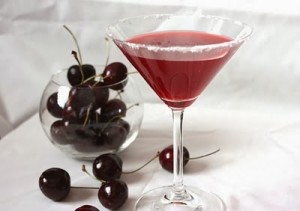
Cherry Margarita
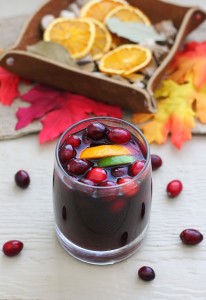
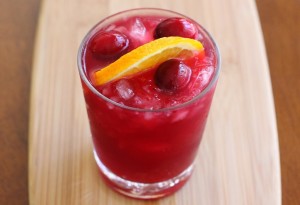
Red Wine and Navel Orange Sangria 
Spiced Old Fashioned 
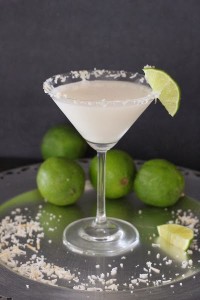
Coconut Lime Dessert Martini
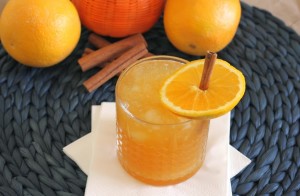
Orange Bourbon Apple Cider 
Orange Cosmo on the Rocks  

What will you be toasting to on Tuesday night? Any favorite memories from 2013?
Happy New Year!!

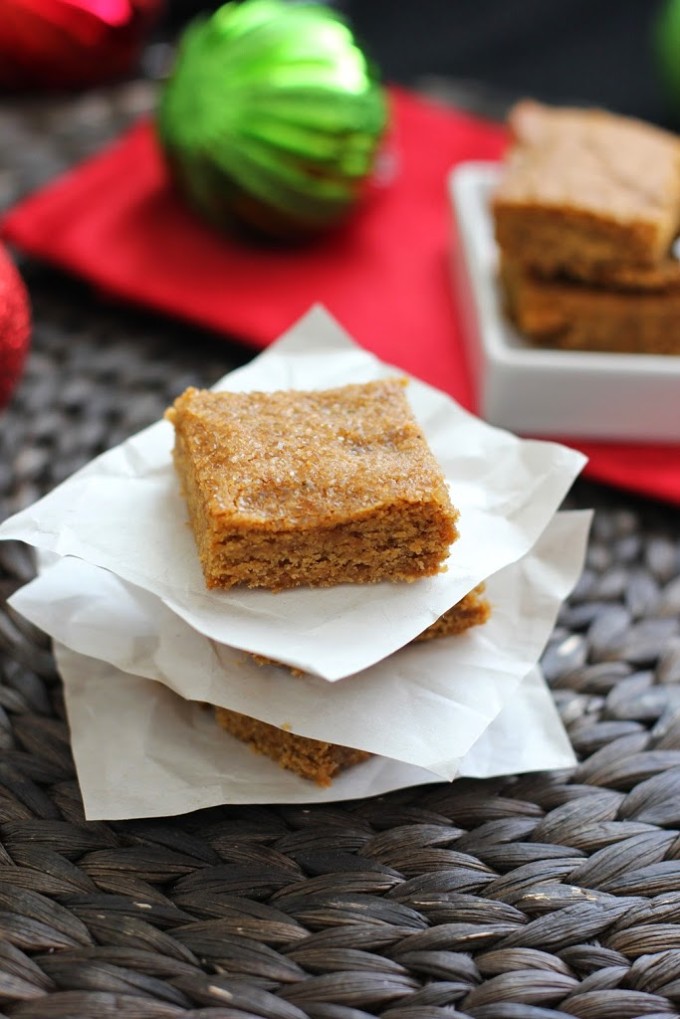
Ginger Molasses Cookie Bars Recipe

December 13, 2013

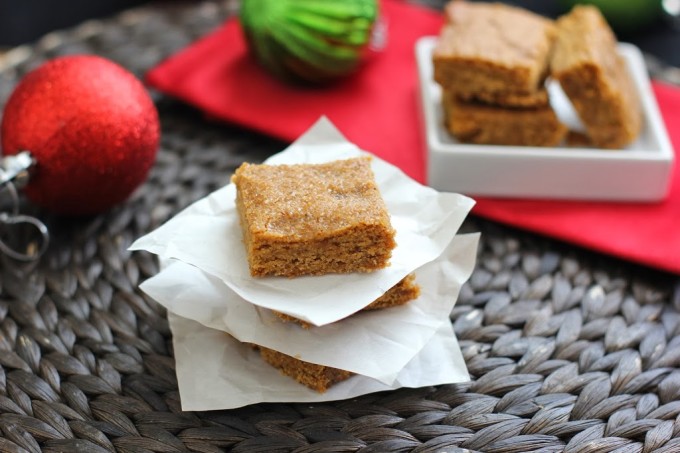
I can’t get enough of ginger flavored treats during the holiday season. These cookie bars are a recreation of one of my favorite cookies made with fresh ginger and molasses!

 Ginger Molasses Cookie Bars | Fake Food Free

This past summer, I discovered my favorite cookie. It’s sold at Blue Bottle Coffee in Oakland. I’ve always been a fan of gingerbread-like desserts, but this cookie takes it to a new level. It’s made with fresh ginger and ground black pepper. It’s slightly crunchy on the inside, but soft and chewy on the inside. Darn near perfect when it comes to cookies.

When I tried it, the idea of both fresh ginger and black pepper in a cookie were new to me. I’ve wanted to try making something similar ever since. I think creating the right cookie texture is going to take me much more practice than I am able to commit to this holiday season, so I went the easy route and incorporated the flavors into a bar.

It’s certainly not an exact replica, but for someone who can’t get enough gingerbread this time of year, these chewy, spicy cookie bars hit the spot.

Ginger Molasses Cookie Bars

Makes: 16 bars

Ingredients

1 cup unsalted butter, softened
1/3 cup coconut sugar
1/3 cup + 1 tbsp turbinado sugar
2 tbsp molasses
1 large egg
½ tbsp grated fresh ginger
1 cup white whole wheat flour
½ tsp baking powder
¼ tsp salt
¼ tsp ground black pepper
1/8 tsp ground cinnamon
1/8 tsp ground nutmeg
1/8 tsp ground clove

Prep

Preheat the oven to 350 degrees F. Grease an 8 x 8 inch baking pan lightly with unsalted butter.

In the bowl of a mixer fitted with the paddle attachment, add the butter, coconut sugar and 1/3 cup of the turbinado sugar. Cream together on medium to medium-high speed, about 2 minutes. Add the molasses and mix for about 30 more seconds, scraping the sides of the bowl as needed.

Add the egg and mix 30 more seconds. Mix in the fresh ginger.

In a small bowl, stir together the flour, baking powder, salt, pepper, cinnamon, nutmeg and clove. With the mixer on low, gradually add the dry ingredients. Increase the speed to medium and mix just until all ingredients are combined.

Transfer the cookie dough to the prepared pan and spread evenly with a spatula. Sprinkle the top with the remaining 1 tablespoon of turbinado sugar.

Bake for 18 to 20 minutes, until the edges begin to brown and a toothpick inserted in the center comes out clean. Let cool completely and cut into 16 bars.

Ginger Molasses Cookie Bars | Fake Food Free


Thanks for reading! All images and content are the property of Fake Food Free unless otherwise stated. Please do not republish full recipes and images without written permission. What is okay? Feel free to Pin images, share links to my posts or share the photo in a round up post with the title of this recipe and a link back to the post. Confused about copyright and food blogs? Here is some helpful information on Recipe Attribution. If you want to use a photo or full recipe, just ask. I’m sure we can work something out.

 
Want to create beautiful food and product photos that you can't wait to share?!
Discover your style, control the light, and shoot using the tool you know how to use (yes, your phone included). Learn about free resources, Live Q&As with Lori, and online courses you can take from anywhere in the world!
We respect your privacy. Unsubscribe at any time.