Browsing Category

Meetups and Events

Introducing CreatingYOU. Food Photography Workshops and Coaching

March 22, 2019

CreatingYOU. is a new opportunity offered by food photographer, Lori Rice. These food photography workshops will focus on creativity in food styling to help you produce images that reflect you and your brand or business. 

CreatingYOU. is new opportunity offered by food photographer, Lori Rice. These food photography workshops will focus on creativity in food styling to help you produce images that reflect you and your brand or business. Find out more at loririce.com/workshops

Last year, I had an idea. Well, actually it was an idea that came just as much from other people. 

Teach some type of class for food photography and styling. 

So I thought about it. I needed some time. I know I can teach. That was most of my work in what I call my old days. I designed community programs and ran train-the-trainer courses. 

But teaching what I know about food photography? I wasn’t so sure. 

The thing is I’m not all that confident in the term photographer. The technical side, the numbers, the gadgets, the gear. I know things, but not like others know things. 

But I do know how to create an appealing food or travel image, and I’m working on getting there with general still life. So I needed to figure out what it is that I know, the key points of my journey, that would be helpful to others to share. 

Continue Reading…

This September

September 22, 2015

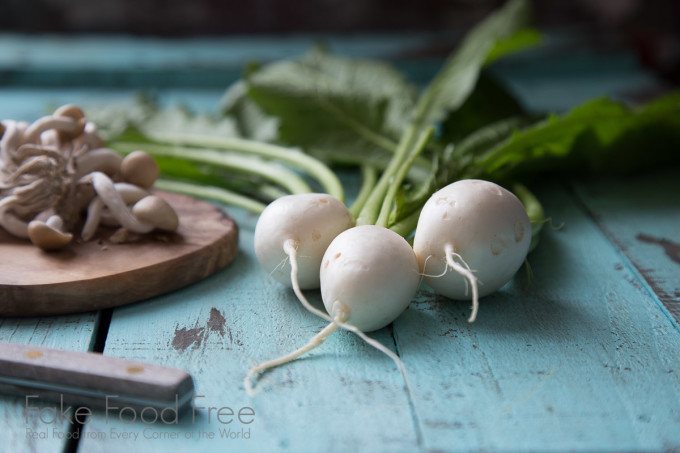
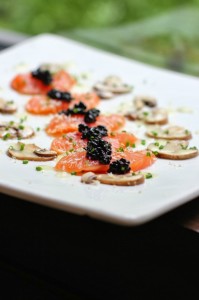
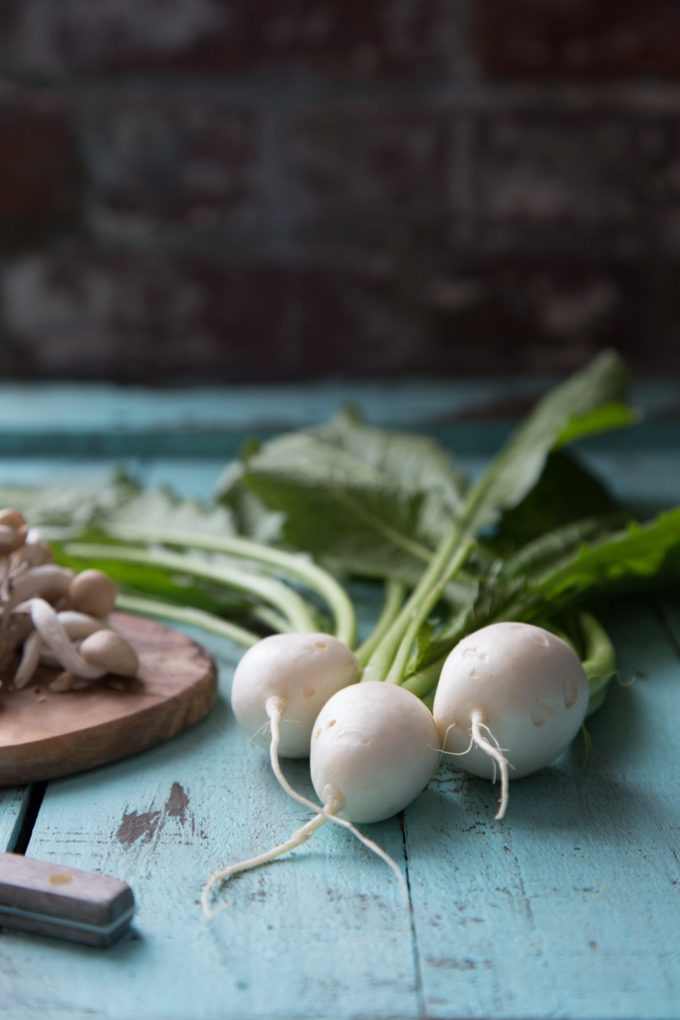
Baby Turnips and Mushrooms | In studio at the Farm to Table Photography Workshop in Seattle | Fake Food Free

I’m usually not one to comment on how quickly or slowly the months go by. It varies for me from year to year. It all depends on what I have going on.

Lately though, I’ve been thinking a lot about this September. Mostly about how it came along quickly, after what felt like a long August, and now suddenly it’s almost gone. 

There are 3 very good reasons for this.

Continue Reading…

Shrubs and Shims from SHED in Healdsburg

May 28, 2015

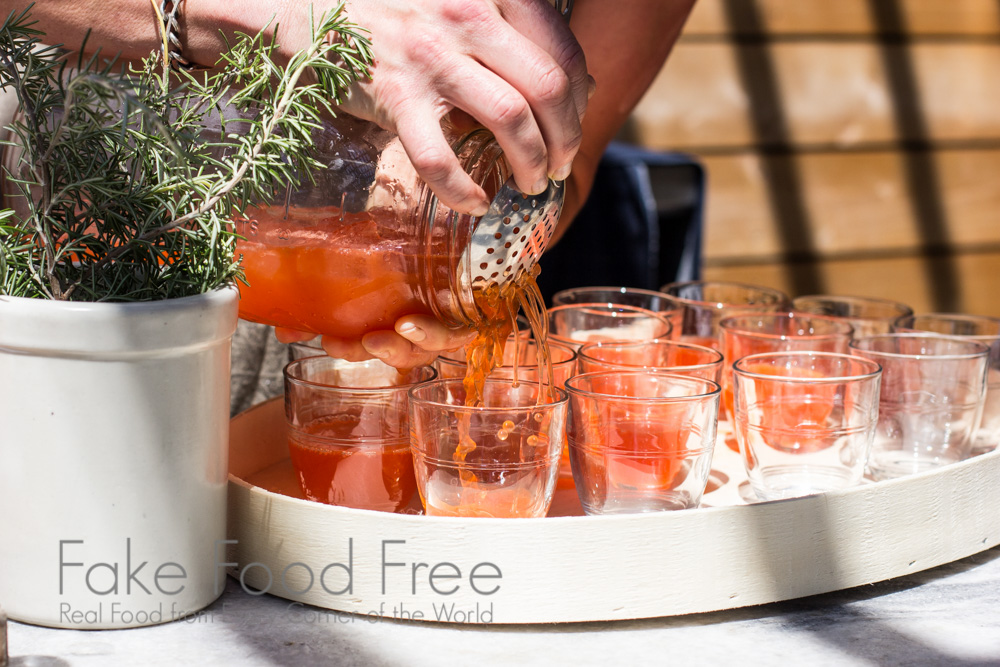
Shrubs and Shims from SHED Healdsburg. Pouring the Apparent Sour. | Fake Food FreeTruth be told, I had no idea what a shim was.

A shrub? Yes. I’d actually made some shrubs at home. 

So when I was invited to a shims and shrubs workshop, I jumped at the chance, assuming that the shrub I knew had to be somewhat related to a shim that I was unfamiliar with. 

Plus, this workshop was at the Healdsburg SHED. I literally had just discovered this place no more than a month before this media workshop invitation arrived in my inbox. The moment I saw it in some of my travel research, it immediately went on my must-visit list. This seemed like the perfect excuse to take the short drive up to California wine country.

Continue Reading…

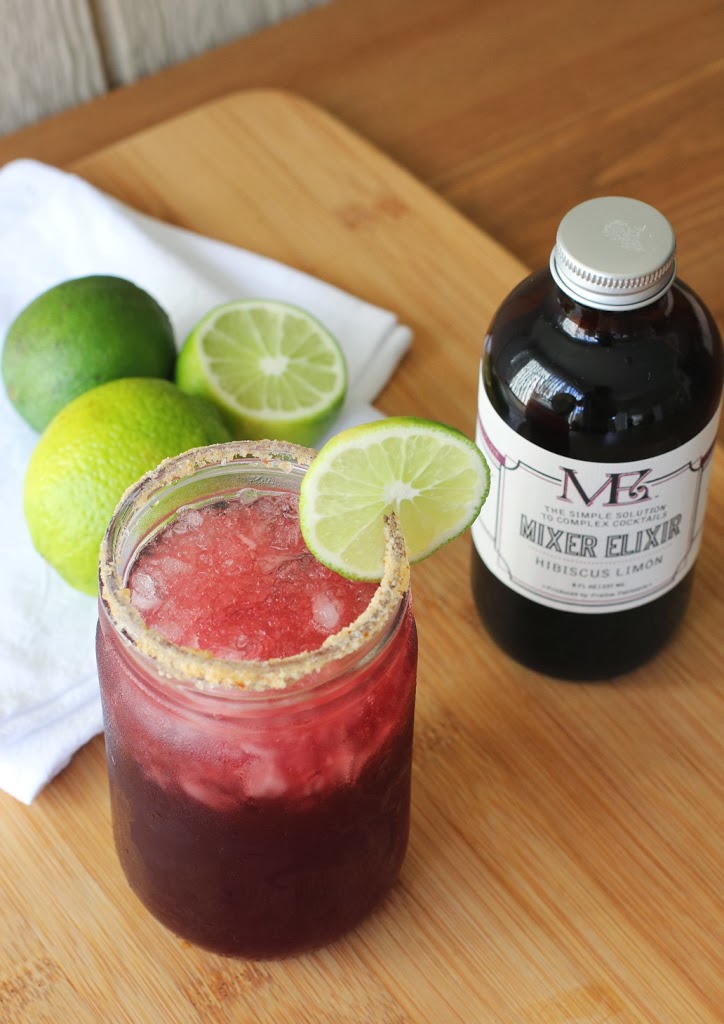
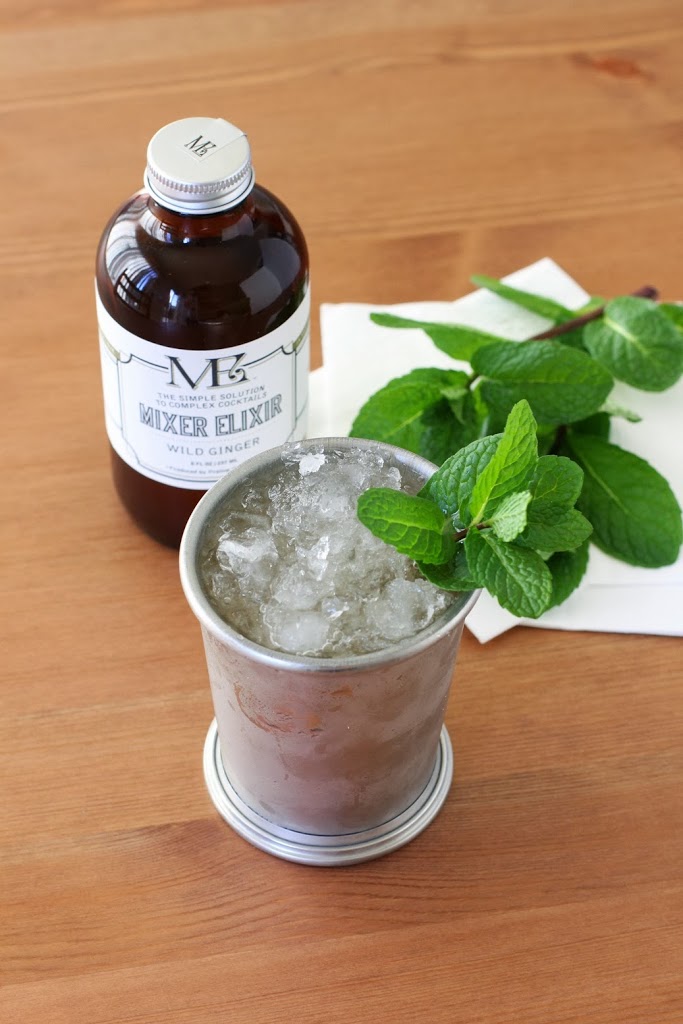
Hibiscus Limón Grapefruit Margarita and Wild Ginger Mint Julep with Mixer Elixir

February 26, 2014

Welcome to the first cocktail week on Fake Food Free. This week I’m recapping some of the excellent cocktail mixers I discovered at the Fancy Food Show in San Francisco in January. This is post two of three. Check out post one for more great drink ideas!

The first place I stopped while at the food show was the new products pavilion. I love this area because it is full of passionate small companies who are excited about their products and they hope that you will be, too.  

Nicely displayed in a corner booth, Mixer Elixir was a product that immediately caught my attention. I loved the trendy jars and logo design, and I think it’s been pretty well established that I like cocktails.

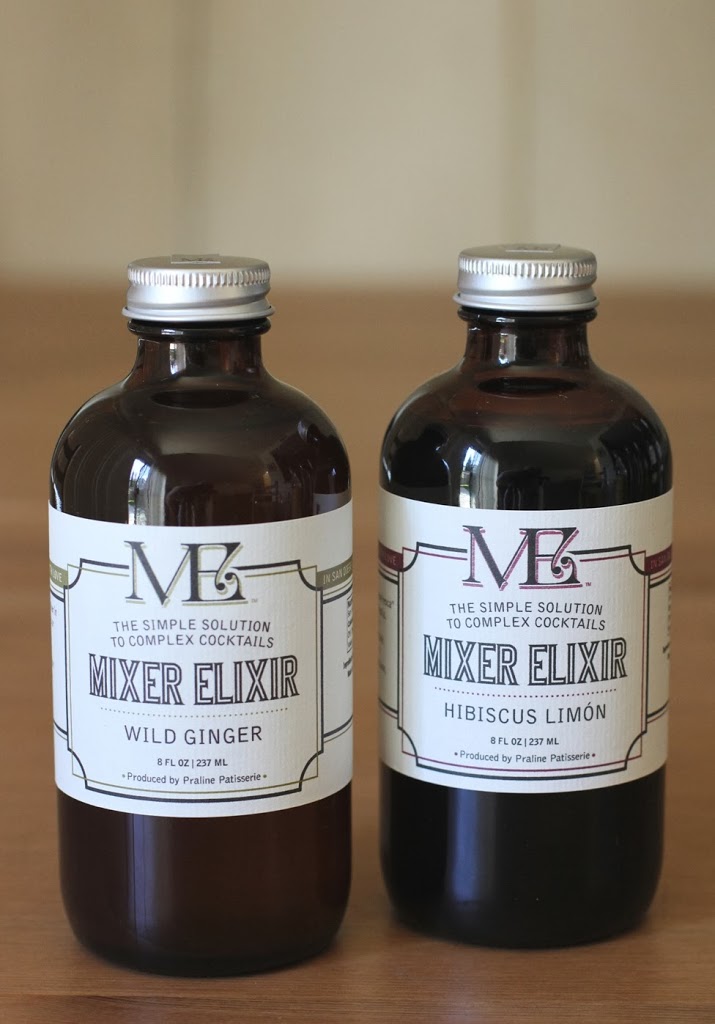
These drink mixers are from the San Diego-based company Praline Patisserie, created by pastry chef, Cruz Caudillo. They use few ingredients like fresh herbs, fruits and pure cane sugar to create a syrup that can be used to flavor seltzer water, teas, and of course, cocktails.

I had two varieties to try – Hibiscus Limón and Wild Ginger. Each has cocktail suggestions on the bottle.

For the Hibiscus Limón, a margarita with orange juice was suggested. But because I can’t think of hibiscus without thinking about Jamaica, and I also associate grapefruits with Jamaica, I added my own twist with grapefruit juice. Yes, I know we’re talking tequila and not rum (which I also associate with Jamaica), but trust me, a margarita is a winner with this one. The Hibiscus Limón is rich, sweet and tangy. It would make a unique soda mixed with seltzer or club soda as well.

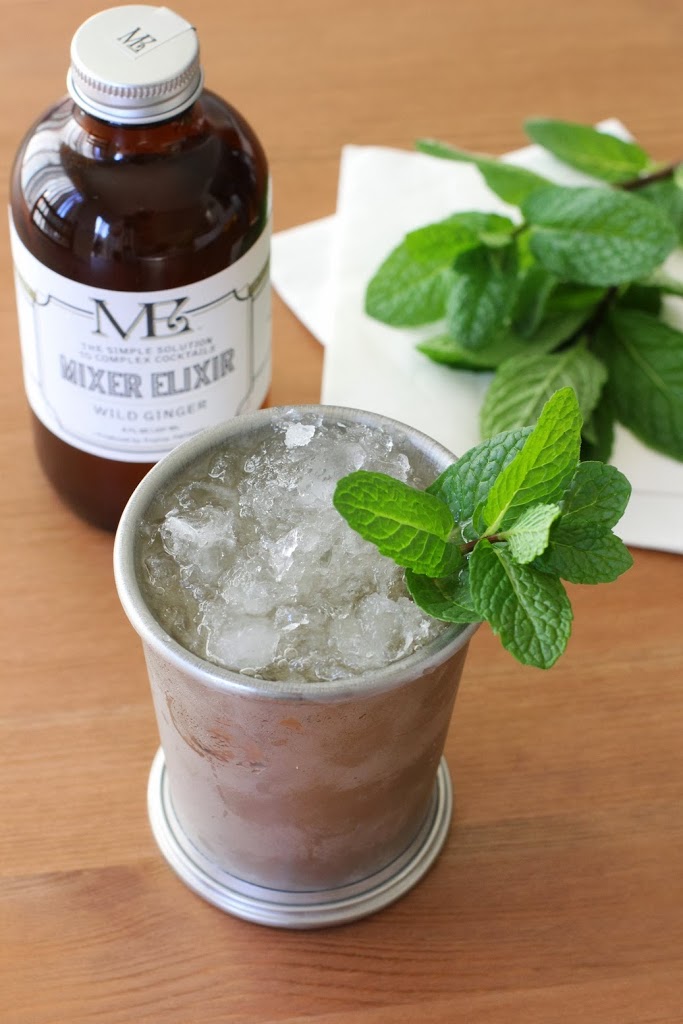
The Wild Ginger has a wonderful spicy flavor and bourbon was the first thing that came to my mind. So I spiced up one of my favorite drinks, the Mint Julep. I may make all my Mint Juleps like this from now on. The kick from the ginger isn’t lost in sweetness like it can often be with sodas. I might even venture to use this Elixir as a flavoring in desserts.

In addition to keeping one around for myself, Mixer Elixir is going on my gift-ideas list. I like that both non-alcoholic and cocktail options are offered on each bottle making them perfect for just about everyone.


Hibiscus Limón Grapefruit Margarita

Makes: 1 drink

3 oz. red grapefruit juice
2 oz. gold tequila
2 oz. Mixer Elixir Hibiscus Limón
.5 oz. lime juice
Ice
Salt for rim of glass (I used this grapefruit sea salt)
Lime slices for garnish

Place the grapefruit juice, tequila, Mixer Elixir and lime juice in a cocktail shaker. Add ice, cover and shake until cold.

Fill a salt-rimmed glass with ice. Strain the margarita into the glass. Garnish with a lime slice and serve.

Wild Ginger Mint Julep

Makes: 1 drink

2 oz. Kentucky bourbon
2 oz. Mixer Elixir Wild Ginger
2 sprigs fresh mint
Crushed Ice

Place the bourbon in a cocktail shaker with one sprig of the mint. Mull the mint with the bourbon to extract the oils. Add the Mixer Elixir and stir.

Pack a mint julep glass full with crushed ice. Strain the cocktail into the glass, over the ice. Garnish with the second mint sprig and serve.

Disclosure: This product was provided to me for review purposes. I was not required to write about it and received no compensation for doing so.

Photography Tips, Wine Pairings and Dining in Seattle – International Food Bloggers Conference

September 24, 2013

It was the reason I registered for the conference in the first place. A session with the well known Andrew Scrivani, food photographer for the New York Times.

In preparation for this big weekend, I caught some of the session he taught on Food Photography for CreativeLive a month or so ago. Inspired is an understatement. The one thing that stuck with me from the online session was when he said (and I paraphrase) – when the door of opportunity cracks open, you don’t peak inside, you kick the door down.

I feel like since we’ve moved to California, I have been kicking down every door that has cracked open for me, and I have my eyes open for more. It was a phrase, an attitude, a piece of advice that had perfect timing for me.

Andrew didn’t disappoint in the live sessions this past weekend. The simplicity of his set-ups and shoots would surprise anyone who has seen some of his intriguing photos that grace pages of the web and print. It also helps that his photography style is spot on with what I aspire for mine to be. The dark shadows, the light flow, the moodiness. Those are the types of photos that draw and keep my extended attention, and also the types of photos I want to more consistently create.

After a hilarious cooking demo with Chef John and Chefs from Blue C Sushi, Andrew shared photo after photo of some of his favorite shots and the stories behind them. A few things I learned:

  • He almost never uses artificial light.
  • Salt glazed pottery does not reflect light.
  • Southwestern light is “absolutely the best” light for food photography.
  • Trade props for credit on your blog. In other words, help spread the word for people who make props that would work well in your photos by mentioning them in your post or on your homepage in exchange for a waved rental fee or a free dish.
  • Use Pinterest boards to collect photos and use them to shop for pottery/plates to recreate the style. (I’ve used this to collect styling ideas, but I’d never thought about using it as a shopping list when I’m looking for the actual props to get the same scene.)
  • Capturing a good photo is about being at the right place at the right time.

Because of such a large group, only a few were randomly selected to get up and photograph food during the session. Later they brought some plates over to the natural light by the window and a few of us decided to sneak over and take our own pictures.

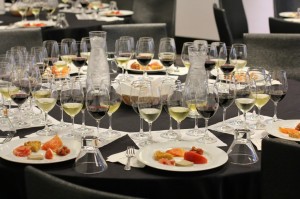
After the food photography sessions, I attended the food and wine pairing session with Chateau Ste. Michelle winery and Culinary Director, John Sarich.

A few interesting tips I learned:

  • Salt water seafood and strong tannin wines do not pair well.
  • Raw fruit and wine do not pair well. The fruit pulls out the acid flavors of the wine.
  • New world reds that are more “jammy” are better with fish.
  • New world reds also pair better with balsamic vinegars and soy sauce.
  • White wine is best served at 54 to 55 degrees F, except Riesling and sparkling white wines which can be served at 40 degrees.
  • Reds should be served at cellar temperature, 64 degrees F, not 73 degrees F (room temperature).
  • Good wine is 20% where you are at, 20% who you are with and 60% the wine itself.
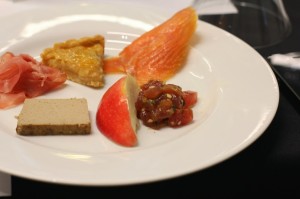
Our tasting plate – duck liver pate, prosciutto, apple tart, smoked salmon, tuna tartar and  fresh apple.

Later that evening, Urbanspoon split all 320 attendees into small groups and we each dined at different restaurants throughout Seattle. It was a really cool concept and each of our restaurants were a surprise until a few hours before. (Eating styles were taken into consideration.)

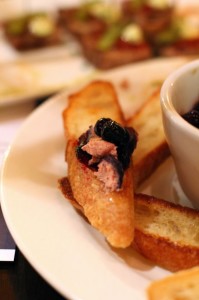
Our dinner was at Luc, a lovely French-American restaurant. We were served 4 courses, including chicken liver pâté with berry gelée and an amazing Cassoulet made with local white beans, duck confit, sausage and braised lamb (sorry, my photo didn’t turn out due to the lighting). The duck was perfectly cooked, not too dry and the flavor of the beans was rich and comforting.

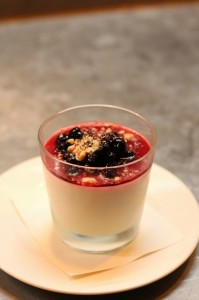
I also got to try Bavarois with Huckleberry. It was described as the French version of a Bavarian cream. It had a rich flavor while also being rather light and airy. The sweet berry topping rounded out the flavor of the dessert nicely.

Another outstanding day.

Disclosure: I was required to write 3 posts about my experiences at IFBC in order to receive a discounted registration fee. This is email 2 of 3. The weekend involved many free products and foods from companies and restaurants that I may or may not write about. Thoughts are my own. I am not required to write about these foods or companies and will receive no compensation for doing so. 

International Food Bloggers Conference Seattle

September 21, 2013

I realized something today. I’m spoiled.
First, I’m currently in Seattle attending the International Food Bloggers Conference with about 300 other food lovers. If you’ve never attended a food blogging conference it’s basically 48 plus hours of eating, drinking, laughing and discussing those things that bore all your other non-food obsessed friends. Complemented by helpful information for blogging, writing and food photography, of course.
I got a good laugh when Mark Briggs, the instructor of the Entrepreunerial Journalism session, said that we (as food bloggers) are different with all our happy attitudes, eagerness to meet people and introduce others. I’ve mentioned this before. You simply can’t be grumpy when it comes to food. We are a great bunch to be around.
So that’s one reason I’m spoiled. The second has to do with my visit to Pike Place Market today. My husband and I visited Seattle several years ago and the one thing I could not wait for was this market. I absolutely loved it.

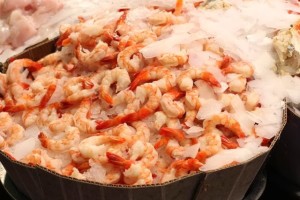
Fast forward to my life now. I walked to the market today as soon as I got into downtown. I marveled over the gorgeous flowers, the European shops and the seafood. I stopped by the water, snapped a few photos. Then I sighed, feeling disappointed.
What is wrong with me? I’m at one of the most awesome markets in the world and I feel disappointed? How much of a food snob can I be? It was then I realized what has happened.
I’m becoming a full-fledged California girl and California foodie. At that moment it became even more evident to me just how lucky I am. You really cannot beat California agriculture (big and small).
So here I am at the this conference feeling like the luckiest person in the world both because I have access to amazing food, but also because this food is now my job as a freelance writer, recipe developer and food photographer outside of this blog. Life is good.
As part of attending this conference I made a commitment to blog about it, so I’ll be taking a short break from recipe posts to share some of the amazing food and drink from the weekend. And if you are a blogger, I’ll share any great tips I learn, too.
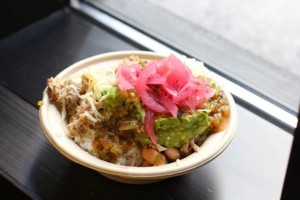
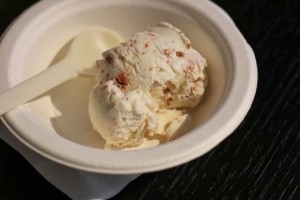
After my self-reflective trip to the market, the conference got off to a great start. We started with food, of course. Burrito bowls from Chipotle (the pickled onions were a tasty touch) and Red Velvet ice cream from a local sweet shop, Cupcake Royale.
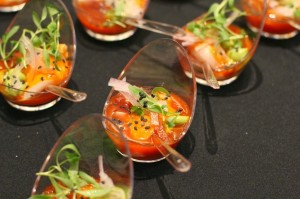
Next came an inspiring keynote from Dorie Greenspan (an honor to hear her speak), then a food tasting of natural products from Amazon.com Grocery, and learning sessions. Then a Taste of Seattle and Gourmet Fair. See, more food.
Not to make you hungry or anything, but here are a few highlights from my day.
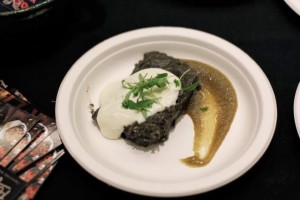
Sablefish Ceviche with guajillo chile, lime, onion, cilantro, serrano and black sesame, and Huitlacoche Tamale (you know, that Mexican corn that grows fungus), from Poquitos. Both delicious.

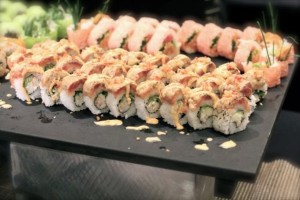
Great sushi from the W hotel.


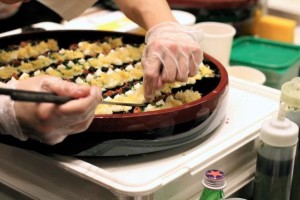
Baked potato and tofu sushi from Blue C Sushi. Interesting, but so good!

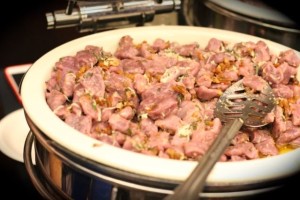
Purple potato gnocchi with pork belly. I had to try this since I’ve played with my own blue potato gnocchi. This version was outstanding!

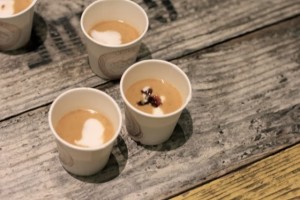
Sweet Potato Coconut Curry Bisque from Volunteer Park Cafe. One of my favorites!

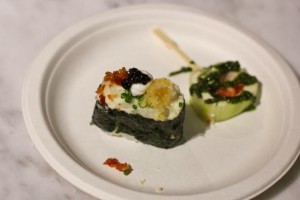
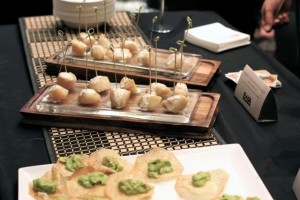
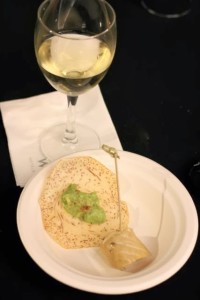
Asian inspired guacamole with ginger. And my very favorite for the night — smoked scallop from Boka. It was one of the best things I have hand in long time, and I told the chef so. The flavor was amazing. Now I want to experiment with smoking scallops.

Disclosure: I was required to write 3 posts about my experiences at IFBC in order to receive a discounted registration fee. This is email 1 of 3. The weekend will involve many free products and foods from companies and restaurants that I may or may not write about. Thoughts are my own. I am not required to write about these foods or companies and will receive no compensation for doing so.  

A Day at the San Francisco Cooking School

August 14, 2013

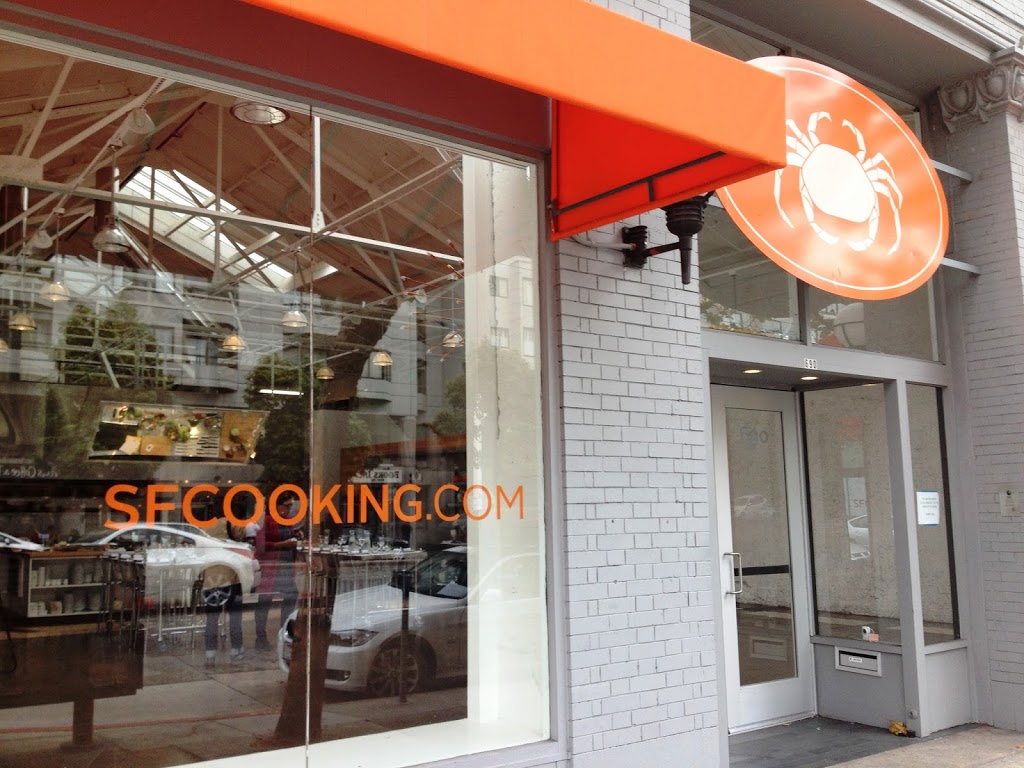
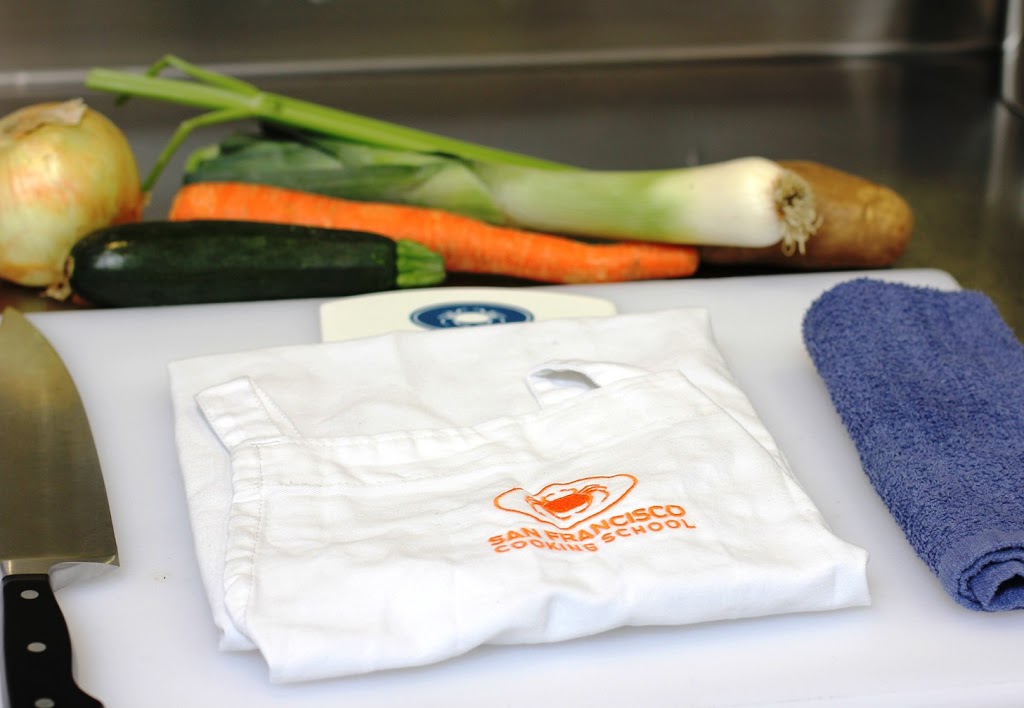
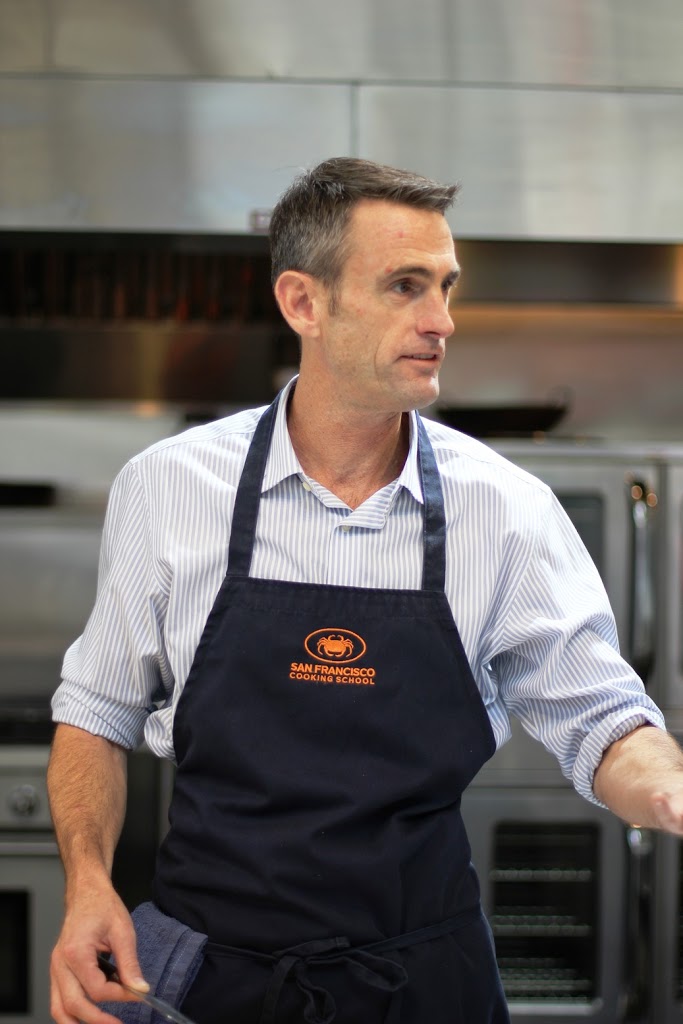
From a distance it doesn’t look like a cooking school. It could easily be mistaken for a boutique, or better yet, an art gallery. But once the glare of the windows clears and you open the door, if you have even the slightest interest in cooking, your heart skips a beat. It’s then that you realize that this is an art gallery, a hands-on gallery for the art of cooking.

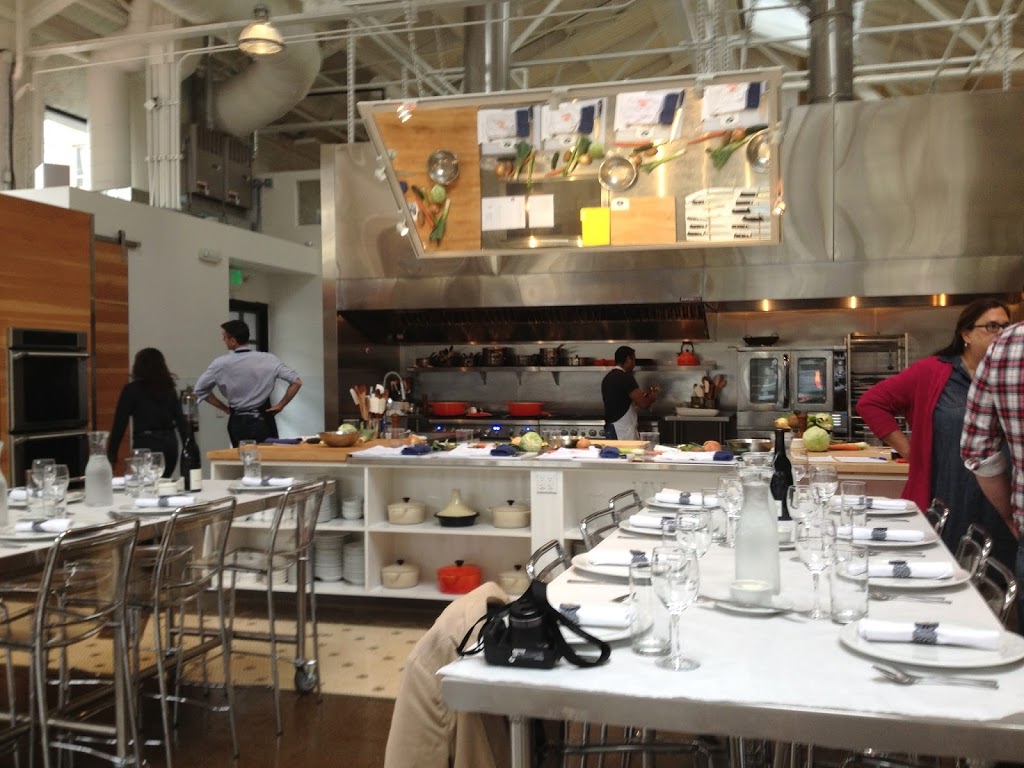
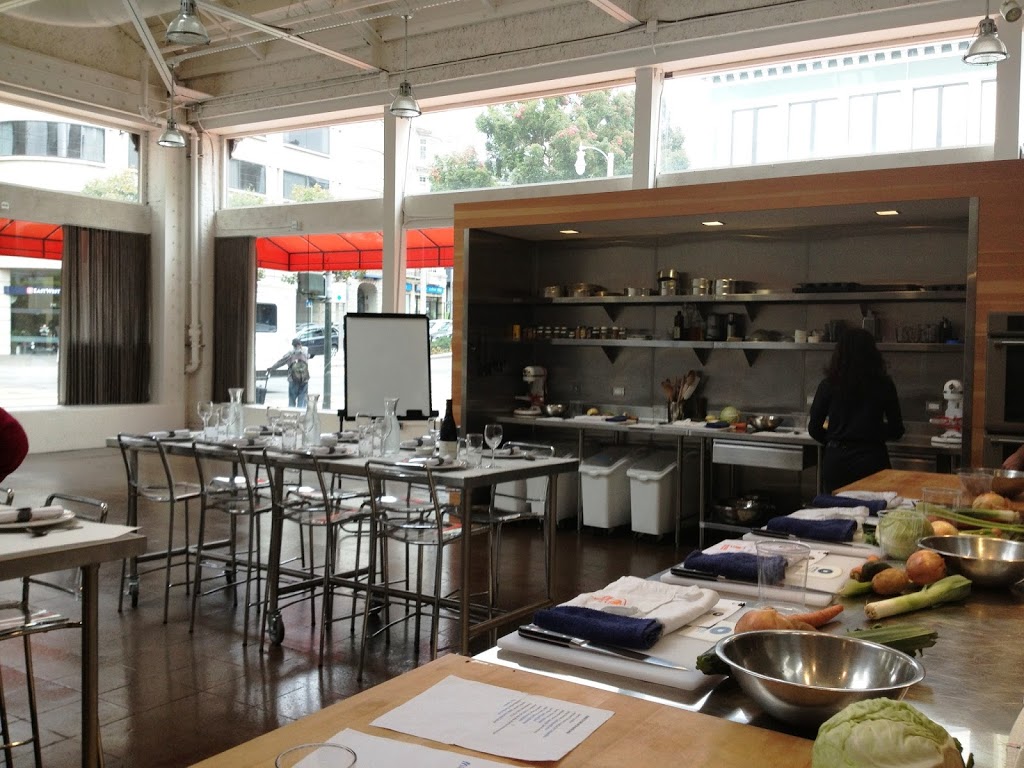
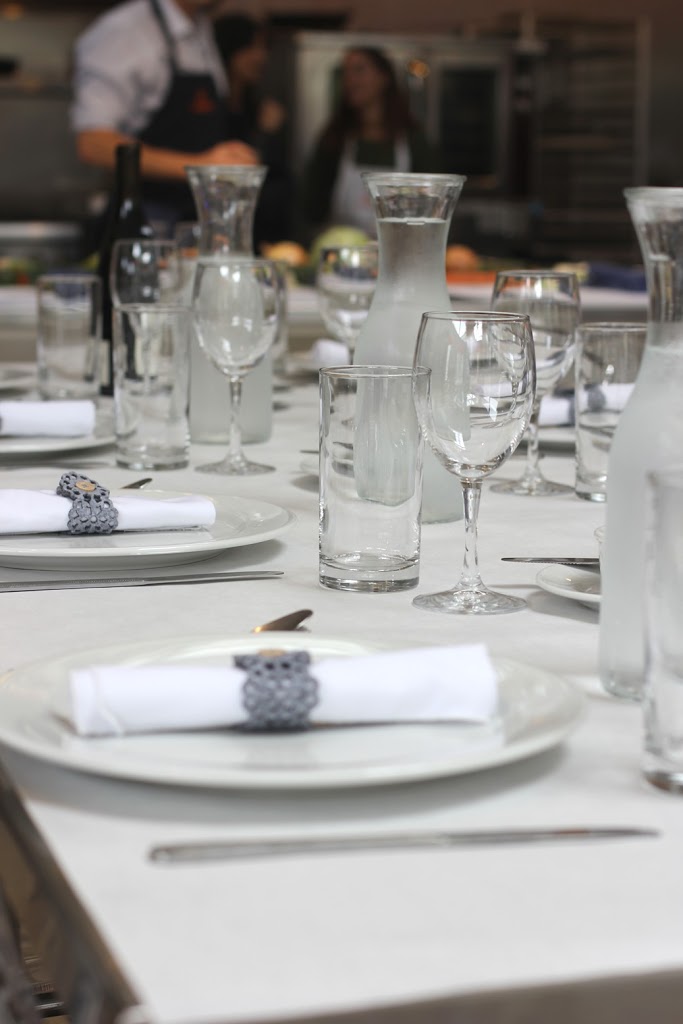
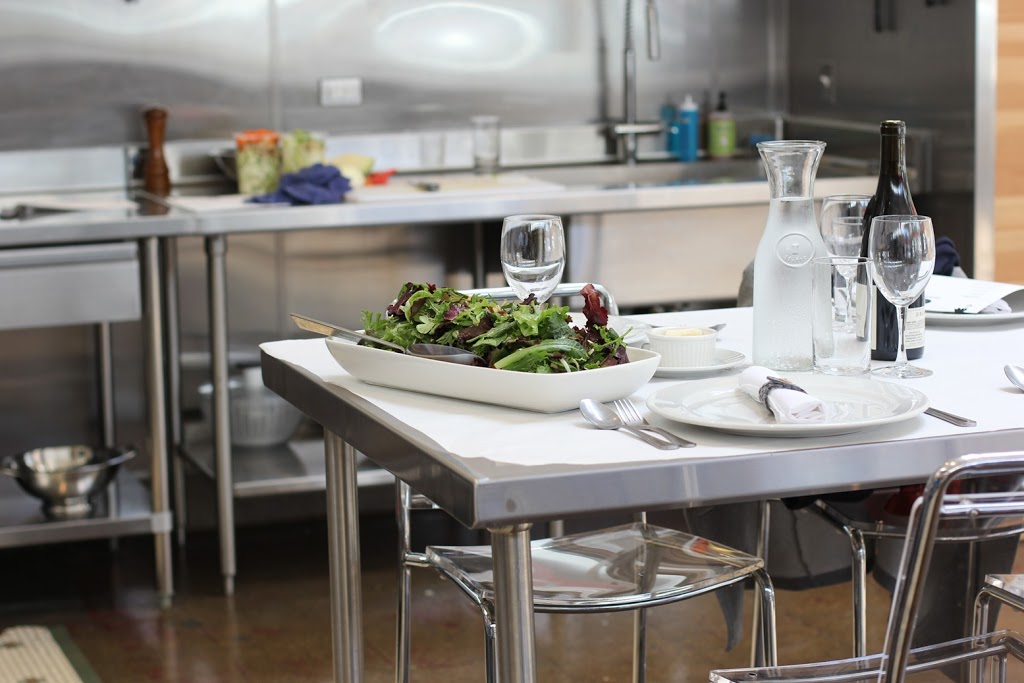
Beautifully set, modern tables were the first thing I encountered. A clear sign that lunch would be delicious. Then the colorful Dutch ovens and well-organized white dishes that line each shelf caught my attention. I marveled over the ovens and ranges for a bit, and then I found my work station.


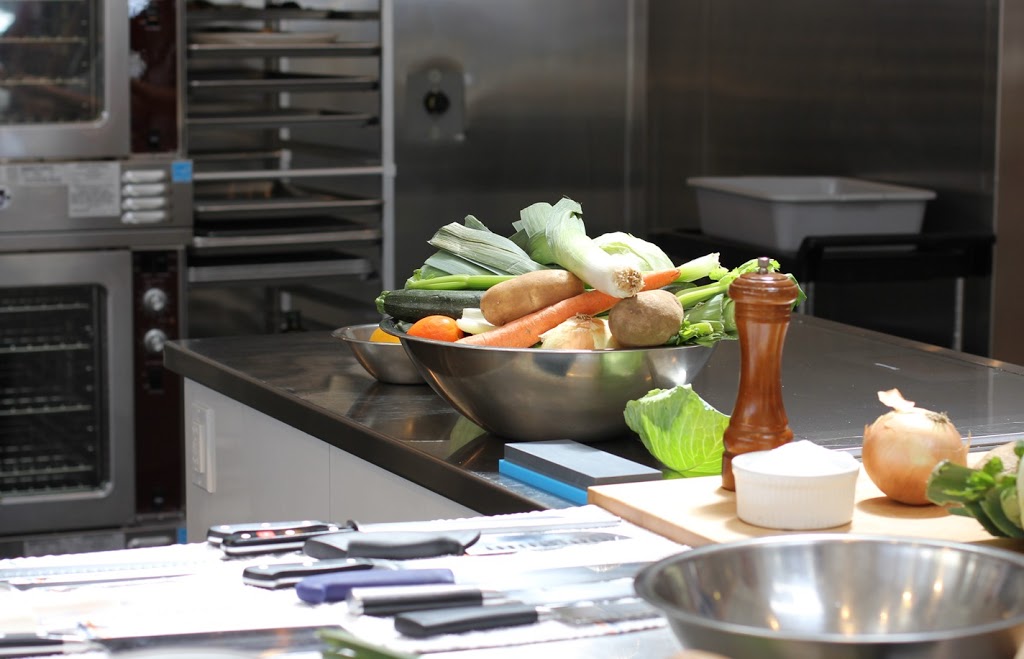
This was my first time visiting the San Francisco Cooking School. The 10 or 12 of us there were the lucky ones who responded quickly enough to an email inviting us to attend a Knife Skills workshop for food media.

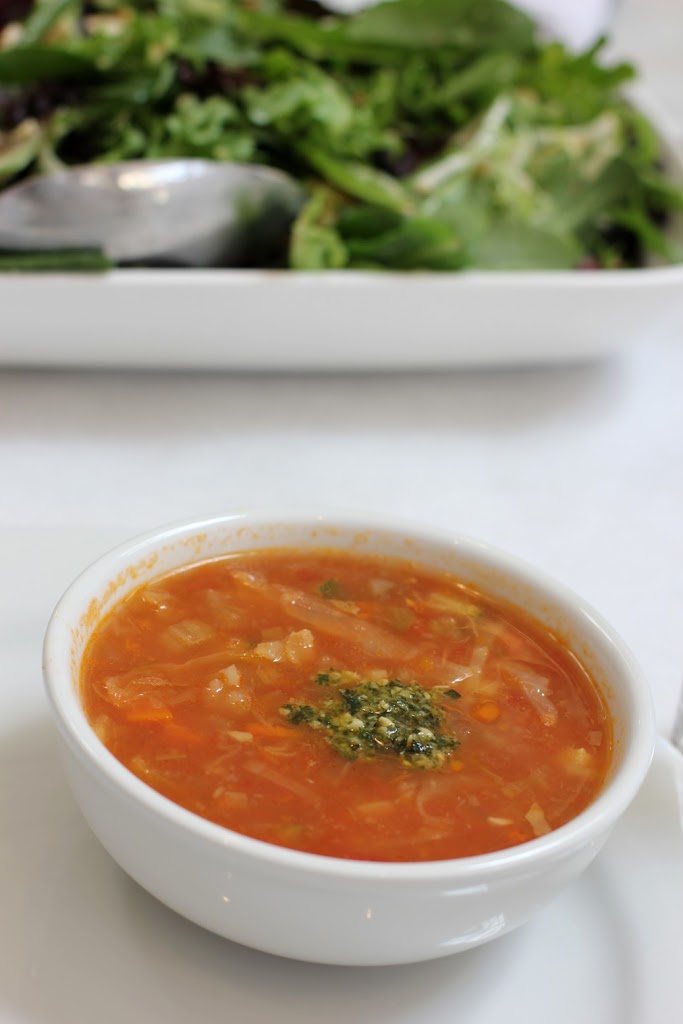
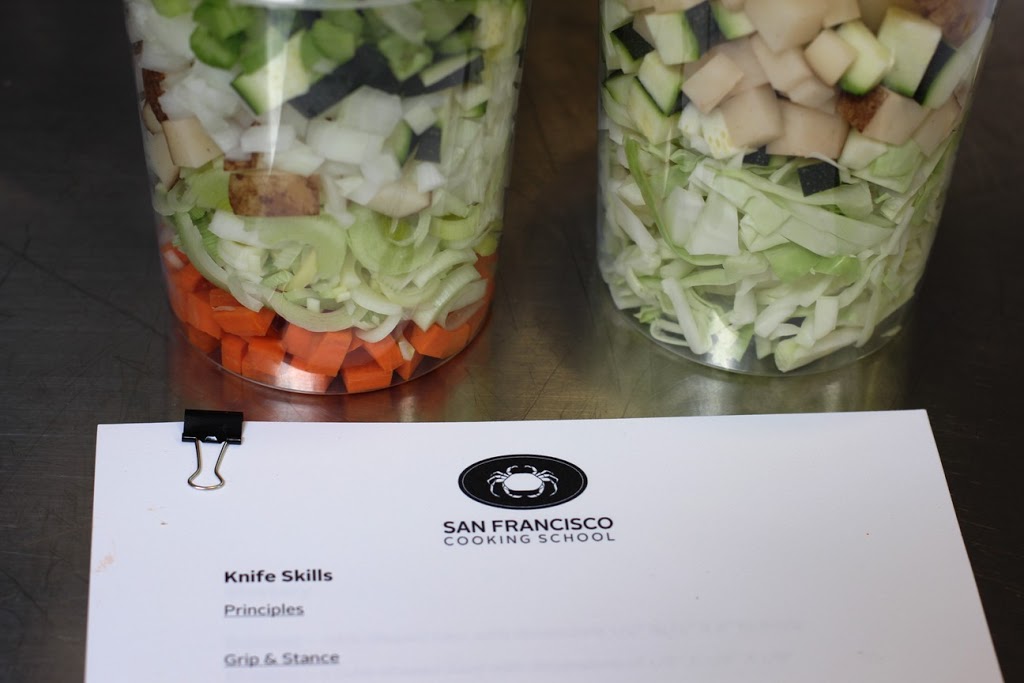
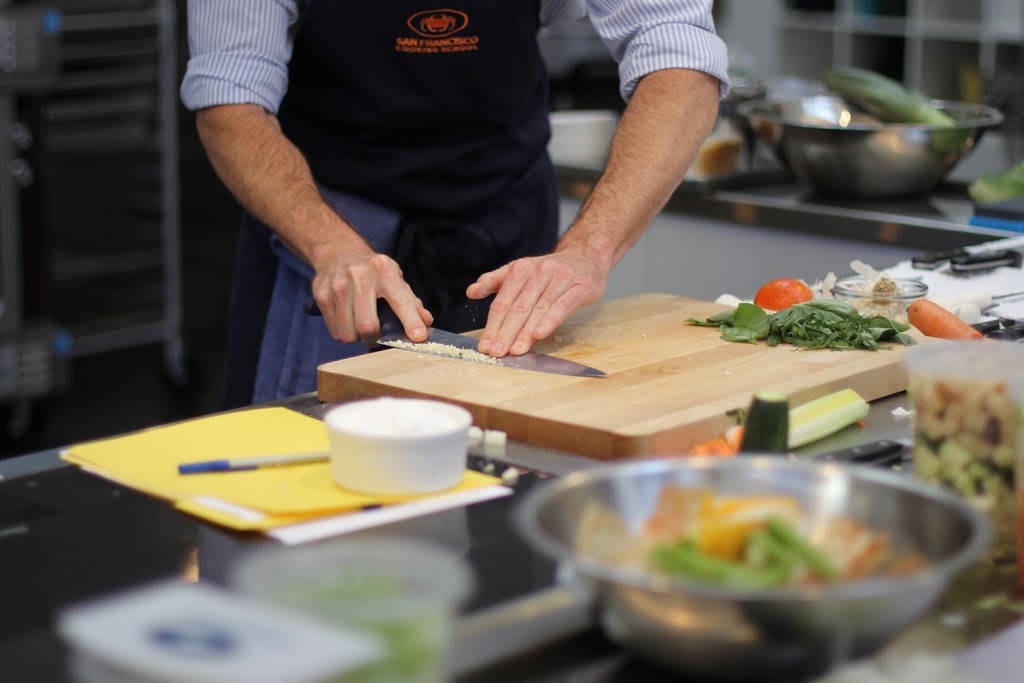
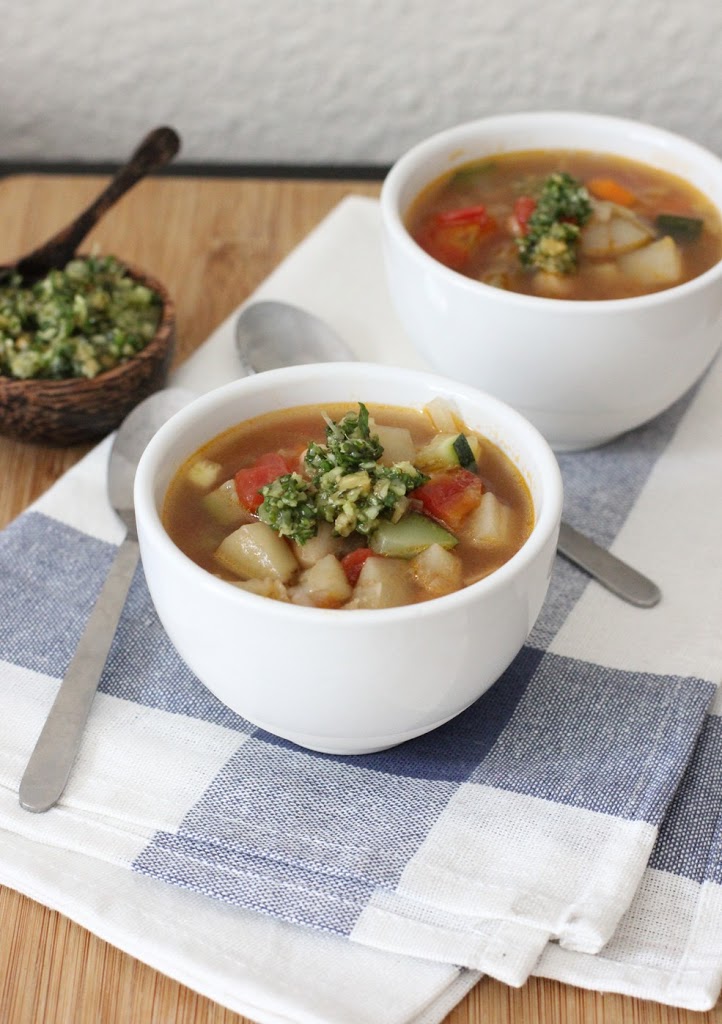
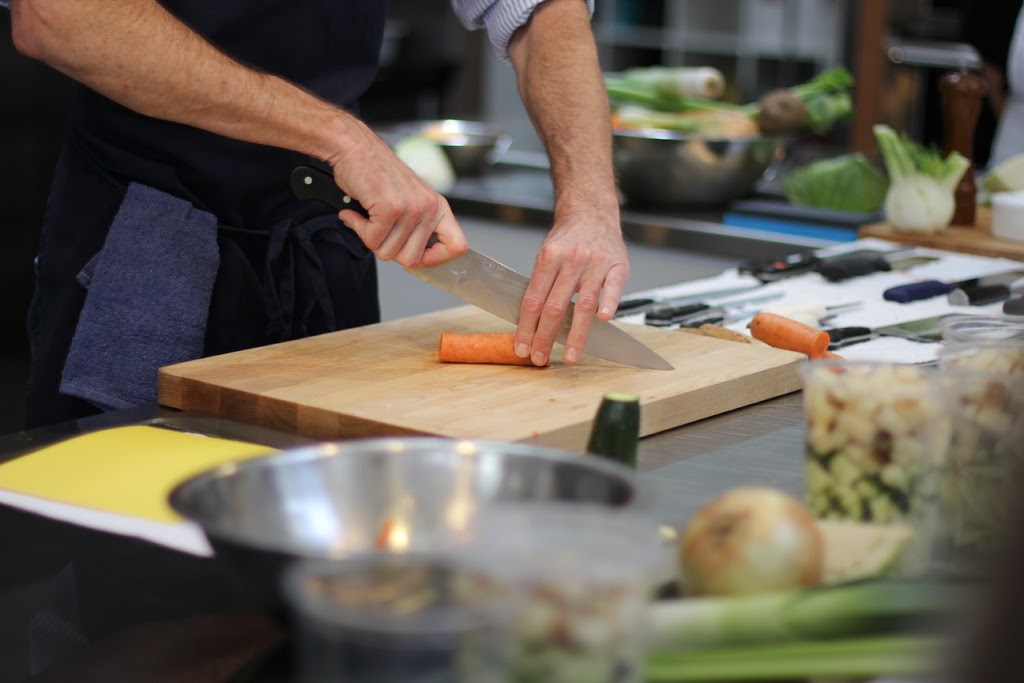
We received a condensed version of the class with instruction on the various knife cuts while we prepped the ingredients for Minestrone Soup with Pesto. David taught us about batonnet and julienne while Jodi filled us in on the details of the school and the classes they offer.

What a diverse line up of classes. In addition to Knife Skills, you can take courses in Cooking Fundamentals, Soba Making, French Macarons, Recipe Testing and Development along with their Cook the Book series which features recipes from cookbooks focused on a variety of ethnic cuisines. If you want to take your cooking beyond your own kitchen, they also offer full-time and part-time culinary and pastry arts certificate programs.

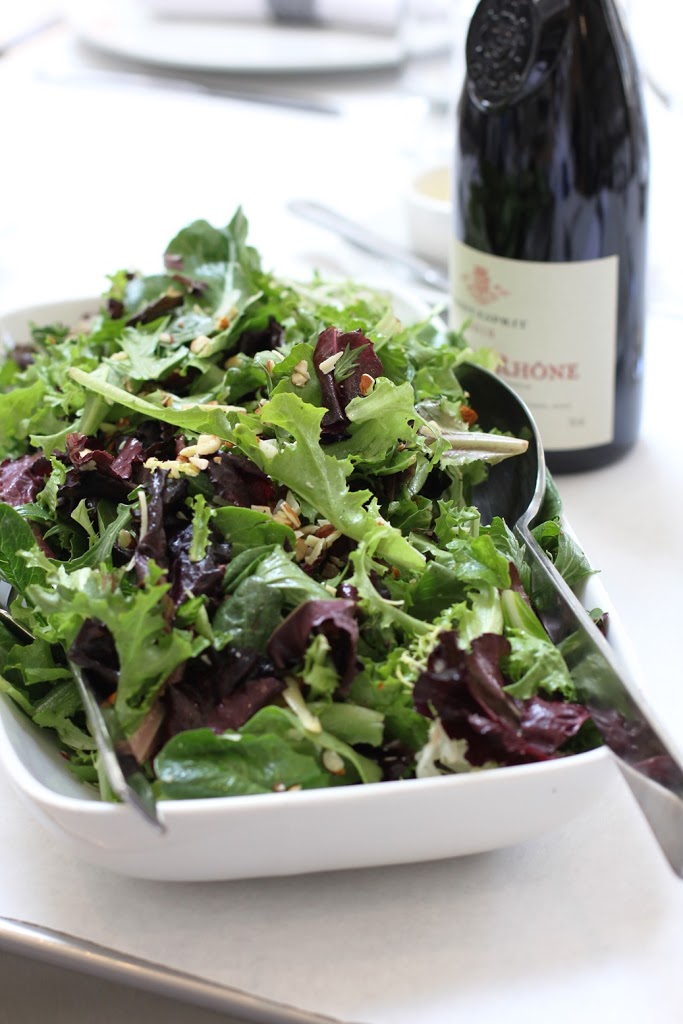
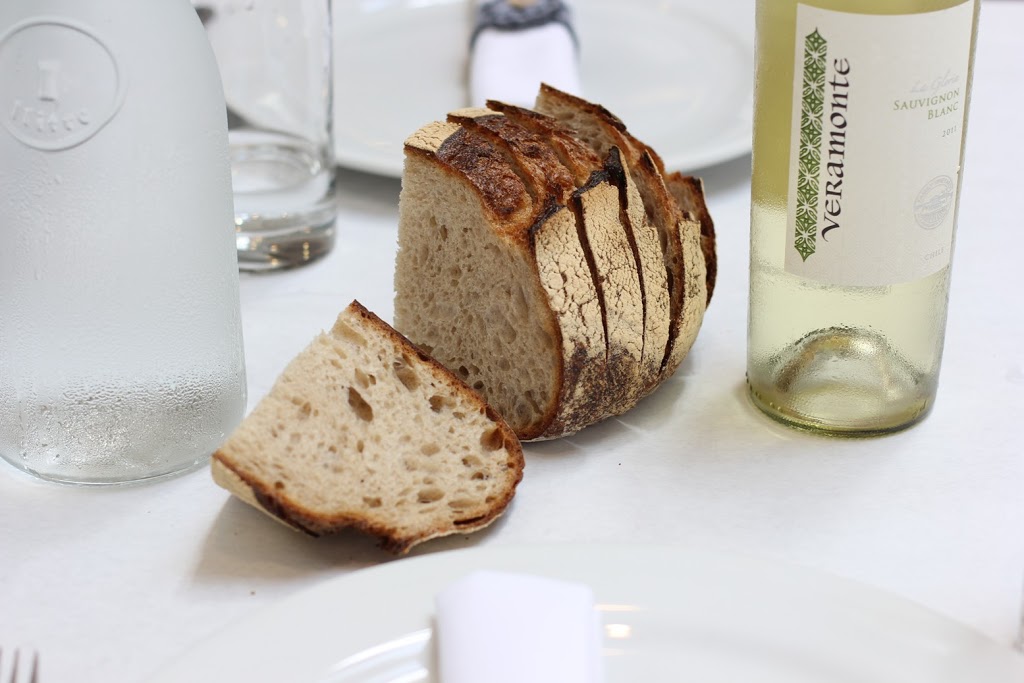
As we chopped up the ingredients that we later took home to make our own minestrone soup, David finished up the class by making a rustic pesto. Jodi served up the soup they made earlier which would serve as our lunch along with crusty bread, a delicious salad with seasonal stone fruits, and wine.

I’ll admit, I’m not the biggest minestrone fan, but the pesto on this soup made all the difference. After more enjoyable conversation about the school with David and Jodi, we ended our meal with some of the best cookies I’ve had the pleasure of eating – almond, chocolate, candied ginger, and rosemary and cornmeal. These cookies had me scouring the website to find a course that would teach me how to make them.

Jodi granted me permission to reprint the soup recipe for you. It is the perfect summer-to-autumn transition meal. It is warm and comforting for the cooler days ahead, and it uses up late summer and autumn vegetables. 

Enjoy the soup, and when in San Francisco, check out the San Francisco Cooking School. I assure you there are few more inspiring or enjoyable places to cook.

Minestrone with Pesto

Reprinted with permission from Jodi at the San Francisco Cooking School

Soup:
3 tbsp extra-virgin olive oil
1 ½ cups diced onion
2 medium carrots, cut in ½-inch dice
2 medium leeks, white and light green parts only, finely sliced
2 stalks celery, cut in ½-inch pieces
Coarse salt and fresh pepper to taste
2 potatoes, peeled and cut in ½-inch dice
6 cups hot chicken or vegetable stock
1 (14 ounce) can chopped tomatoes
1 ½ cups Savoy cabbage, thinly sliced
1 ½ cups zucchini, cut in ½-inch dice
1 (14 ounce) can cannellini beans, drained and rinsed

Pesto:
2 cups gently packed basil leaves
1 medium garlic clove, chopped
¼ cup toasted pine nuts
½ cup extra-virgin olive oil
½ cup freshly grated Parmesan

In a large stock pot, heat the olive oil over medium heat. Stir in the onions, carrots, leeks and celery with a pinch each of salt and pepper. Cook until the vegetables are lightly browned and begin to soften, 5-6 minutes. Add the potatoes and cook, stirring occasionally, 2-3 minutes more.

Stir in the chicken broth, tomatoes and a pinch each of salt and pepper and cook until all the vegetables are tender, about 1 hour. Add the cabbage, zucchini and beans. Cook until cabbage and zucchini are just tender with a bit of a bite, about 6 minutes more.

While the soup is cooking, make the pesto. Using your knife, finely chop the basil, garlic, and pine nuts together. Place in a small bowl and add the oil until the mixture is shiny and moist. Stir in the cheese and season to taste with salt and pepper.

Serve the soup with a drizzle of the fresh pesto over the top. Serves 6.

Disclosure:  My visit to the San Francisco Cooking School was part of a free food media event. I was not required to post about my visit and received no compensation for doing so.

Peanut Tea Cookies Recipe and a Weekend with The Peanut Institute

May 13, 2013

This year was our first time spending Derby Day in California and I had every intention of celebrating big — dressing up, mint juleps, meeting some University of Kentucky Alumni folks at a party in the city. And then I got an invitation that caused me to quickly trade pecan chocolate chip bourbon pies for peanuts.

I spent the first weekend in May at a sponsored Science & Culinary retreat on Plant-Powered Eating in Napa hosted by The Peanut Institute. A combination of nutritional research and cooking — I can think of few things that are more, well…me.

Truth be told, I was already a huge fan of peanuts. My preferred sandwich growing up was not PB&J, but straight up peanut butter. Now days I tend to skip over the sweetened versions and fully enjoy natural peanut butters with nuts and salt only. We also eat a fair share of dry roasted, unsalted nuts and I find shelling my own peanuts oddly rewarding.

So I really needed no convincing as to why one should eat peanuts as part of a plant-based diet, but I enjoyed the informative research presentations about recent studies using peanuts and the resulting health benefits.

You can expect more posts sharing the information learned at the retreat, but first I want to focus on a few things — the cooking (at the Culinary Institute of America at Greystone in Napa, no less!), the incredibly diverse uses for peanuts in both sweet and savory cooking, and finally, my new favorite ingredient — peanut flour.

As you can imagine, almost every course of every meal of the weekend was touched by the peanut in some way. On Saturday night, we enjoyed an outstanding meal from the chefs at Hess Collection Winery. This was my first visit to this winery, but I encourage you to make it a stop if you are in Napa. The Chardonnay was outstanding and the tour of the art collection still has me a bit speechless.

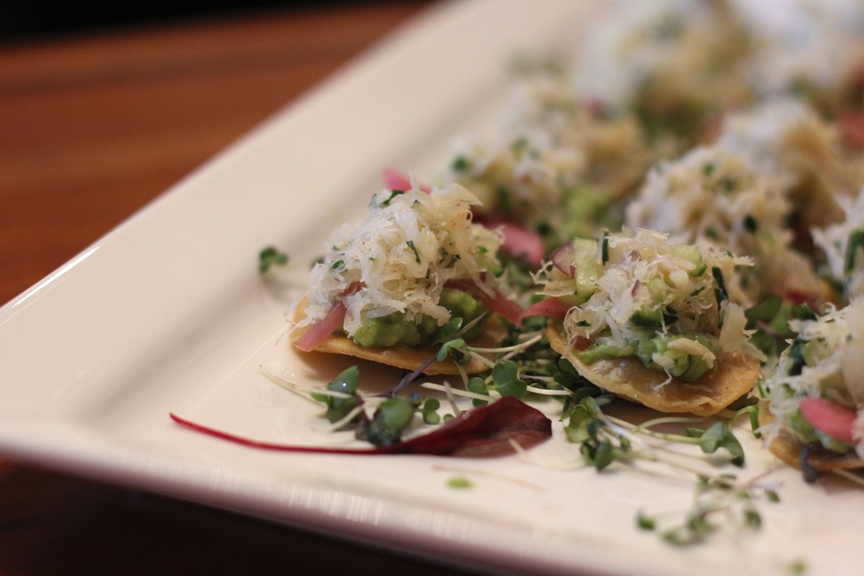
It started with appetizers of Crab Ceviche.

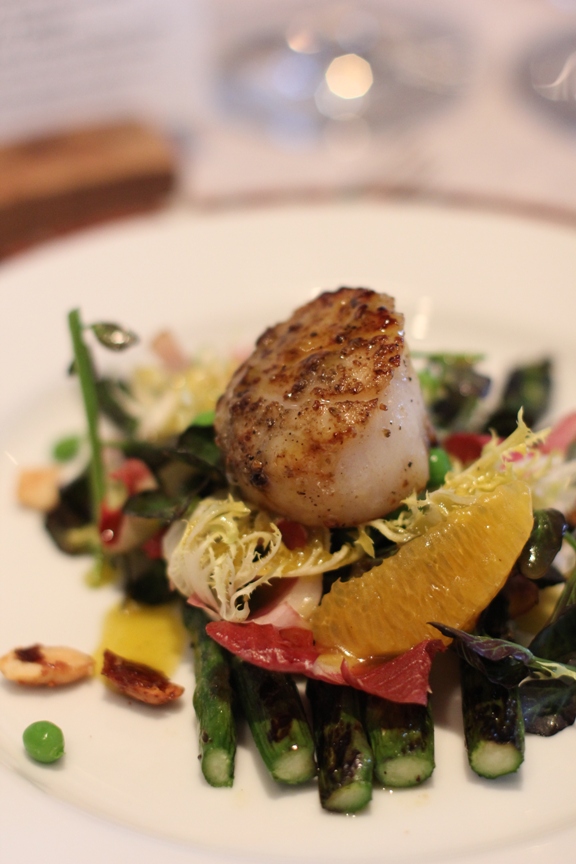
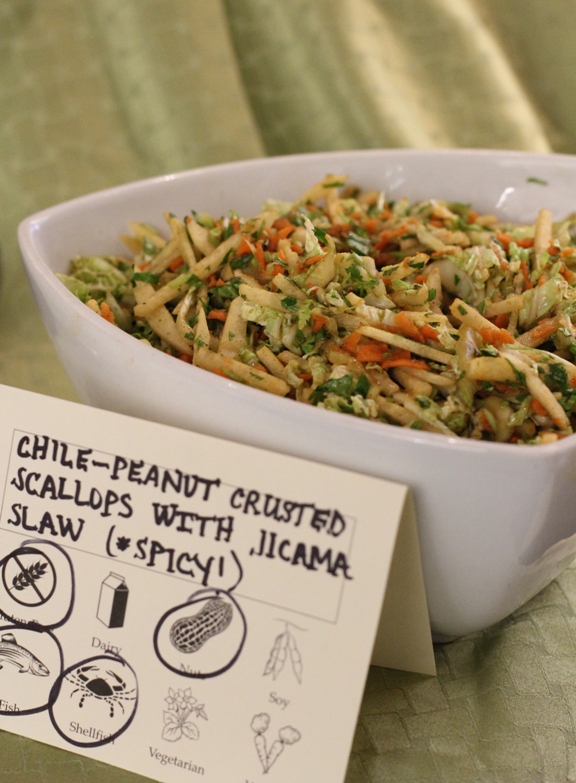
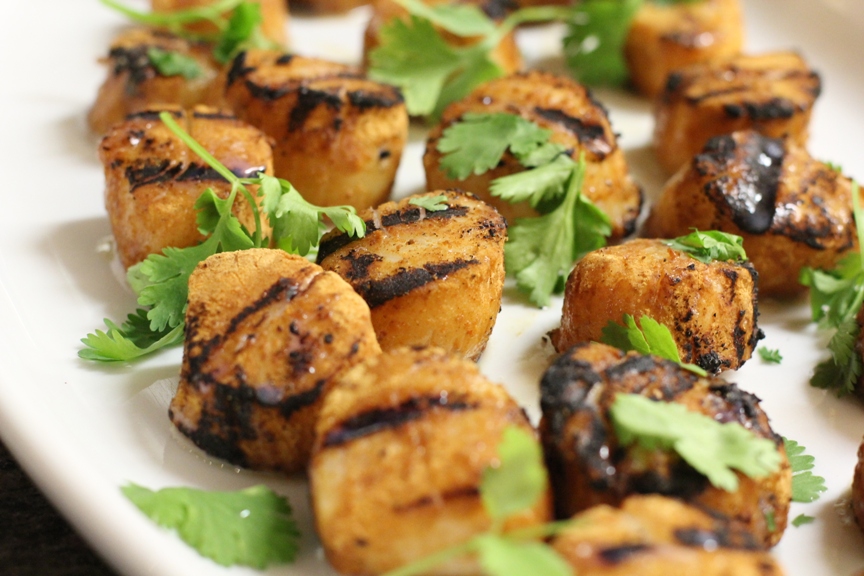
Our salad included a Fennel Dusted Scallop over Red Watercress, Frisee, Endive, English Peas, Navel Oranges, Grilled Asparagus and Togarashi Candied Peanuts with a Wildflower Honey Citrus Vinaigrette. Is it possible to fit more seasonal ingredients in one dish? I think it may have been my favorite of the weekend.

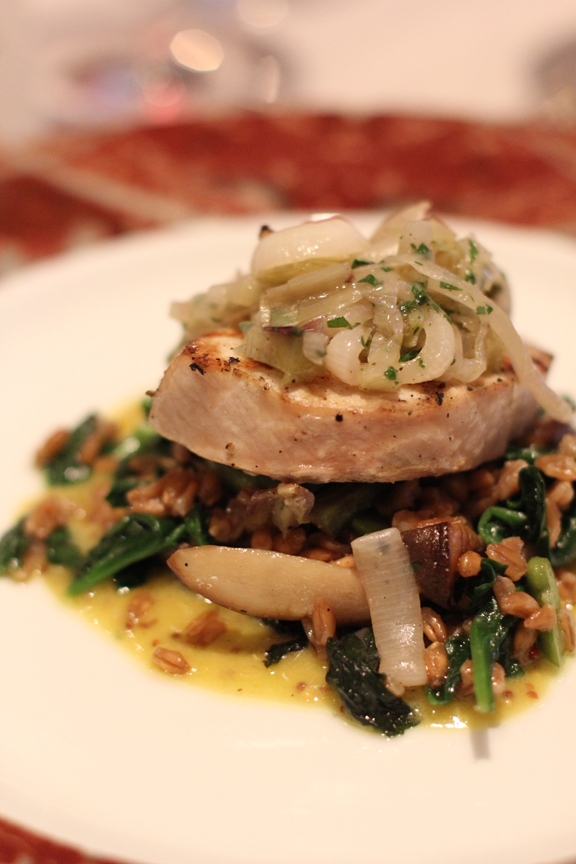
Dinner included Oak Fire Grilled Line Caught Local Swordfish with Toasted Farro, Lollipop Kale, Royal Trumpet Mushrooms and Fava Beans with Truffle Whole Grain Mustard Sauce and Fresh Herb & Spring Onion Relish.

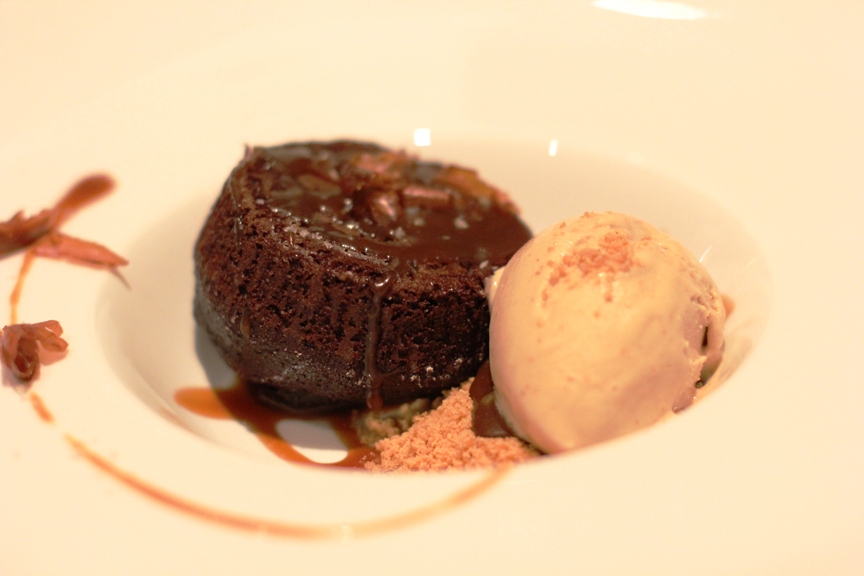
Dessert was a creative twist on the southern practice of dropping a few salted peanuts into a bottle of cola before drinking it — Chocolate Cola Cake, Peanut Horchata Sorbet and Cola Caramel.

Sunday was spent at the CIA with peanut-focused cooking demos and group cooking sessions. Our lunch feast was pretty incredible. We were split into teams, each assigned recipes to make which were focused on a food region. Our group had Latin, and this was our final dish.

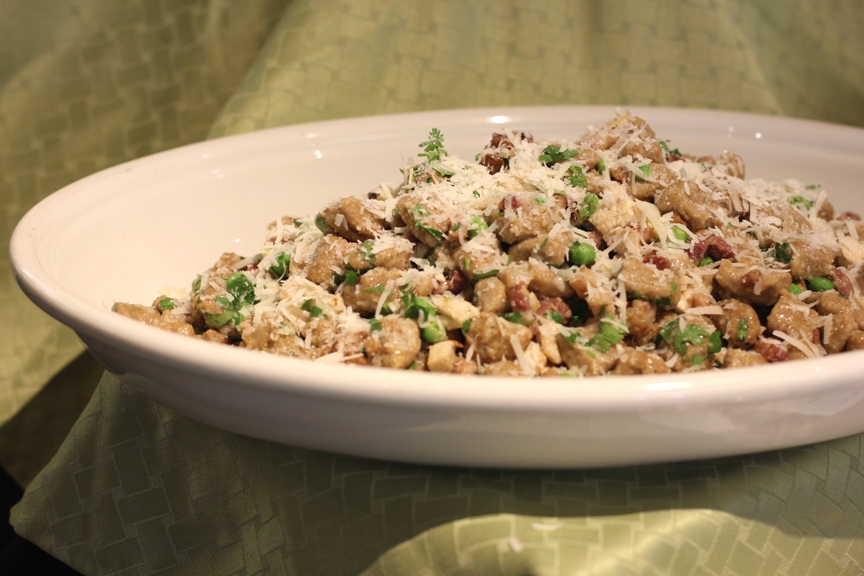
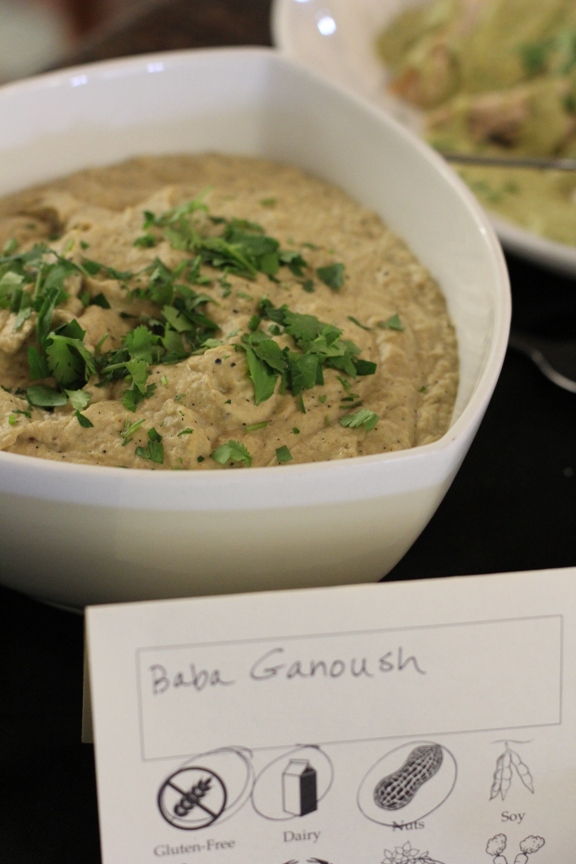
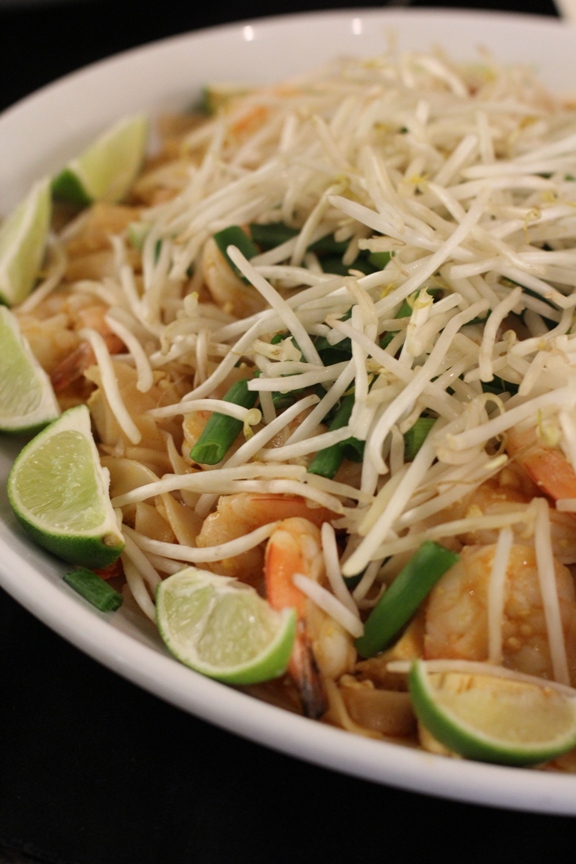
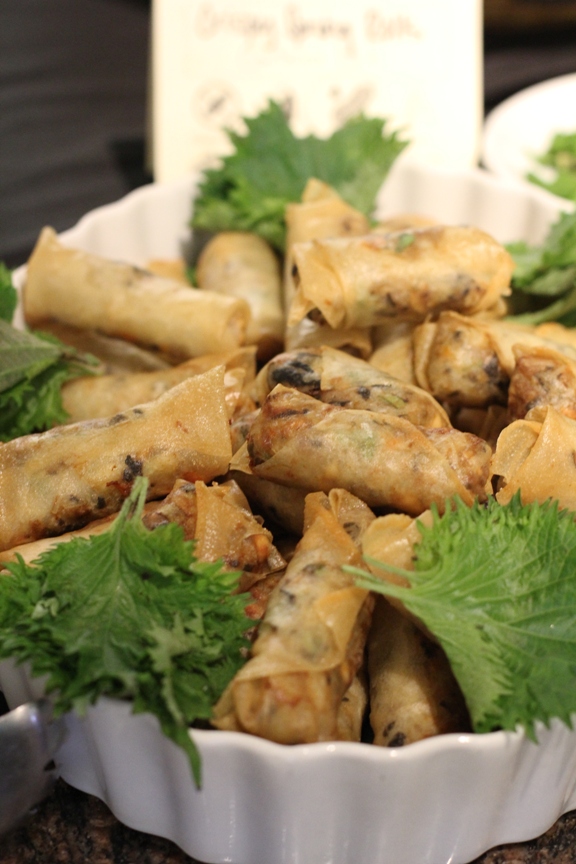
The other dishes ranged from a gnocchi made with peanut flour to baba ganoush made with peanut butter. Here are a few.

Peanut Gnocchi with Peas and Pancetta

 Pad Thai

Crispy Spring Rolls

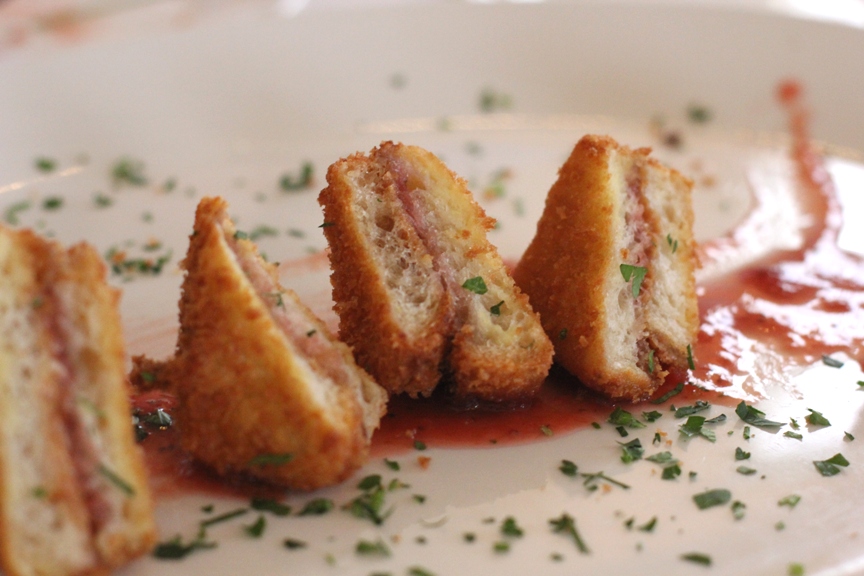
Our dinner Sunday night was at the quaint Cindy’s Backstreet Kitchen in downtown Napa. The food was delicious, but with lots of lively conversation I got fewer pictures this time around. That is, except for the one dish that gets the reward for the most peanut creativity.

Crispy Peanut Butter & Jelly Sliders! These were like little Monte Cristo sandwiches without the meat. Seriously tasty!

Not a bad weekend learning about the versatility of peanuts, right?

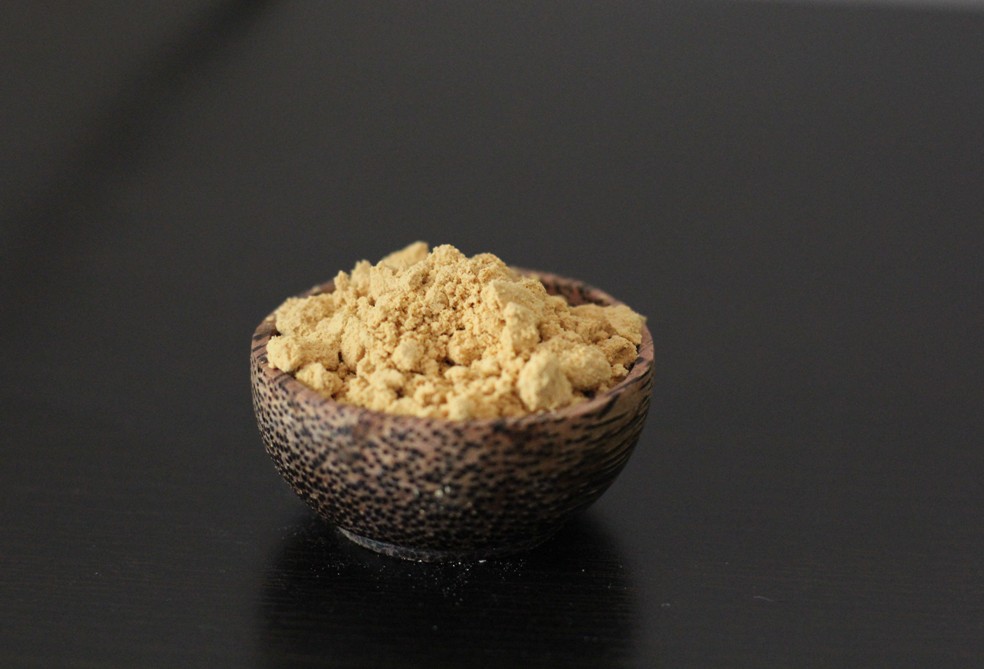
But now let’s talk about this peanut flour. It was mentioned the first day of presentations and everyone’s ears immediately perked up. Some people said they once bought it at Trader Joe’s, but that they no longer carry it. I had heard of it before, but that was the extent of my knowledge.

There are a few different varieties — lightly toasted, darker toasted and varying fat contents. Several of the recipes that were demonstrated or that we made used peanut flour. So I had a few ideas in my head before I got my bag home.

First of all, I’m a little amazed by it. If you taste it straight out of the bag, it’s actually quite good with a roasted peanut flavor without any grittiness. This is what makes it perfect for stirring into oatmeal and also for breakfast shakes. In fact, I’ve found the flour helps me get a more concentrated form of protein (and peanut flavor) into breakfast while reducing the calories I would get from adding peanut butter.

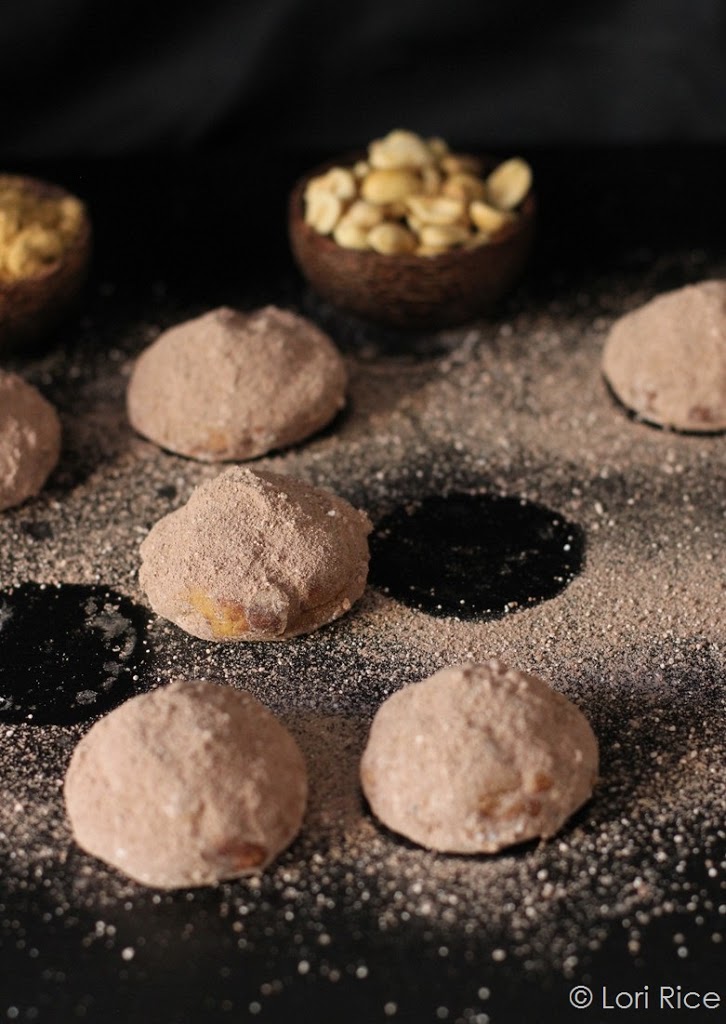
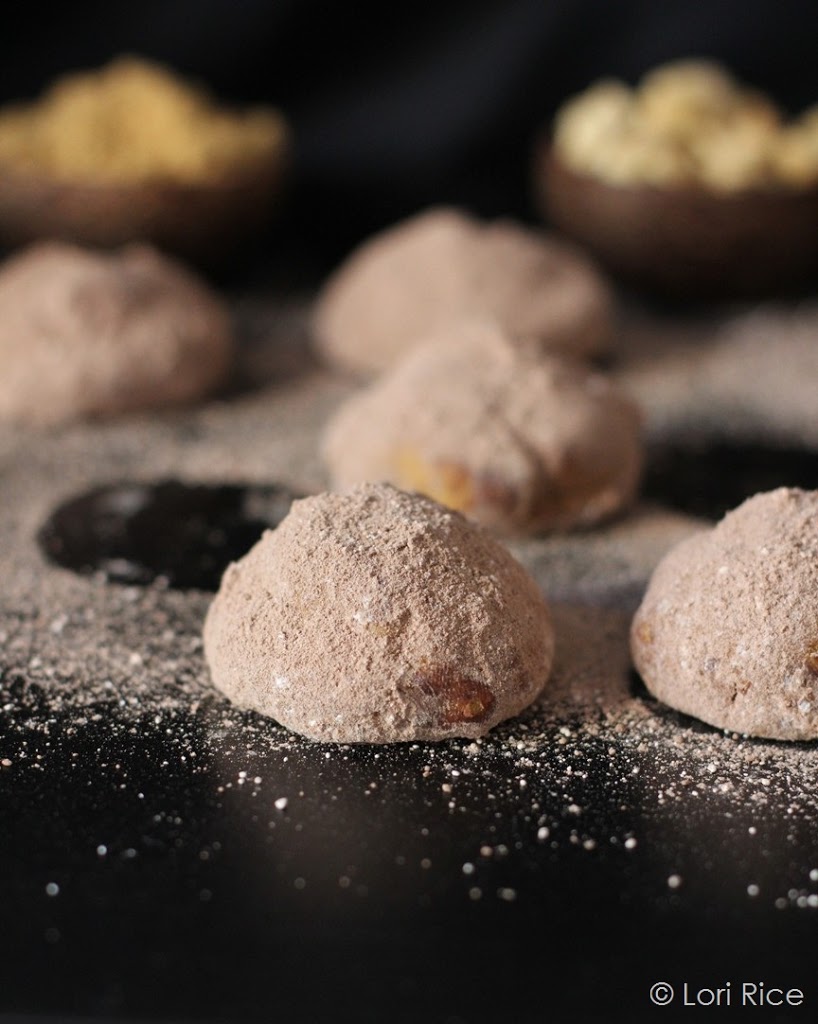
Aside from all this healthy breakfast stuff, I couldn’t wait to try the peanut flour in  my baking. I was flipping through old posts when I got an idea. A few years ago, as part of the annual blogger holiday recipe exchange, I made Russian Tea Cakes. These were very similar to Mexican Wedding Cakes – light and tender cookies with nuts, coated in powdered sugar. I immediately wondered what might happen if I made a peanut version.

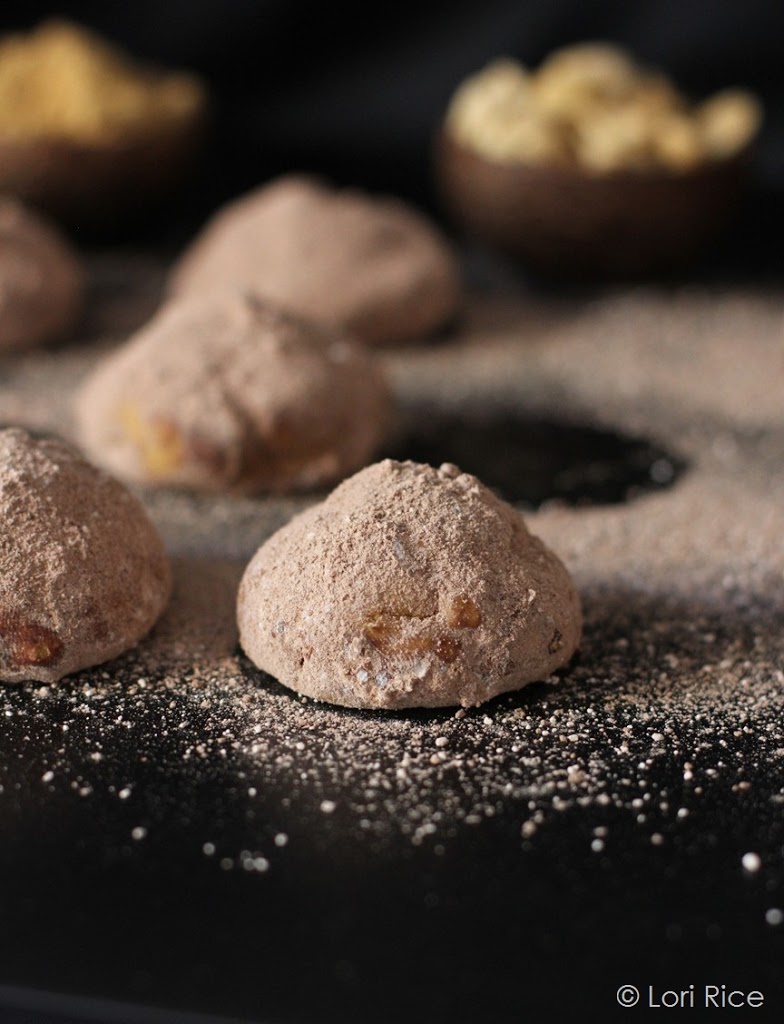
I was hoping to use all peanut flour, but I couldn’t get the consistency of the dough just right so I did add in a ¼ cup of unbleached, all-purpose flour. I used chopped dry roasted, lightly salted peanuts (so I omitted any extra salt in the recipe) and dusted the cookies with powdered sugar and cocoa powder.

First, your kitchen will smell amazing for hours after baking these cookies. And I’m thrilled with the result. They are a tasty peanutty twist on a classic.

Peanut Tea Cookies 

Modified from Russian Tea Cakes

½ cup unsalted butter, softened
½ cup powdered (confectioner’s) sugar
½ tsp vanilla
1 cup + 2 tbsp 28% fat, light peanut flour
¼ cup unbleached all-purpose flour
⅓ cup dry roasted, lightly salted peanuts, chopped

For dusting:

¼ cup powdered sugar
¼ cup unsweetened cocoa powder
Preheat the oven to 400 degrees F.

In the bowl of an electric mixer, add the butter and powdered sugar, beat until smooth, about 2 minutes. Mix in the vanilla.

Add the peanut flour and white flour and mix on low until combined, scraping the sides as needed. Mix in the peanuts.

Roll the dough into balls just shy of the size of a golf ball. Place on an ungreased baking sheet or a baking sheet covered with a baking mat. Bake for 10 minutes, or until the bottom edges begin to brown. Be careful not to over bake.

Remove the baking sheet from the oven and do not disturb. The cookies are very fragile when warm.

In a flat dish, stir together the powdered sugar and cocoa powder.  Once the cookies are completely cool, after about 15 -20 minutes, carefully remove them from the baking pan and roll in the dusting powder until completely coated. Store in a single layer in an airtight container for up to three days. Makes 12 cookies.


Disclosure: My attendance to the Science & Culinary retreat May 4-6, 2013 was fully sponsored by The Peanut Institute. The peanut flour from Old Virginia Byrd Mill used in this recipe was provided to me at this event. I was not required to post about this event or any products received, and I received no compensation for doing so. Thoughts are my own. I liked peanuts and peanut butter long before blogs existed and the FTC set disclosure regulations for them.
An Evening with Ruth Reichl and Kentucky Food

October 19, 2012

So far in 2012 I have had some excellent opportunities to see a few of my food, culture and travel heroes. (Yes, I tend to lump those topics all into the same group.) It started in February with Anthony Bourdain and Eric Ripert. It continued in the spring with Marion Nestle. And this fall it was Ruth Reichl.

Ruth was brought to the area through our local Kentucky Women’s Writers Conference, and I can’t begin to express how motivating her talk was. When your focus is food, health and agriculture it is easy to get swallowed up in the negativity of obesity statistics and food policy arguments.

Kentucky Chef Ouita Michel and Ruth Reichl

Ruth’s presentation brought me back to why I fell in love with food (and all that it encompasses) in the first place – the culture. Those things that surround what we eat, why we eat it and where these practices come from.
Long story short, if you have the chance to hear her speak, go. She will have you longing for fresh-made yogurt and grilled fish in a remote Greek village before all is said and done.
That particular evening included more than the wonderful presentation. We are moving into the time of year here when everyone is preparing for a celebration of  Kentucky food, and the people who grow and produce it!

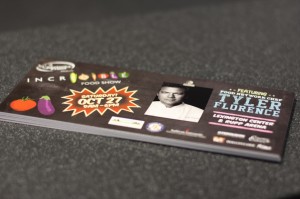
You may have seen my post about the Kentucky Proud Incredible Food Show last year. Well it’s that time of year again! The show goes on next Saturday, October 27th!

The wonderful organizers of that event invited Kentucky Food Bloggers out to a preview event and then provided us transportation to Ruth Reichl’s talk. Such a fun night of food!

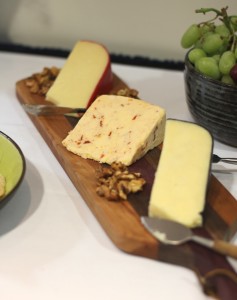
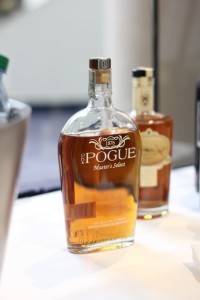
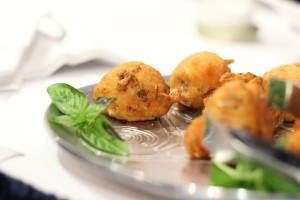
We were greeted with all kinds of goodies – Kentucky cheeses, bourbon and wine to name a few. Chef Brigitte Nguyen was on sight cooking up some delicious tomato fritters. These bites were like a corn fritter meets hushpuppy meets a garden fresh tomato. So good!


I love promoting great Kentucky foods so here are the details of this year’s event. Along with table after table of Kentucky food vendors there are several new features this year that I can’t wait for.

The Traditional Food Craft Area is going to have demos of how to make traditional Kentucky foods including sorghum, apple cider and apple butter. Local area restaurants will be in Restaurant Row offering tasting plates for purchase. The special guest this year will be Tyler Florence.

And the event I’m most interested in is the “When Pigs Fly” demonstration. Local chefs will be addressing the lost art of butchery while teaching the home cook how to break down a whole hog!

I’ll have a recap after the event as I hope to meet many new Kentucky food producers.

So tell me. Do you have an event like this in your area?

Pumpkin Peanut Butter Cookies Recipe

October 10, 2012

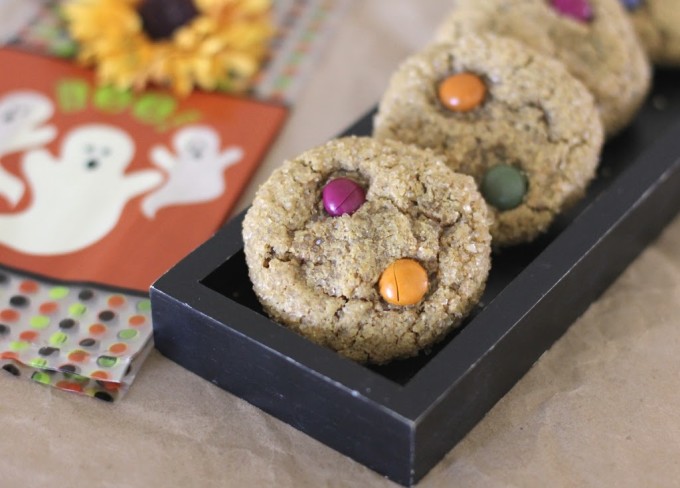
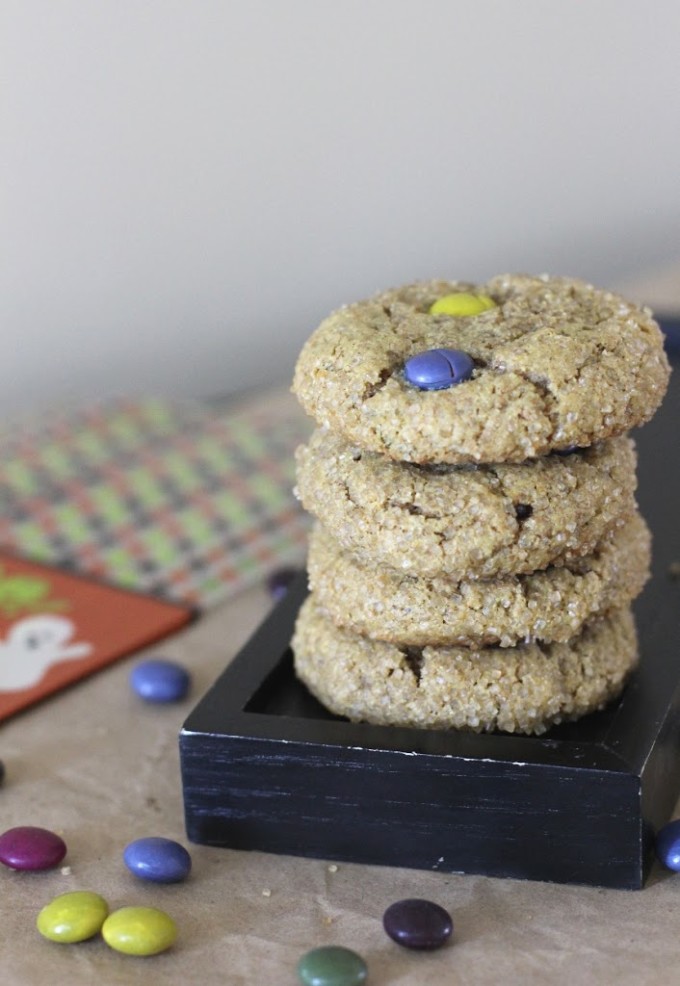
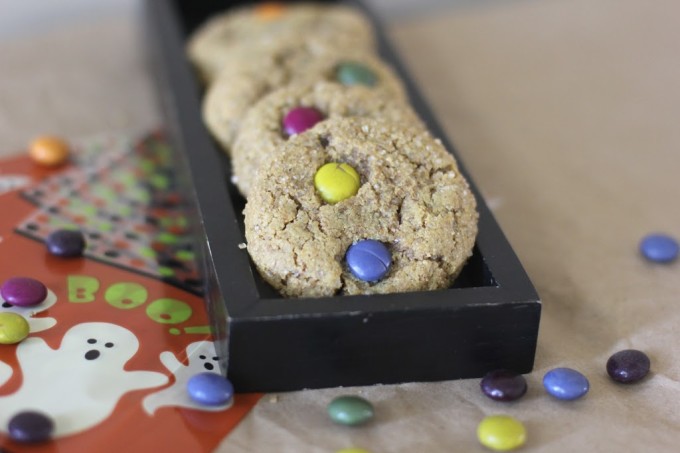
These pumpkin peanut butter cookies are one of my favorite cookies for the fall! They are chewy and full of pumpkin and peanut butter flavor! When I first made these a few years ago, I used UNREAL Chocolates that were sent to me for review, but you can easily substitute your favorite chocolate candies or simply use chocolate chips.

Pumpkin Peanut Butter Cookies Recipe | Fake Food Free

A couple of months ago I participated in a Twitter tasting party. Yeah, I didn’t know what it was either. I quickly learned that at a Twitter tasting everyone tries samples of a food while they tweet about the products with a group of like-minded folks. I’m not going to lie. It was a lot of fun!
 
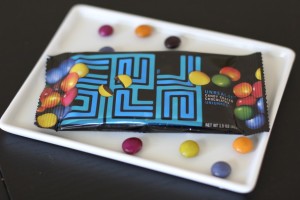
This tasting happened to be for UNREAL™ candy through Kitchen Play. I hadn’t heard of this candy before, and I quickly became intrigued by the information that was sent my way. 
 
First, let me start out by saying – candy is candy. It’s not something any of us should be consuming in mass amounts, but there is a reason I welcomed trying out UNREAL products. This candy is proof that you can still enjoy a treat that isn’t loaded with HFCS, artificial colors and preservatives.  I was even more impressed to learn that the dairy for their chocolate comes from pastured cows and the colorings for the candies are from plant sources such as beets and red cabbage. 

After the Twitter tasting, I thought I might try using the candies in some baking for Halloween. I have to admit that I since we’ve cut out the majority of processed foods from our diet, I do miss using candies in making creative cookies and cakes. That’s not to say I don’t have a peanut butter cup on occasion, but I’m just not comfortable promoting a recipe that uses these things, moderation or not.

UNREAL sent me a few more bags of their candy coated chocolates (UNREAL 41 and 54) so I could try out a new recipe. (I love the colors of these chocolates. With the plum, dark green and yellows they are the perfect color profile for fall.) 

I set out to make some whole wheat peanut butter cookies, and then added some pumpkin. This took the place of some of the butter, and made the cookies even more ideal for autumn. The chocolates baked up beautifully in the cookies. The result was a soft cookie with bites of rich chocolate that went well with the peanut butter and hint of pumpkin. 

Pumpkin Peanut Butter Cookies Recipe | Fake Food Free
Pumpkin Peanut Butter Cookies Recipe
Makes: 18 to 20 cookies
Write a review
Print
Ingredients
  1. ½ cup Demerara sugar (or raw sugar), plus extra for rolling cookies
  2. ½ cup mascavo (muscovado) sugar
  3. 4 tablespoon unsalted butter, softened
  4. ½ cup natural peanut butter (unsweetened, but salted)
  5. ¼ cup pumpkin puree (mine was from a fresh roasted pumpkin)
  6. 1 large egg
  7. ¼ teaspoon pure vanilla extract
  8. 1 ½ cups whole wheat flour
  9. ¾ teaspoon baking soda
  10. ½ teaspoon baking powder
  11. ¼ teaspoon fine ground sea salt
  12. 2 to 3 1.5-oz packages of UNREAL™ 41 Candy Coated Chocolates
Instructions
  1. Preheat the oven to 350 degrees F.
  2. In a mixer fitted with the paddle attachment, beat the sugars, butter and peanut butter for about 2 minutes on medium-high. Add the pumpkin, and blend in the egg with the mixer on low. Add the vanilla.
  3. In a separate bowl, whisk together the flour, baking soda, baking powder and salt. Slowly add the dry ingredients to the mixing bowl. Mix on low just until all ingredients are combined.
  4. Stir in the candy coated chocolate being careful not to break up the chocolates too much.
  5. Spoon out a generous 1 tablespoon of cookie dough and roll into a ball. Roll the ball in raw sugar. (You don’t have to roll the cookies in sugar, but it adds a nice crunch to the baked cookie.)
  6. Place on an ungreased cookie sheet and slightly flatten the cookies with your hands. Bake for 8-10 minutes, until the cookies are firm and the edges are browned. Allow to rest on the cookie sheet for about 1 minute and then transfer to a cooling rack.
Fake Food Free https://www.fakefoodfree.com/


Pumpkin Peanut Butter Cookies Recipe | Fake Food Free


********************************
 
Just about everyone I’ve mentioned this candy to is as intrigued as I was about the source and ingredients. If you have any questions, fire away in the comments. I think these candies are a great option for Halloween. You’ll find more product information below.
 
 
UNREAL candies contain:
No corn syrup, hydrogenated oil, artificial flavor, GMO’s or synthetic colors.
Responsibly sourced ingredients, including:
Traceable cacao beans from Ghana and Ecuador
100% sustainable and organic Palm Kernel Oil sourced from a sustainable and organic plantation in Brazil
Dairy from free-range cows pasture raised without antibiotics or added hormones
All natural origin colors, coming from plants like beets, red cabbage, etc.
30% less sugar, 60% more protein and 250% more fiber
 
UNREAL candies are offered at the same price as typical candy bars.  Available at major retailers, nationwide, including CVS, Kroger, Staples, BJ’s Wholesale Clubs and many others, UNREAL prices range from $.89 to $1.29 for individual bars and $4.99 for the family sized bags 
 
Disclosure:  The candies used in this recipe were sent to me free of charge from UNREAL. I was not required to post about them and received no compensation for doing so. Thoughts and opinions on the product are my own.
 
Thanks for reading! All images and content are the property of Fake Food Free unless otherwise stated. Please do not republish full recipes and images without written permission. What is okay? Feel free to Pin images, share links to my posts or share the photo in a round up post with the title of this recipe and a link back to the post. Confused about copyright and food blogs? Here is some helpful information on Recipe Attribution. If you want to use a photo or full recipe, just ask. I’m sure we can work something out.  
 
 
Want to create beautiful food and product photos that you can't wait to share?!
Discover your style, control the light, and shoot using the tool you know how to use (yes, your phone included). Learn about free resources, Live Q&As with Lori, and online courses you can take from anywhere in the world!
We respect your privacy. Unsubscribe at any time.