I was a coffee lover, traveler to Jamaica and biscotti fan long before I first made this recipe in 2009. Today we still travel pretty regularly to the island and I always stock up on one of the best local delicacies, Blue Mountain Coffee. Whether I’m brewing a cup or grinding it for a baked good to dip in a warm drink on a crisp morning, it is still my favorite coffee in the world. This coffee and spice biscotti is a little treat that I like to bake up around the holidays.
When it comes to the islands of the Caribbean, I have two favorite things.
One is rum.
The other is coffee.
Both of my favorites come from the island of Jamaica. I did just get back Saturday from a wonderful week in the Caribbean, an annual trip for us. However, this year we spent our time enjoying Antigua. One trade off of seeing a new island paradise was that I didn’t get to bring home any of my favorite 100% Jamaican Blue Mountain coffee.
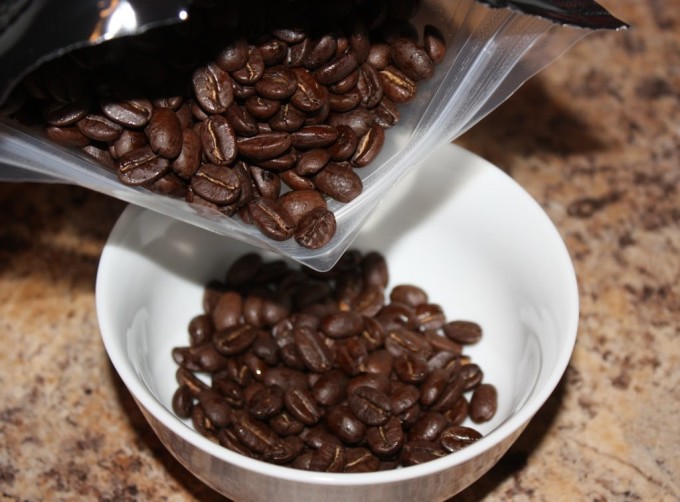
Lucky for me, just a few days before we left I got an email from C & C Specialty Coffee asking me if I’d like to review their 100% Grade 1 Jamaican Blue Mountain Coffee. I don’t make a habit of doing too many reviews here, but as you can probably guess, my answer was a resounding YES to this request.
Great timing too. And here I was worried I’d be going through my fave coffee withdrawal this January.
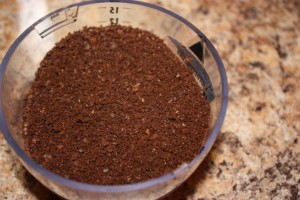
I received a 1lb bag of whole beans. I wasn’t home when the box arrived so I went and picked it up from our apartment office. As soon as I got back in my car I had to use the key to open it up. I just couldn’t wait! The second I turned up the flap on the box the aroma filled my senses. There is nothing like it.
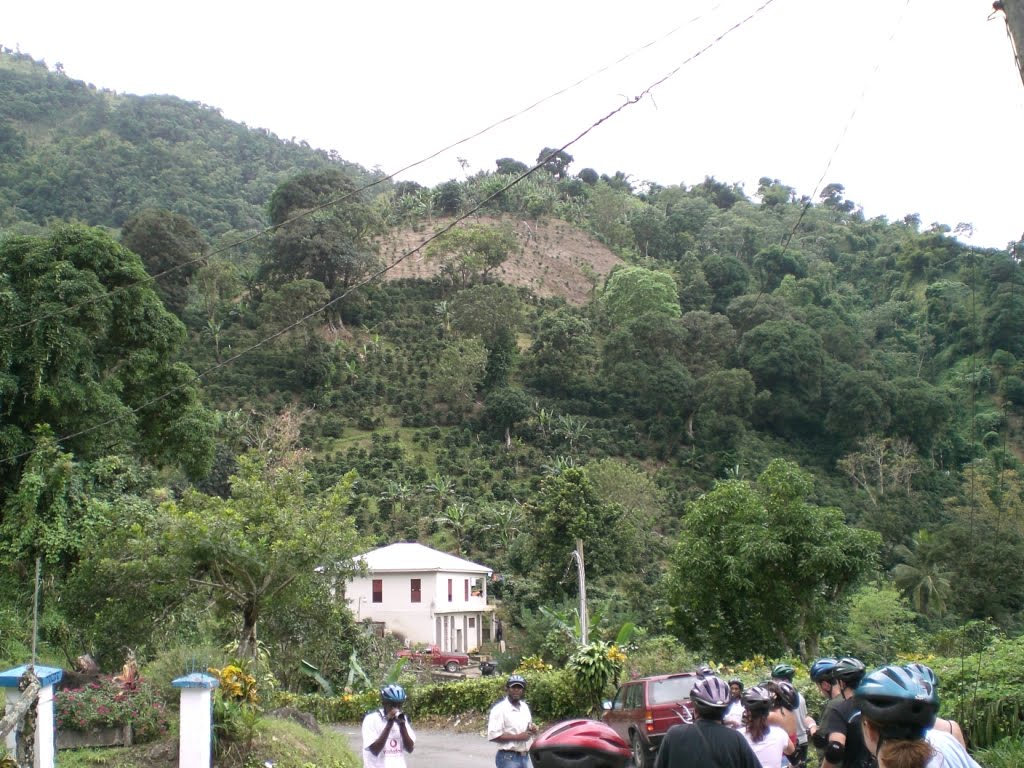
Just to share with you in a bit about this particular variety of coffee. It is grown in a specific region of the Blue Mountains of Jamaica and its cultivation is monitored by the Coffee Industry Board of Jamaica. A few years ago, my husband and I took a bike tour through the Blue Mountains and were able to see these coffee plants first hand. It is known for having a mild flavor and a lack of bitterness. It is pricey because of its quality and because the small area means less is produced, but in my opinion it is worth every penny.


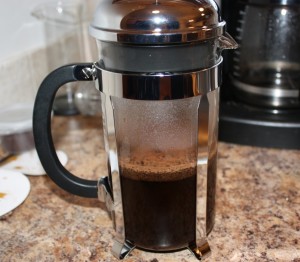
I opened the coffee yesterday and brewed myself a couple cups. It was dark, rich and full of flavor. The quality was what I’ve come to expect for this special coffee that I consider the best in the world.
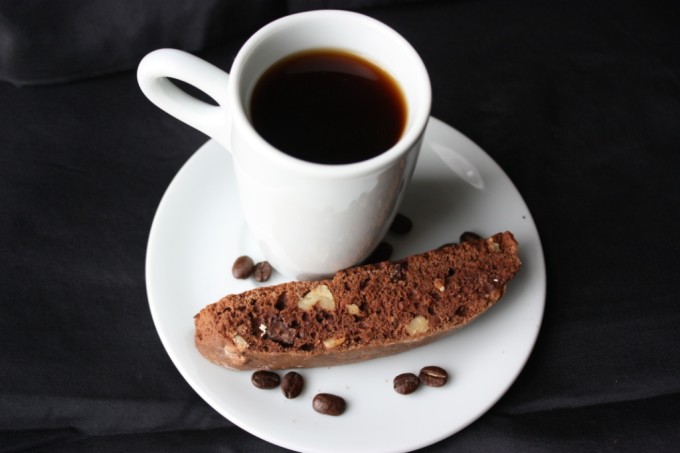
As good as it was, of course, I couldn’t just drink it. I had to make something with it. It took me a while to decide just what. Now, I’m not trying to bombard you with biscotti given that it is what I also posted about on Friday. However, when I came across Kathy and Matthew’s (A Good Appetite) Spicy Double Chocolate Biscotti, I was inspired.
I wanted to find a way to keep most of the flavors Jamaican in nature, but all I could think of was jerk chicken! Then it dawned on me – Jamaican Allspice. I used whole and ground it myself and then ground the coffee beans into a fine espresso powder. I had a lot of walnuts on hand so I decided to use those as the nuts.
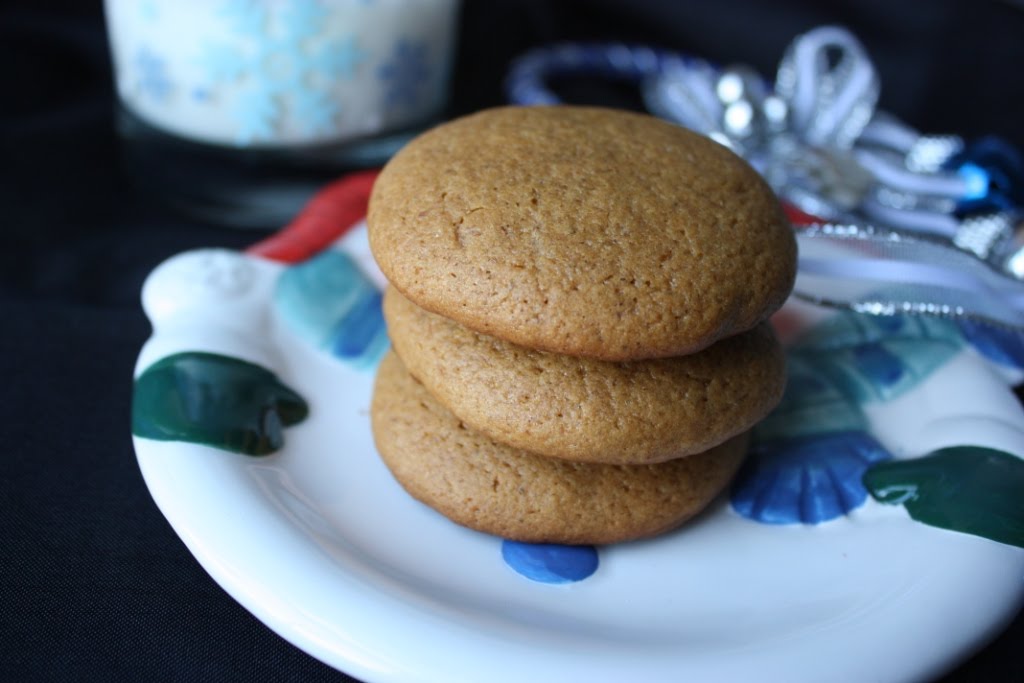
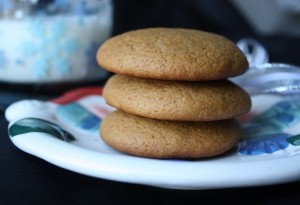
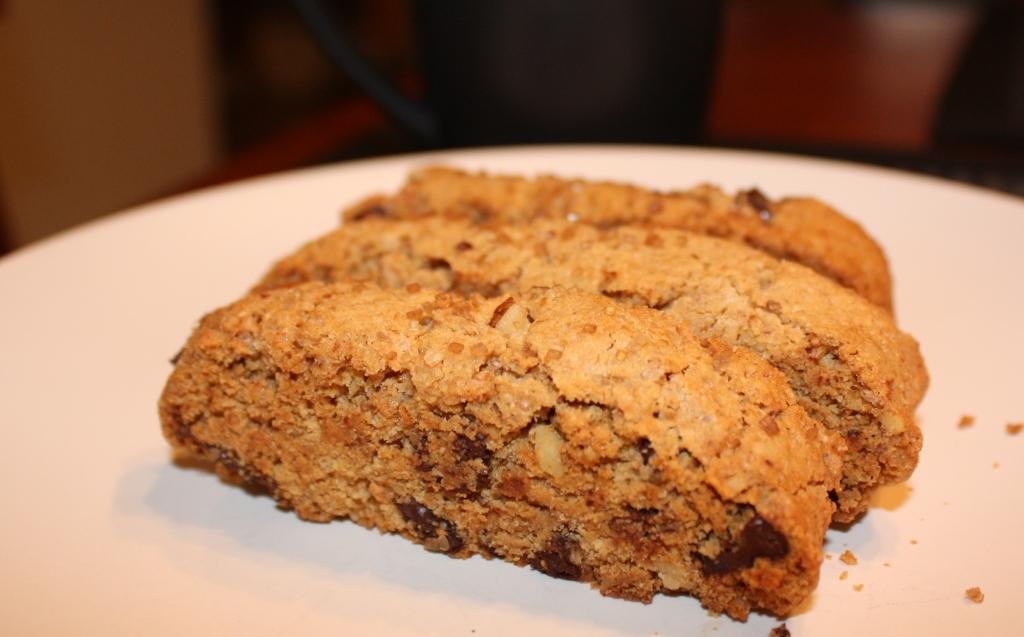
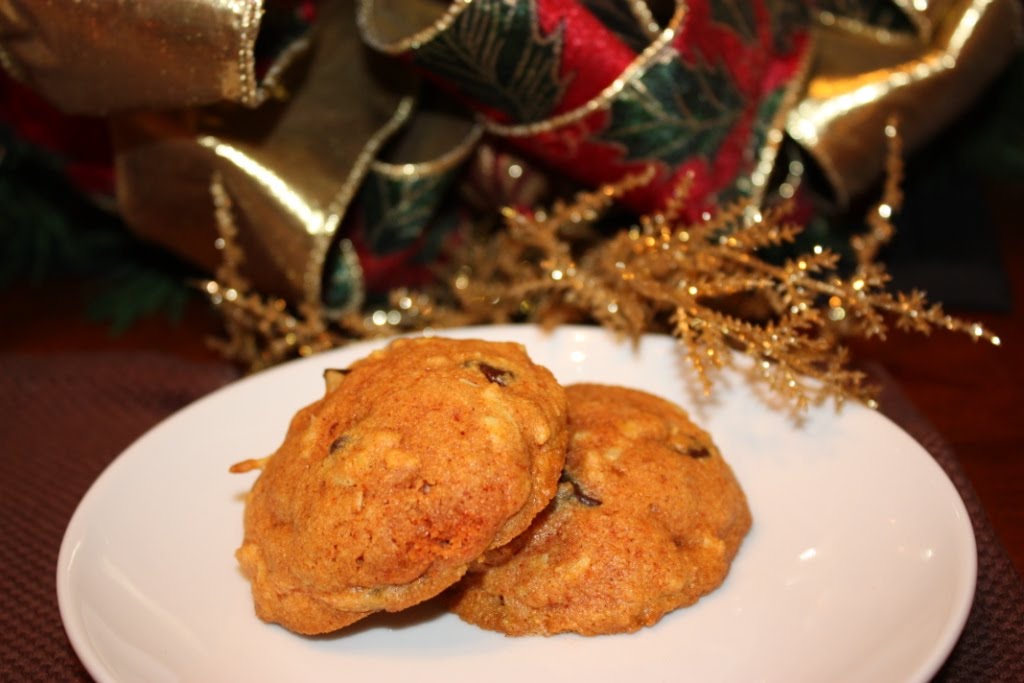
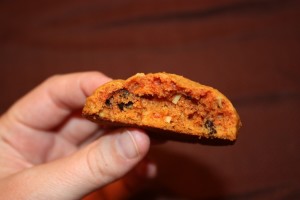
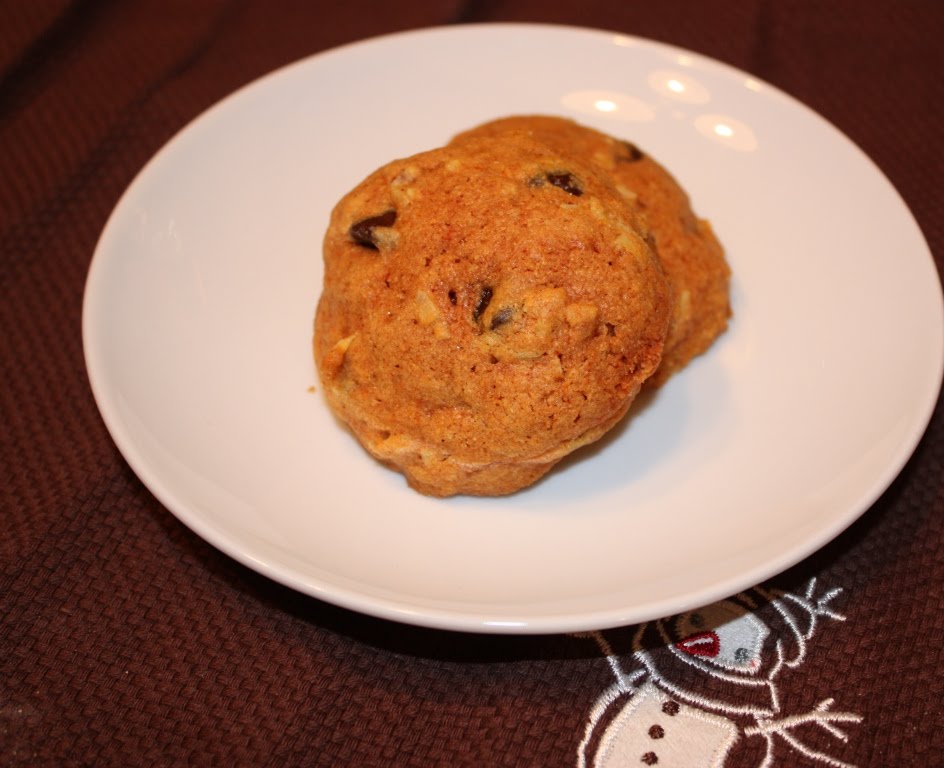
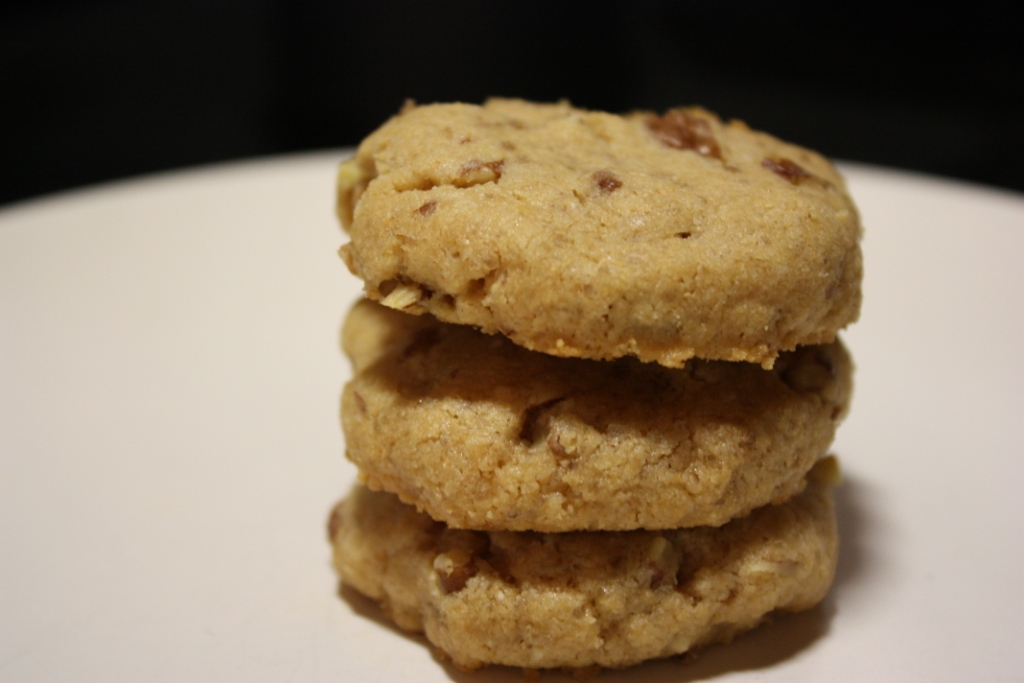
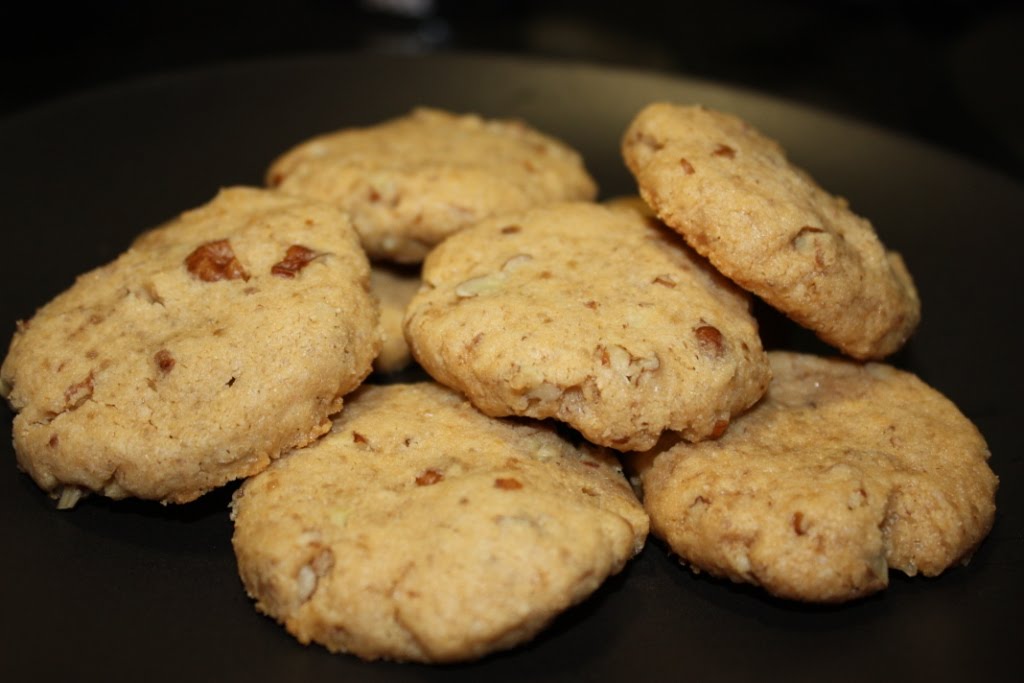
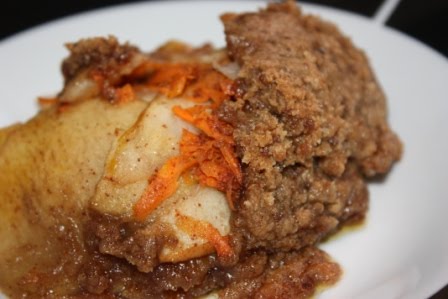
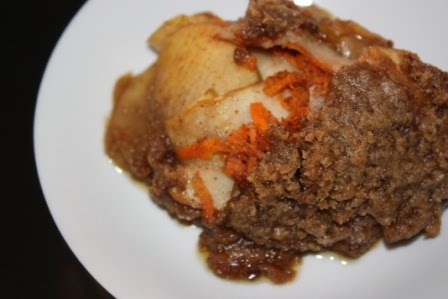
The biscotti are rich and chocolaty and the second it touches your tongue you can taste that slightly spicy, cinnamon flavor of the allspice.
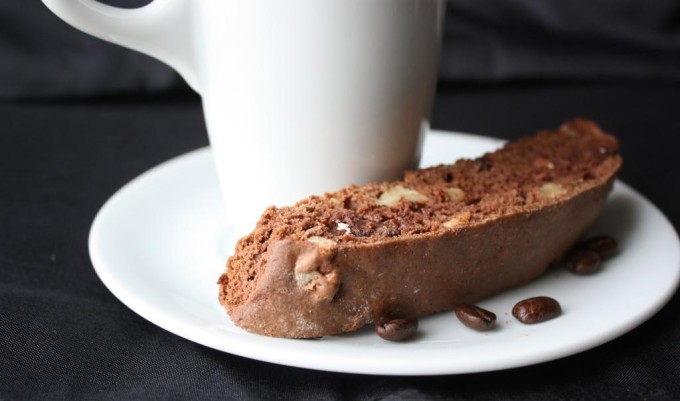
Jamaican Coffee and Spice Biscotti
Adapted from Spicy Double Chocolate Biscotti from A Good Appetite
3 eggs
1 tsp vanilla
2 cups flour
¾ cup sugar
1/3 cup cocoa powder
2 tbsp 100% Jamaican Blue Mountain Coffee beans, finely ground (I used that from C&C Specialty Coffee)1 tsp baking soda
1 tsp ground allspice
½ cup walnuts, chopped
½ cup semi-sweet chocolate chips or pieces
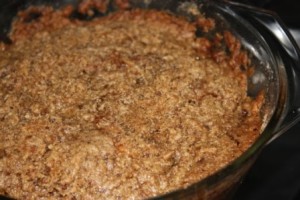
Preheat the oven to 300 degrees F. Whisk or beat the eggs and vanilla. In a separate bowl combine the flour, sugar, cocoa, ground coffee, baking soda and allspice. Gradually incorporate this mixture into the eggs and vanilla. Finally stir in the nuts and chocolate.
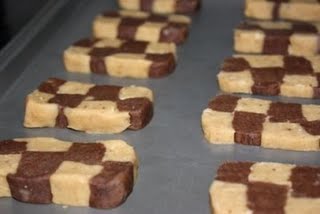
Grease a baking sheet with butter and divide the dough in two. Using buttered or floured hands shape each half into a log or rectangle side by side (leaving an inch or two between for spreading during baking) on the cookie sheet about 1 ½ inches in thickness. Bake for 50 minutes. Allow to cool for about 5 to 10 minutes. Cut into ½ to 1 inch wide slices using a serrated knife.
Place each piece back on the baking sheet with cut side up and bake 10 more minutes. Remove from the oven, flip the pieces and bake another 10 minutes. Allow to cool on a wire rack. (Note: The original recipe instructs to lower the oven to 275 degrees F before the second baking, however, I forgot. Oops! Mine turned out fine, though.)
About the source (please note that the information her is from when I originally wrote this post in 2009):
C&C Specialty Coffee sells 100% Grade 1 Jamaican Blue Mountain Coffee and 100% Kona Coffee. They pride themselves on providing a quality product to their customers in a timely manner for competitive prices. So much so that they offer free shipping on all orders in the continental US. The coffee cost is $38 per pound with slight discounts for higher quantities. You may also choose medium or dark roast based on your preferences.
Once you get yours be sure to check out their recipes page. There are all kinds of interesting drink ideas including Coffee Eggnog.
A special thank you to C&C Specialty Coffee for providing the product for this review. As I’ve said before, Blue Mountain Coffee is worth the splurge. If you are a coffee lover, once you try it you will be hooked. And if you are not a coffee lover, it just might convince you to become one.
Have you tried 100% Jamaican Blue Mountain Coffee?
Disclosure: This coffee was sent to me free of charge by C&C Specialty Coffee. I was not required to post about it and received no compensation for doing so. Thoughts and opinions are my own, as well as my love for Jamaica.