I vaguely remember writing about reducing added sugar a few posts ago.
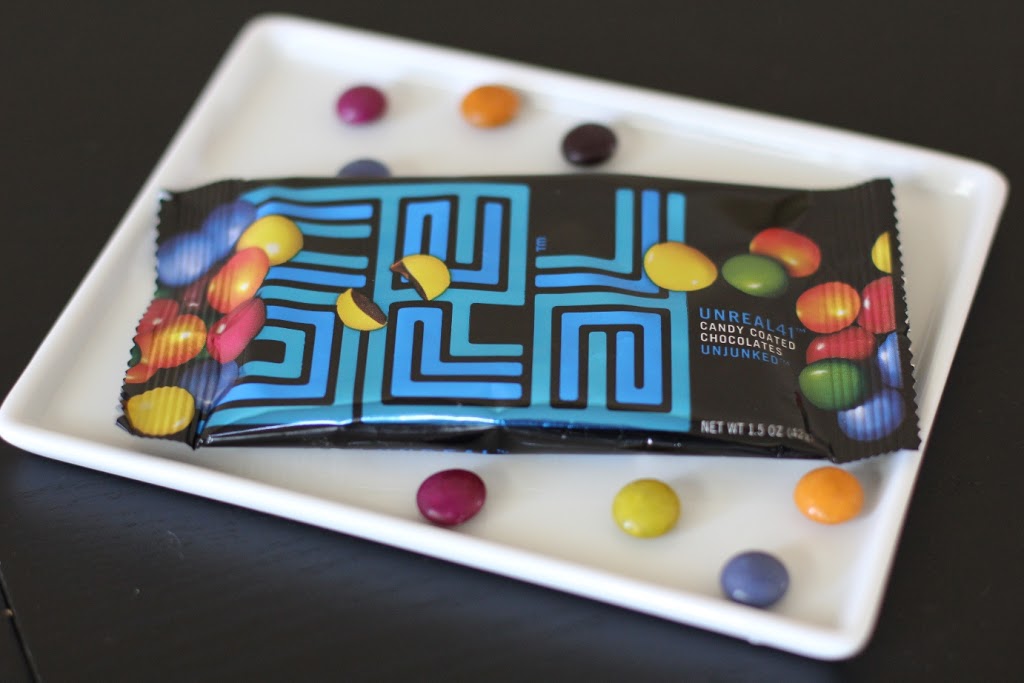
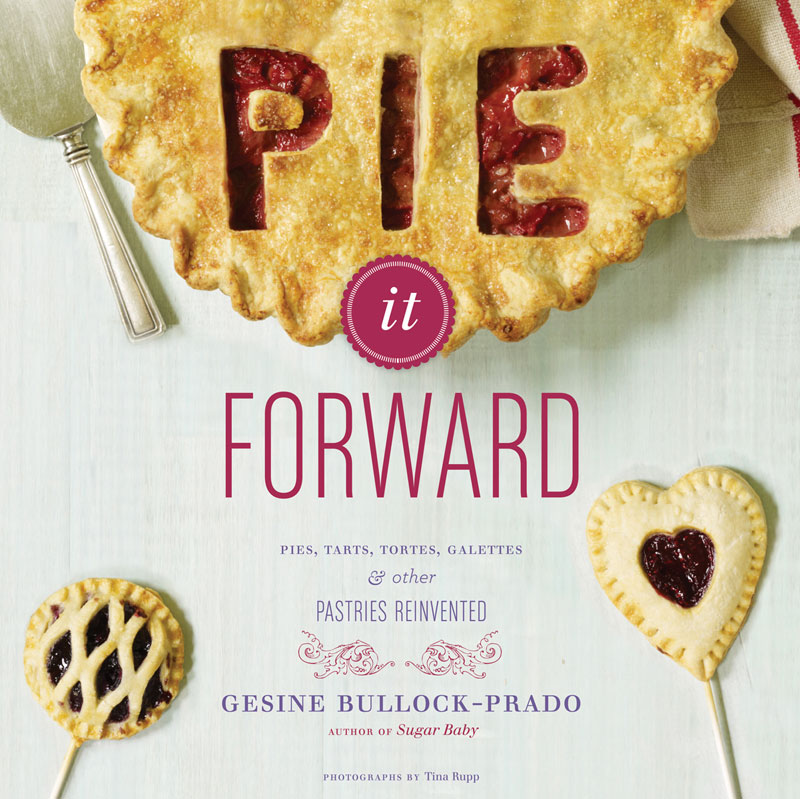
Then this arrived in my mailbox.
Before opening the cover of this book I should warn you that if your perception of pie is two pieces of buttery crust filled with fruit or cream prepare to broaden your horizons. Among the classic apple and berry, cookie-crusted tarts and puff pastries proudly claim their pie identity.
I am a work in progress when it comes to baking so I have no doubt that the first few chapters of this cookbook are meant for me. The dos, don’ts, and most importantly, the whys of pie making are well explained. It’s the why that I need. The “we do this so it doesn’t do that” is the kind of logic I need to better myself in any culinary undertaking, and this book has it.
It also has beautiful food photos by Tina Rupp, and recipes such as
Chocolate Stout Pudding Pie,
Yuzu-Ginger Rice Pudding Meringue Pie, and
Gooseberry Fool Tartlets. And for all of you out there who have somehow escaped the burden of a sweet tooth, there is a section devoted to savory pies as well.
For better or worse, I was drawn to the
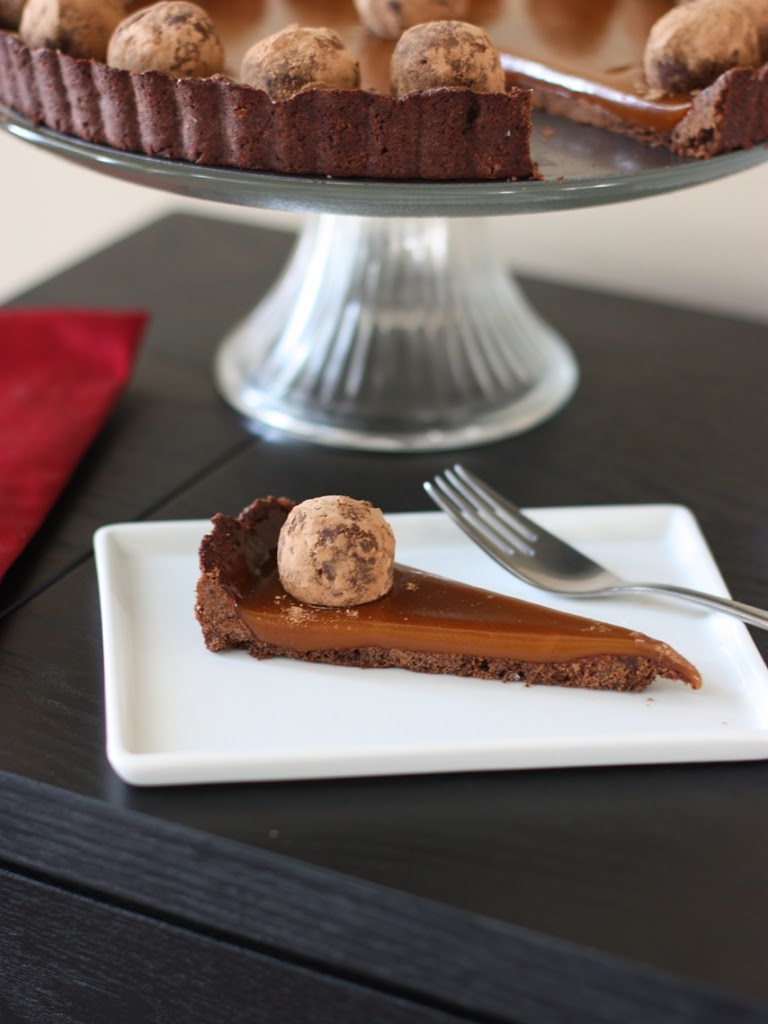
Chocolate Fleur de Sel Caramel Tart. I say worse because it took me two tries to get a presentable dessert. First, the sides of the tart fell, second I burned the caramel.
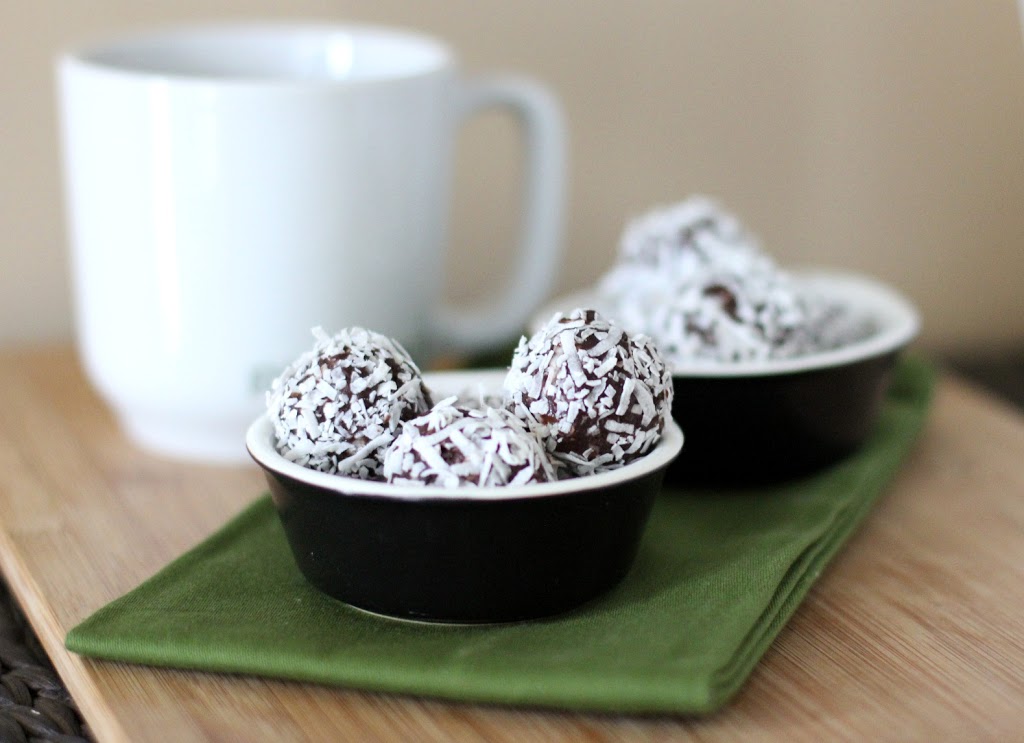
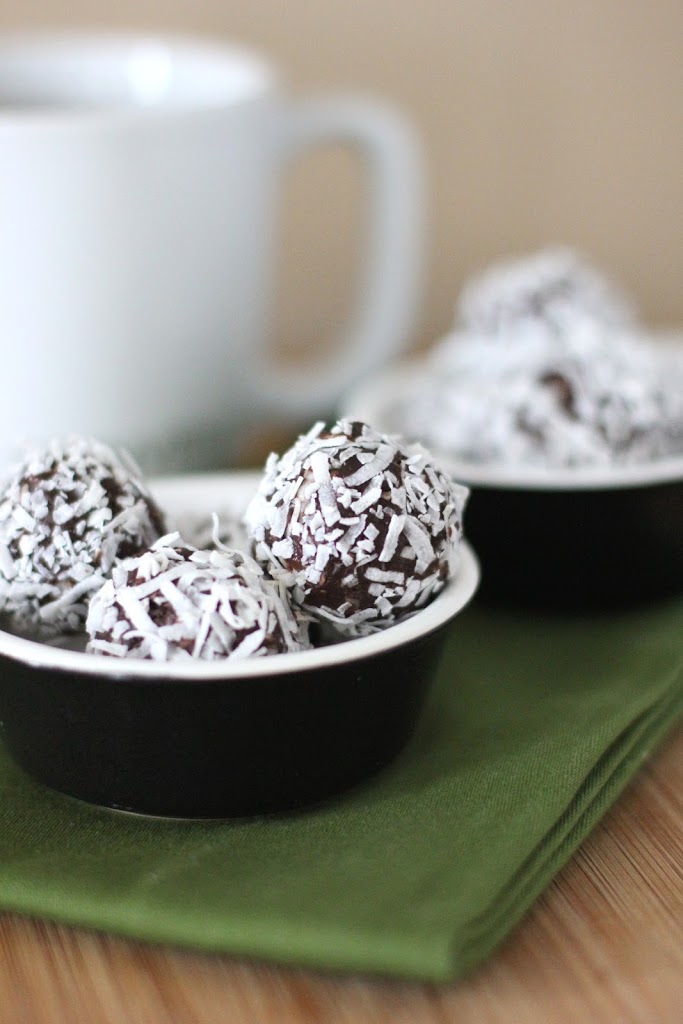
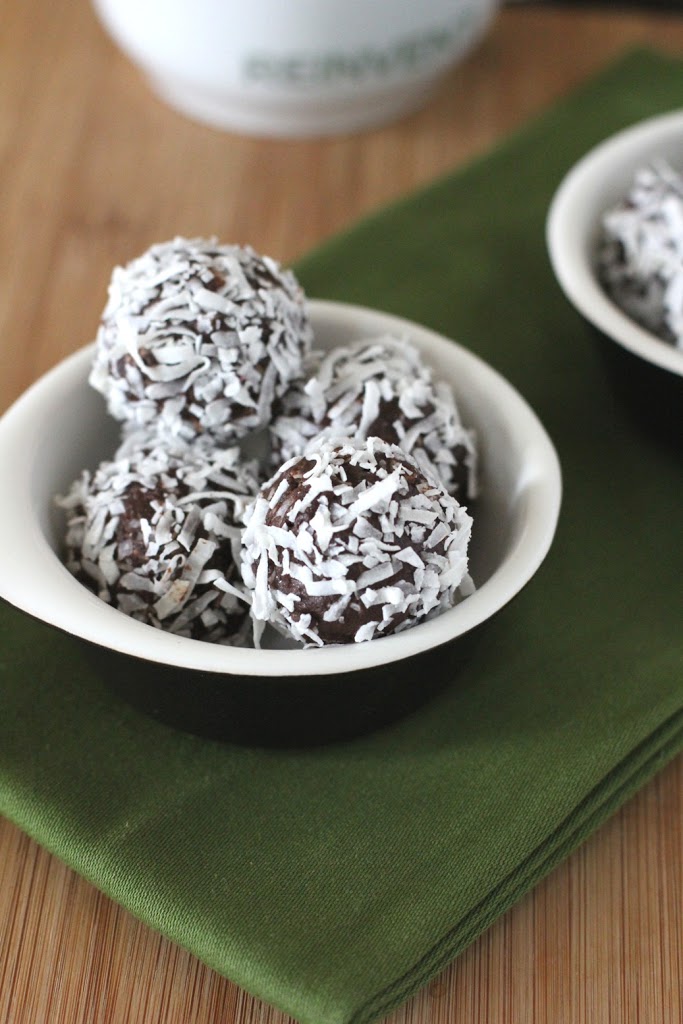
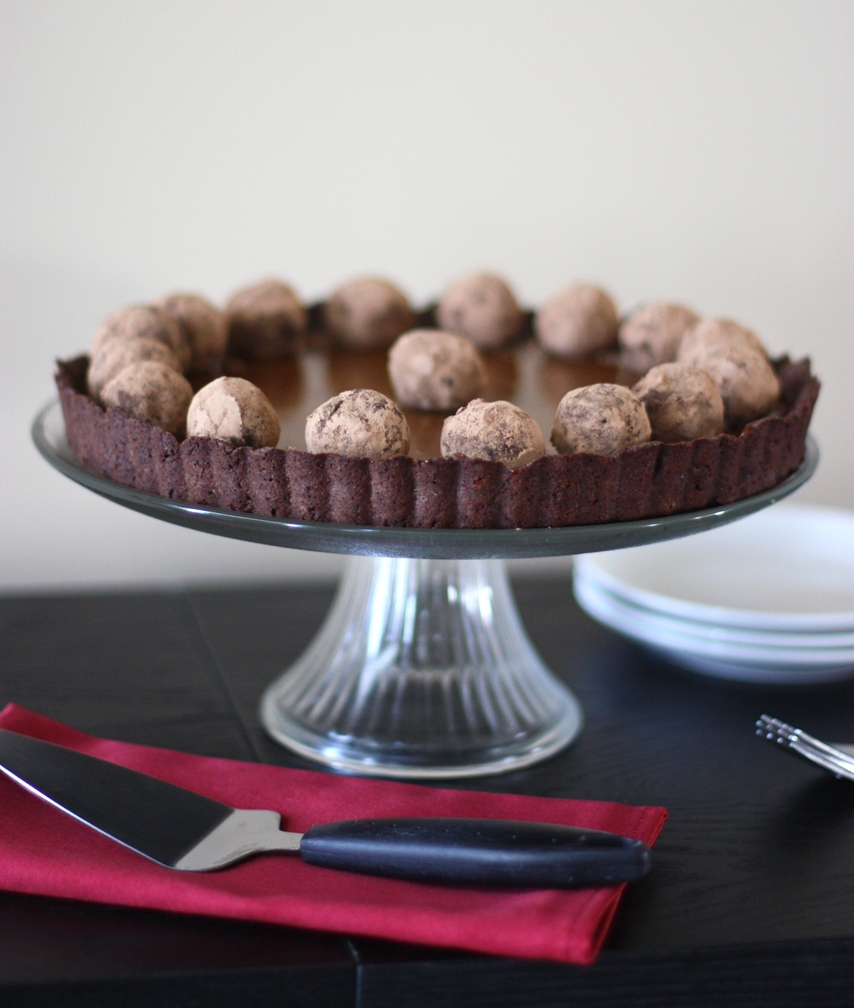
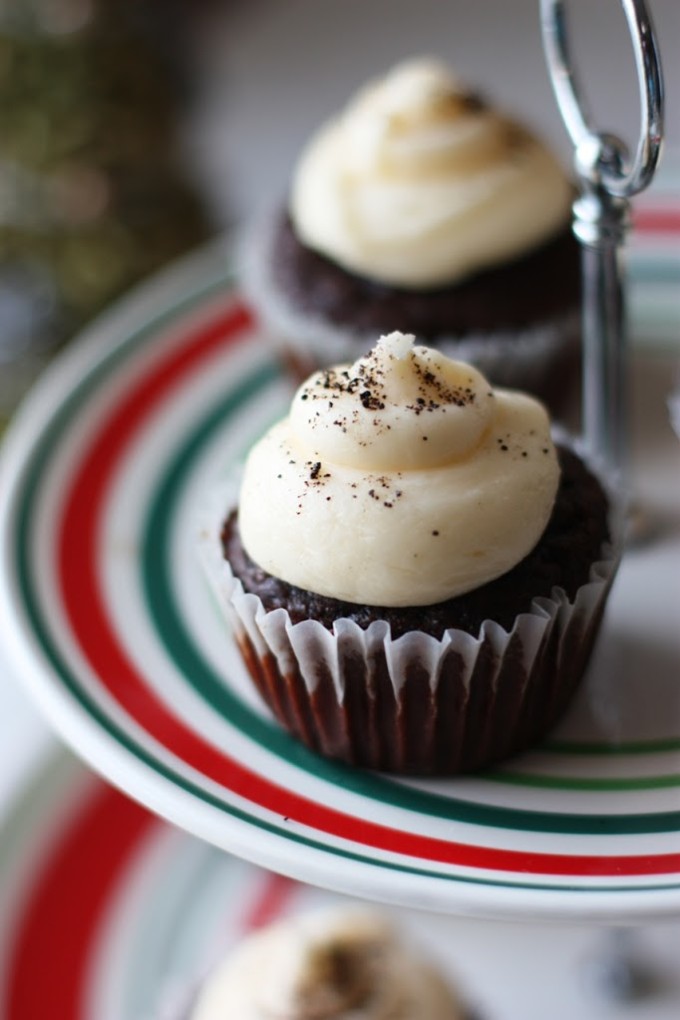
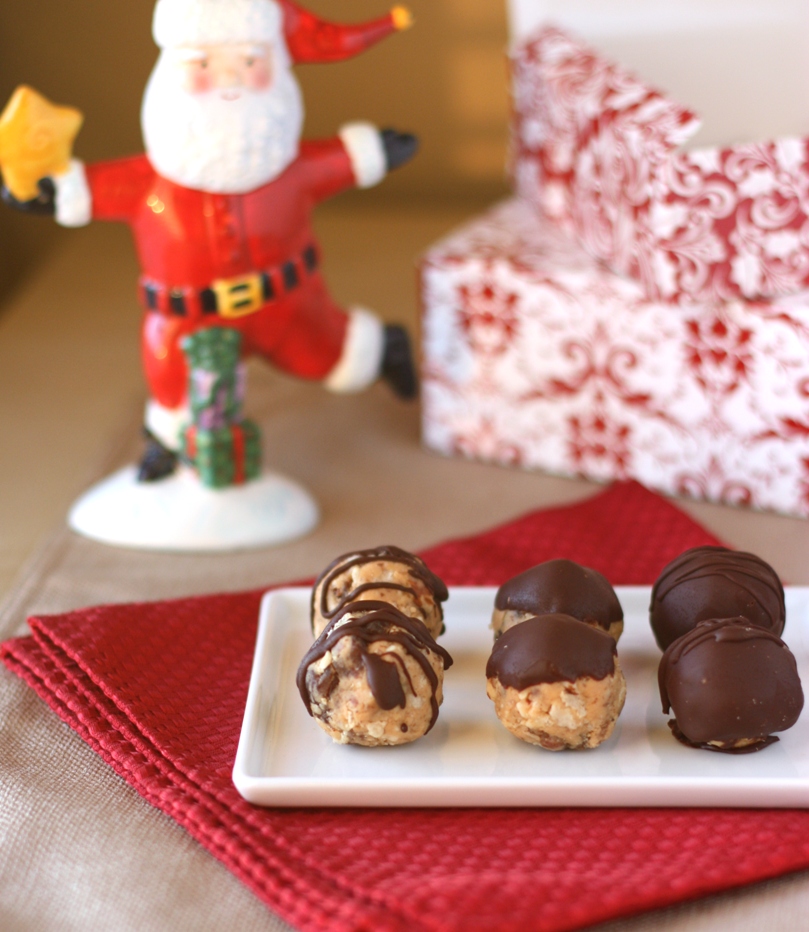
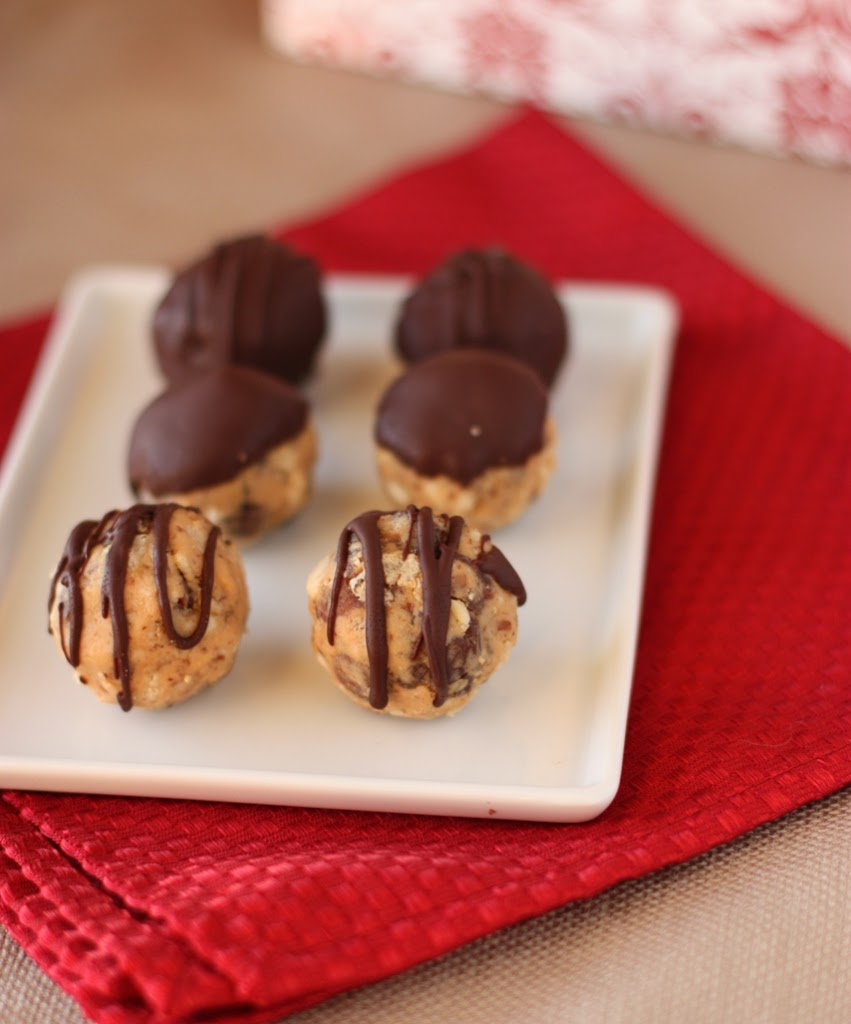
In my defense I did rock the truffles. Oh, did I mention there are chocolate truffles on the top? Yes, just when you think caramel in a chocolate crust couldn’t get any better, along comes a truffle.
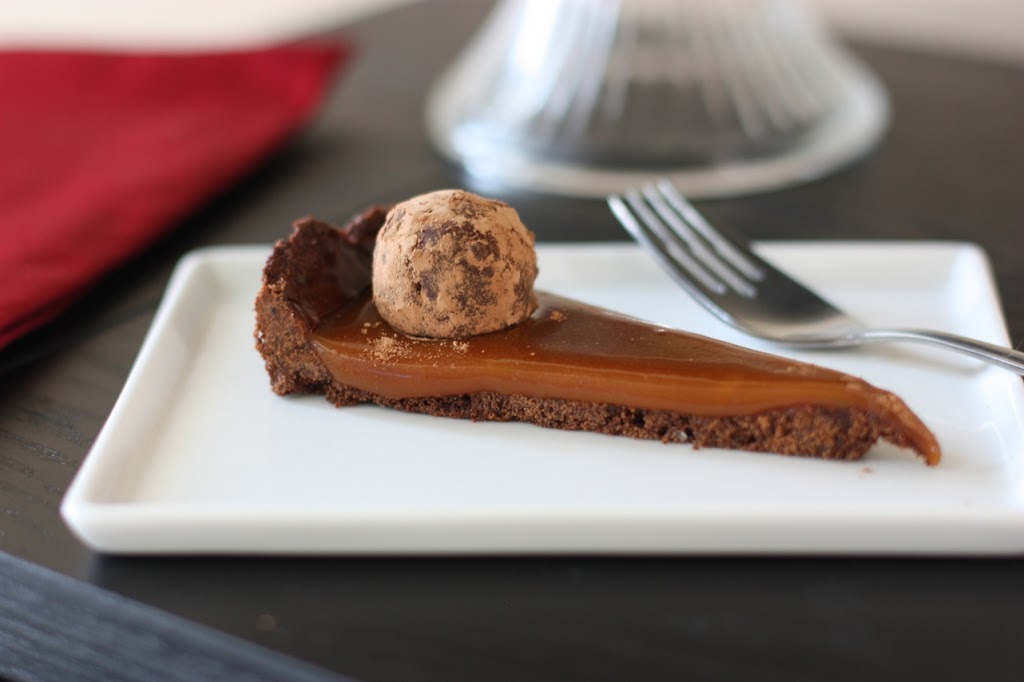
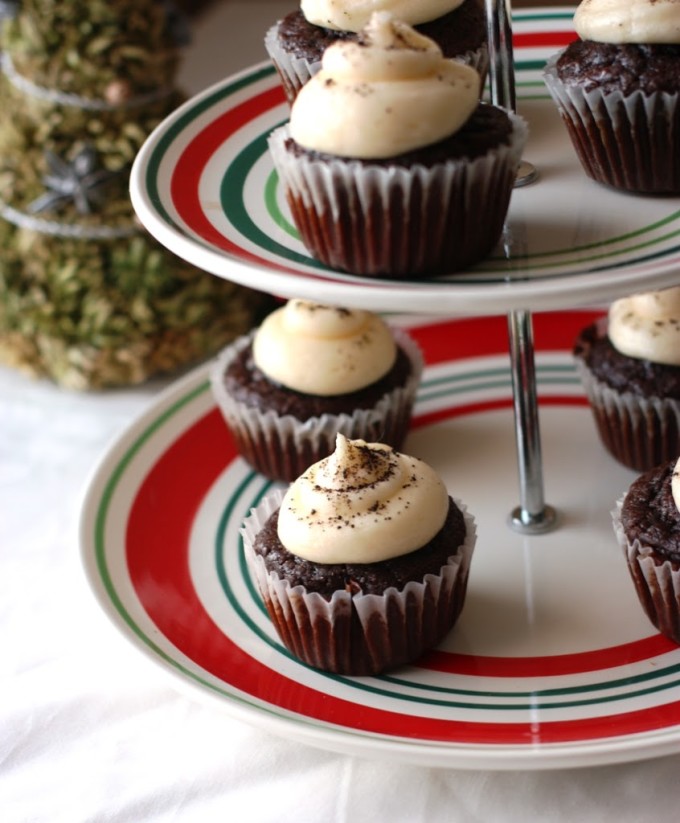
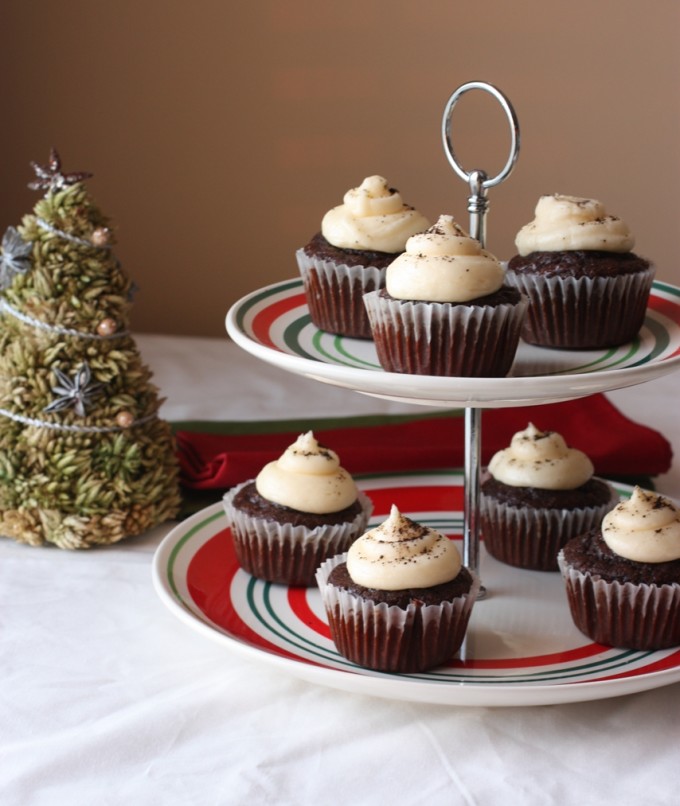
I’m still a work in progress, but I did close this adventure with a delicious, albeit slightly modified version, of this brilliant tart. The main differences you’ll see between mine and the gorgeous photo in the book is a darker caramel (I came a mere fraction of a degree from a second burning), and I had an 11-inch tart pan instead of the 8-inch the recipe calls for. Don’t be discouraged if your access to tart pans is as limited as mine, you can still make this dessert, as well as several other tasty recipes, in this book.
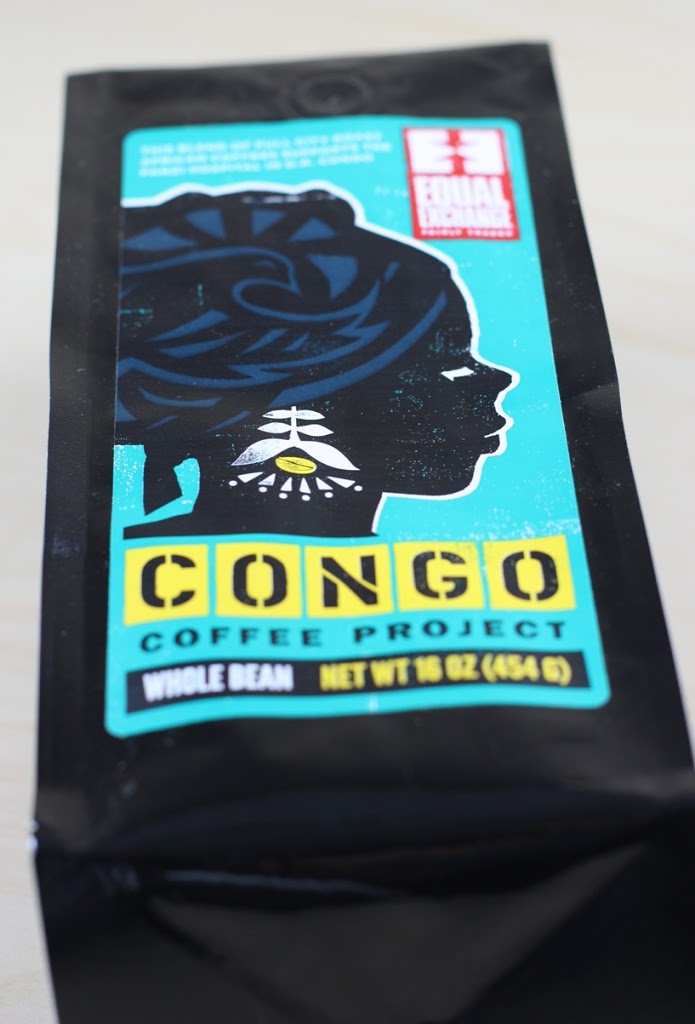
I probably don’t need to tell you that the combination of a chocolate cookie crust with a hint of coffee tastes amazing with a caramel filling. Or that the added bonus of a truffle on top will fulfill any chocolate craving to come your way.
Anyone attending a potluck or party with me in 2012 should most definitely expect pie. I’ve only got one recipe down, and there are so many more to go!
Chocolate Fleur de Sel Caramel Tart
From Pie It Forward by Gesine Bullock-Prado. Reprinted with permission from Abram Books
This is a sophisticated candy bar wrapped up in tart’s clothing. It features caramel that leaves ropy tendrils behind after you’ve taken a bite. And while you can use a fork, I have to tell you it’s so much easier to pick up your slice to convey it to your mandibles.
MAKES 1
(8-inch/20-cm) tart
For the crust
Chocolate Cookie Tart Crust (recipe below) 1/2 batch
Soft Caramel Filling (recipe below) 1 batch
For the truffles
heavy cream ¾ cup; 177 ml
unsalted butter 2 tablespoons; 28 g
salt pinch
corn syrup (optional) 1 tablespoon; 15 ml
bittersweet chocolate, finely chopped 8 ounces; 225 g
cocoa powder 1/4 cup; 20 g
For the assembly
large-grain fleur de sel (sea salt) 1/2 teaspoon; 2.5 g
Procedure for the crust
1. Preheat the oven to 350 degrees F (175 degrees C). Line an 8-inch (20-cm) tart pan with
the dough. Dock and freeze it for 20 minutes. Line the crust with parchment, fill it with pie weights, and bake it for 15 minutes. Remove the pie weights and parchment and bake the crust for 15 minutes more, or until
the bottom is golden brown and baked through. Allow it to cool.
2. Prepare the caramel filling as instructed on page 36 and pour it into the cooled crust. Refrigerate until firm, about 2 hours.
Procedure for the truffles
1. In a small, heavy saucepan, simmer together the cream, butter, salt, and corn syrup, if using, making sure the butter melts completely. Take the pan from the heat and add the chocolate. Allow it to sit for a few minutes undisturbed, then whisk the mixture until the glaze emulsifies and all the chocolate melts. Cover and refrigerate until set, about 1 hour.
2. Using a melon scoop, a teaspoon-sized cookie scoop, or a teaspoon, form small rounds of ganache and roll them into balls with your hands. Roll the truffles in cocoa powder to coat them evenly.
Assembly
1. Place the truffles around the perimeter of the tart, sprinkle fleur de sel over all, and serve at room temperature.
Chocolate Cookie Tart Crust
This is a scrumptious and elegant chocolate tart dough. The key is using the right cocoa powder. You can’t go with your grocery-store variety of anemic cocoa. No, sir. I’ll know if you use it, too. You must use a high-quality, very dark cocoa: Cacao Barry or Valrhona are excellent choices. For this one, I use Cacao Barry Extra Brute. You’ll thank me later.
Makes enough dough for 2 (8-inch/20-cm) tarts,
8 (4-inch/10-cm) tarts, or 16 mini tarts
eggs 2
sweetened condensed milk 2 tablespoons; 30 ml
brewed coffee, cooled 2 tablespoons; 30 ml
all-purpose flour, cold 1 1/2 cups; 185 g
cocoa powder 1/2 cup; 40 g
sugar 3/4 cup; 150 g
instant espresso powder 1 tablespoon; 3 g
salt 1 teaspoon; 6 g
unsalted butter, cut into small pieces and chilled ¾ cup; 180 g
1. In a small bowl, whisk together the eggs, condensed milk, and coffee.
2. In the bowl of a food processor fitted with the blade attachment, pulse together the flour, cocoa, sugar,
espresso powder (if using), and salt.
3. Add the butter and pulse until the mixture resembles course cornmeal. While pulsing, add the liquid ingredients, and continue until the dough just holds together when you press it with your fingers.
4. Turn the dough out onto a large piece of plastic wrap. Form it into a flat disk, cover it completely with the plastic wrap, and refrigerate it for at least 30 minutes.
Soft Caramel Filling
Makes approximately 2 cups (480 ml)
sugar 1 cup; 200 g
corn syrup 1/4 cup; 60 ml
salt 1 teaspoon; 6 g
unsalted butter 2 tablespoons; 28 g
heavy cream ⅓ cup; 75 ml
vanilla bean paste 1 teaspoon; 5 ml
1. In a large, heavy saucepan, combine the sugar, ⅓ cup (75 ml) water, the corn syrup, and salt and cook, stirring, over medium-low heat until the sugar has melted.
2. Brush down the sides of the pan with a damp pastry brush to eradicate any errant sugar crystals.
3. Stop stirring, increase the heat to medium-high, and clip on a candy thermometer. Heat the sugar syrup to
245 degrees F (120 degrees C).
4. Once the syrup has reached temperature, take the pan off the heat and carefully add the butter and cream. The mixture will bubble vigorously at first. Stand back and let the hot sugar do its molten dance. When the syrup has calmed, stir until the butter has completely melted. Add the vanilla and stir again. Pour the caramel immediately into your pastry vessel (or other vessel) of choice and allow it to cool and set completely, 1 to 2 hours.


