Archives

Roasted Acorn Squash and Garlic Pizza

January 30, 2011

When it gets around to this time of year, I’m always so happy to see the end of January. It’s not that I dislike winter. In fact, I tend to annoy most of the people around here with my enthusiasm for it. I don’t like treacherous driving, but now that we live out in what could be called the country, the snowy white is just beautiful.

Winter in Kentucky
That being said, despite the fact that January has the same number of days as months such as March, May and July it often feels like it will never end. So I’m glad to see February come with Valentine’s Day quickly followed by Easter, springtime 10Ks, gardens and the farmer’s market.

However, with another month of full-on winter ahead, at least in this part of the US, I’m not ready to give up warm, comfort foods. I still have some winter squash around and a few weeks ago I was thumbing through my RR magazine. Yes, although people find her annoying I owe much of what I’ve learned about cooking to watching endless hours of 30 Minute Meals back in the day.

When I saw her Butternut Squash Pizza, it inspired to me to create something similar myself. My ingredients are little less exotic as I only had a few things on hand, but it turned out pretty tasty, nonetheless.
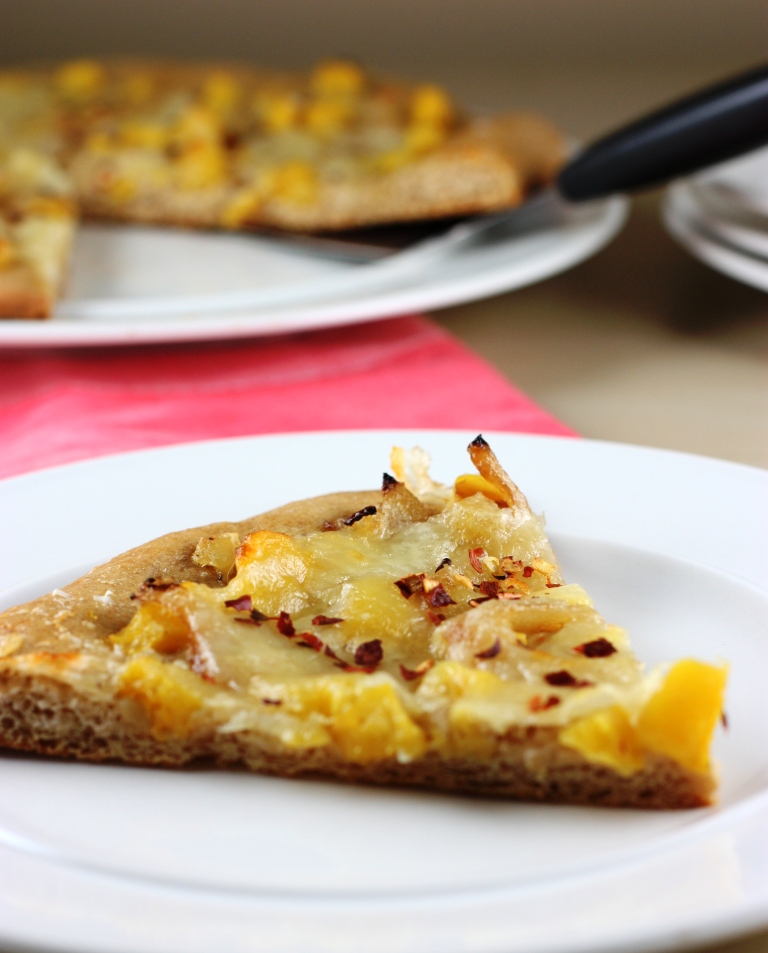
Roasted Acorn Squash and Garlic Pizza recipe

I roasted a whole head of garlic until soft and creamy, and then spread it on the pizza crust. It was a bit of work, but I also peeled the squash and diced it before roasting it until just barely tender. Plan ahead with this one because it will take you a little while to get your roasting done.

I will say that while I loved this pizza, my husband thought it was just okay. This was mainly because it is so sweet. However, I found that sprinkling on a little crushed red pepper just before serving really balanced the flavors.
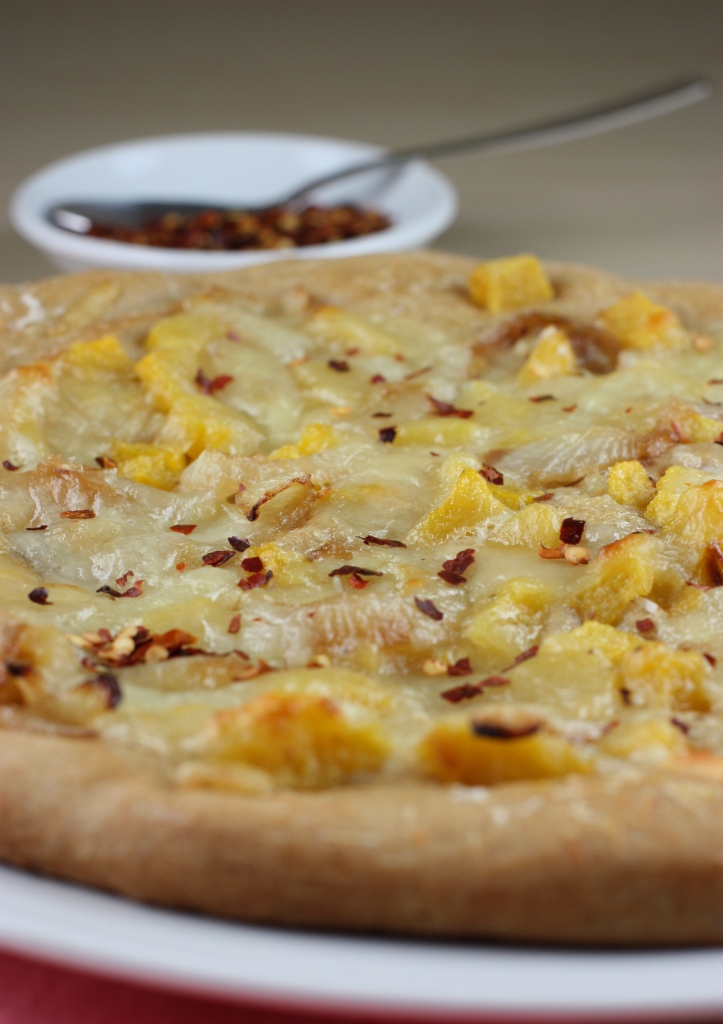
Roasted Acorn Squash and Garlic Pizza recipe

Roasted Acorn Squash and Garlic Pizza
Adapted from Everyday with Rachel Ray’s Butternut Squash-and-Red Onion Pizza


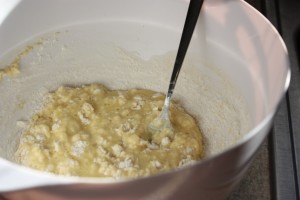
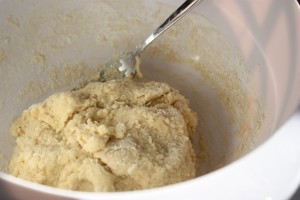
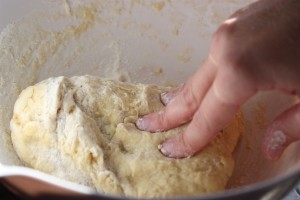
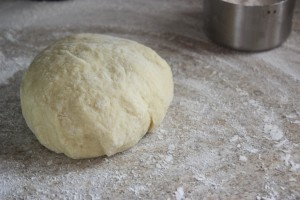
1 large (14 inch) pizza dough (I make the Spelt Crust from Off Her Cork)
Olive oil
1 head of garlic
1 small acorn squash, peeled and flesh cubed
1 medium onion, sliced
1 cup whole milk mozzarella cheese, shredded
¼ cup freshly grated parmesan
Crushed red pepper (optional)

Preheat the oven to 400 degrees F. Carefully cut off the top 3rd of the head of garlic so that the cloves are exposed. Place in the center of a square sheet of aluminum foil, drizzle with olive oil and wrap loosely. Bake for 45 minutes to 1 hour, until tender. Set aside.

Spread the cubed squash in a single layer on a baking sheet. Drizzle with olive oil and toss to coat. Roast 15 to 20 minutes, just until tender. Meanwhile, drizzle a skillet with olive oil, add the onions and cook over medium-high heat. Cover and continue to cook, stirring often, until the onions are slightly browned and soft.

Squeeze the garlic flesh into a small bowl and stir to mash any clumps. Spread evenly over the pizza crust. Top with the squash and caramelized onions. Cover evenly with the cheeses. Bake for 20 to 25 minutes, until the cheese is melted and bubbly and the crust is slightly browned. Garnish with crushed red pepper, if desired.
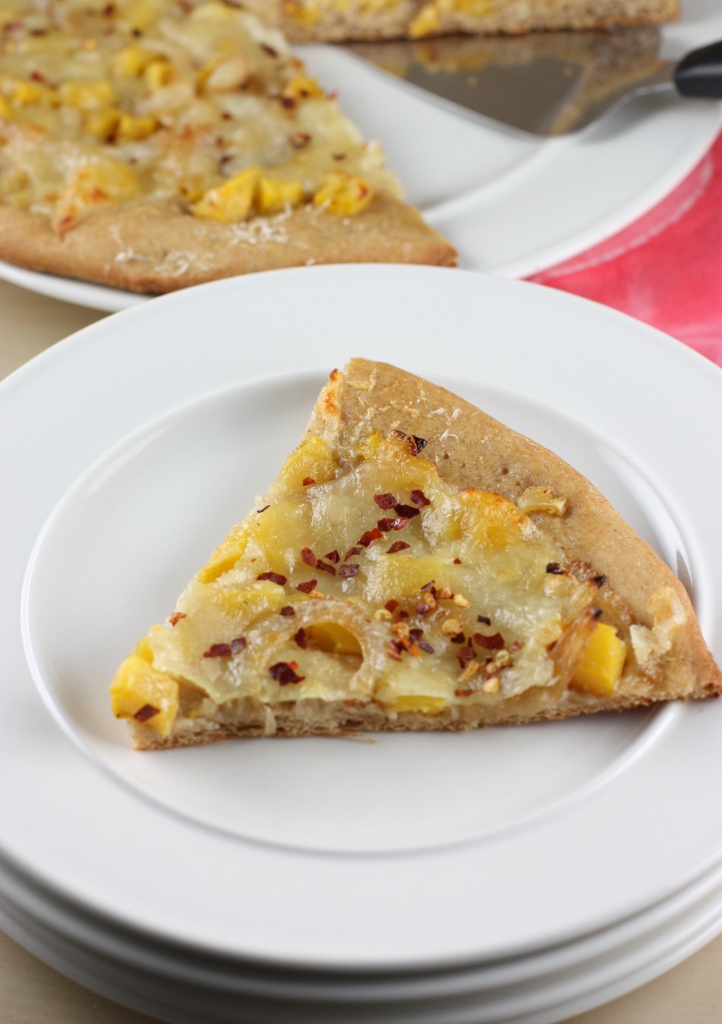
Roasted Acorn Squash and Garlic Pizza recipe

Spinach Dhal

January 26, 2011

One of my new year’s resolutions was to cook more ethnic foods. Well, not only to cook them, but to learn more about them and the authentic ways to prepare Indian and Thai ingredients.

Let’s just say I’ve gotten off to a very slow start.

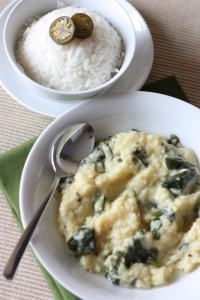
I’m still motivated to reach my goal though and last week I finally broke into a bag of moong dhal I’ve had in the pantry for a long while now. Moong dhal is a variety of mung bean, kind of like a yellow split pea.

I was flipping through the ThinkFood Cookbook I talked about last year and felt inspired when I found the Spinach Dhal recipe from Tastes Like Home.

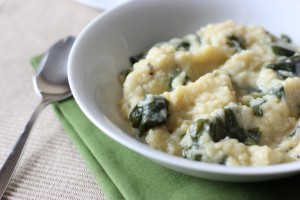
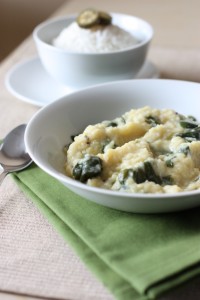
After being soaked overnight moong dhal cooks up to be thick with a porridge-like consistency. This particular recipe has a spicy kick that is full of flavor with the whole spices that are added. I ate it with rice, but it could have easily been thinned slightly to create a delicious soup.

My husband was the real test though. He has a major aversion to peas. He dislikes them so much that it seems he can’t even be at the same dinner table with them. I’ll never forget the time we ordered a sandwich in Brazil and we bit into it to find it was filled with peas! Needless to say he went home that night and looked up the word for peas right away.

It’s ervilha in case you are wondering. This word guided our menu selection when dining out for the next 2.5 years.

So with the dhal’s similarity to split peas (more so than lentils, in my opinion) I thought he’d avoid it like the plague. Turns out he enjoyed it as much as I did.

This is the type of simple foods I want to focus on throughout our new year. They are so simple, yet the spices make them so complex in flavor.

This recipe will be emailed soon as part of the ThinkFood Cookbook listserv. If you are signed up, you will receive a recipe a week via email from the book. The ThinkFood Cookbook is also available for purchase.

Overlooking the fact that a Fake Food Free recipe is in the book, I have to say that it is a fabulous cookbook with all kinds of delicious recipes. I have made two recipes thus far and they have received rave reviews!

Fiery Peanut Butter Cookies

January 24, 2011

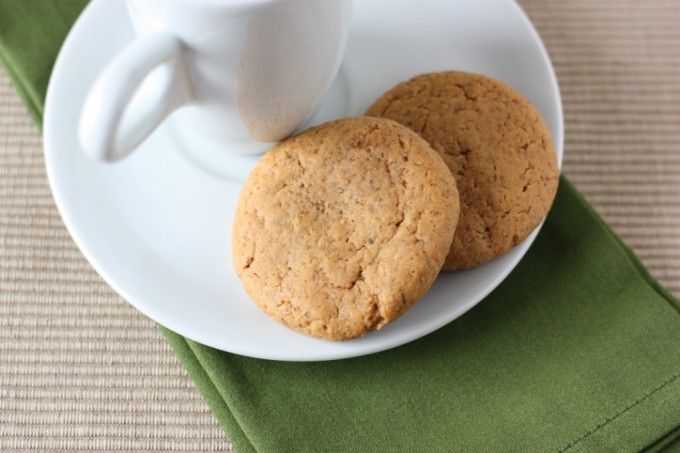
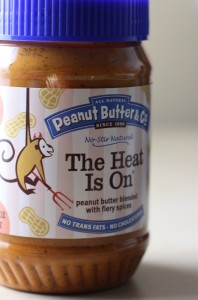
I love a bit of heat in my dessert baking. A few years ago I experimented with spicy peanut butter in my cookies and they were a hit. These are made with PB & Co The Heat Is On peanut butter that was sent to me to try back then. As expected, I was an instant fan.

Fiery Peanut Butter Cookies Recipe | Fake Food Free | A classic peanut butter cookie with a spicy twist!

I know what you are thinking – spicy peanut butter cookies?

To that I answer a resounding – YES!

I’m sure you are no stranger to peanuts with a little spice. Chicken satay with spicy peanut dipping sauce, or maybe roasted peanuts coated in seasonings like chili powder. I love the combination and when a touch of sweetness is added, I think it is even better!

A while back I hosted one of Peanut Butter Boy’s Peanut Exhibitions and Peanut Butter & Company sent us a few new products to try. In email conversations with their PR person, I mentioned that I had wanted to try their spicy peanut butter, The Heat Is On, but it wasn’t available in stores around here. I was thrilled when she emailed a while later and told me she had thrown in a jar of it into my box before it mailed.

I had no idea what to expect from it. I knew it would be spicy, but I was also expecting it to be somewhat sweet.

Well, I was half right. The peanut butter contains no cane sugar, just peanuts and savory, fiery spices. Chili powder, cayenne peppers, crushed red peppers and paprika to be exact.

Fiery Peanut Butter Cookies Recipe | Fake Food Free | A classic peanut butter cookie with a spicy twist!

Now, it is super spicy and I like it a lot, but other than a Thai peanut sauce, I wasn’t quite sure what to do with it. Then cookies came to mind.

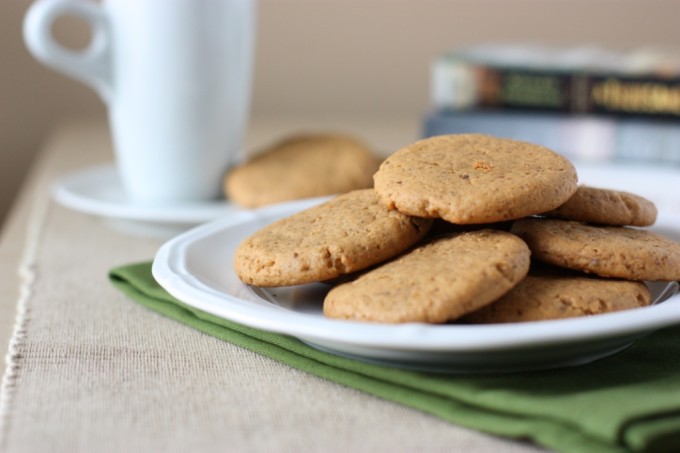
It seems a little strange at first, but if you like anything sweet and spicy you will love these cookies. I used my favorite recipe from Simply Recipes, but changed the sugars and flour.

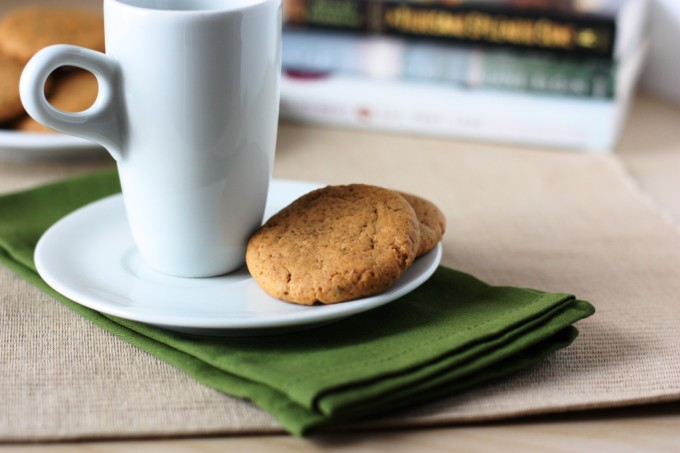
As a result you get a slight crunchy texture from the Demerara sugar within a soft and chewy cookie. The first bite is sweet and then it is followed by a slow, building heat on the back of your tongue. 


Fiery Peanut Butter Cookies Recipe | Fake Food Free | A classic peanut butter cookie with a spicy twist!


They are way too complex for a cookie! To me, they hold a sense of international flavor with the peanut and spice. Perfect as a snack when you catch up on some travel-inspired reading.

Fiery Peanut Butter Cookies
Recipe adapted from Simply Recipes

Makes: About 2 dozen cookies

Ingredients

½ cup Demerara sugar
½ cup mascavo sugar
½ cup unsalted butter
½ cup Peanut Butter & Co The Heat Is On Peanut Butter
1 large egg
1 ¼ cups white whole wheat flour
¾ teaspoon baking soda
½ teaspoon baking powder
¼ teaspoon salt

Prep

In a bowl of a mixer, cream together the sugars and butter on medium high. Cream for 3 to 5 minutes to really incorporate the Demerara sugar. Add in the peanut butter, and then the egg. Mix until all ingredients are combined. Scrape the sides of the bowl as needed.

In a separate bowl, whisk together the flour, baking soda, baking powder and salt. Gradually add the dry ingredients to the mixing bowl. Mix just until the flour is incorporated. Cover the dough and refrigerate for at least an hour.

Preheat the oven to 350 degrees F. Remove the dough from the fridge and roll into balls and flatten. Mine were about 2 to 2 ½ inches wide. Bake on an ungreased cookie sheet for 10 to 12 minutes. Cool on a wire rack before serving.

Fiery Peanut Butter Cookies Recipe | Fake Food Free | A classic peanut butter cookie with a spicy twist!


Disclaimer: Peanut Butter & Co sent me this peanut butter free of charge. I was not obligated to blog about it and received no compensation for doing so.


Thanks for reading! All images and content are the property of Fake Food Free unless otherwise stated. Please do not republish full recipes and images without written permission. What is okay? Feel free to Pin images, share links to my posts or share the photo in a round up post with the title of this recipe and a link back to the post. Confused about copyright and food blogs? Here is some helpful information on Recipe Attribution. If you want to use a photo or full recipe, just ask. I’m sure we can work something out.

Cocoa-Coffee Brownies: A Feast for the Eyes

January 20, 2011

The more I travel the more I grow to appreciate history. With that comes an interest in architecture. Now, I would never claim to know a thing about topic (that would be my brother’s specialty), but I know awe inspiring when I see it.

So what does architecture have to do with food?

Well, quite a lot, if my most recent cookbook review has anything to say about it.

A Feast for the Eyes: Recipes from America’s Grandest Victorian Neighborhood by David Dominé is a cookbook covering topics that may first appear to be unrelated – food and architecture. It’s not until you explore the pages that you realize just how much these two things share in common.

The book is about Old Louisville. I immediately found myself relating to the introduction because it speaks of the historic areas of Louisville that often go unexplored. I have to admit that I did not realize just how beautiful and interesting Old Louisville was, or that it even existed, until a good friend moved into a historic home there several years ago.
The cookbook provides a unique look at historic architecture in an area where southern hospitality overflowed with Kentucky Derby parties and art shows. Of course, everyone knows where there is a good party, good food, and good food, a good recipe.

Each page of the book boasts beautiful photography by Robert Pieroni capturing the interiors and exteriors of gorgeous, Victorian homes. With the photographs are vivid descriptions of the home and residents. Tucked closely by is a delicious, original recipe from Gary’s Spicy Corn Chowder and Ron’s Kentucky Spoon Bread to Overnight Yeast Waffles with Carmel Maple Syrup and Bourbon Mint Punch.

What this cookbook offers that others do not is a look at Kentucky’s history through food and stunning physical structure.

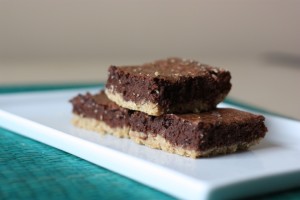
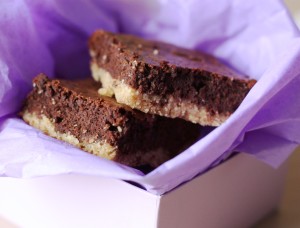
You probably aren’t surprised that I was drawn to a dessert within the cookbook. Not just any dessert, but a brownie that includes ground black pepper and an oat bran crust! A recipe contributed by John Martin. I substituted my usual white whole wheat flour and Demerara sugar and they turned out beautifully.

This is one fantastic brownie. I’d be willing to bet you haven’t had anything quite like it. Appropriately, it is as unique as the Old Louisville featured in the cookbook.

John’s Cocoa-Coffee Brownies

From A Feast for the Eyes: Recipes from America’s Grandest Victorian Neighborhood by David Dominé
Reprinted with permission from McClanahan Publishing House, Inc.

½ cup cold butter
¼ cup oat bran
¾ cup unbleached AP flour
¼ cup sugar
½ cup unsweetened cocoa
¼ cup AP flour
¼ tsp cinnamon
1/8 tsp ground black pepper
½ tsp baking powder
14 oz sweetened condensed milk
1 egg, slightly beaten
2 tbsp Kahlua
1 tsp vanilla extract
1 cup chopped pecans

In a large bowl, cut the butter into the oat bran, unbleached flour and sugar and press the mixture into a greased-and-floured 13 x 9 – inch pan. Bake at 350 degrees for 10 minutes.

In the same bowl, sift together the cocoa, flour, cinnamon, pepper and baking powder. Add the condensed milk, egg, Kahlua, vanilla extract and pecans, stirring to combine.

Spread mixture over the cookie crust and bake until the filling sets, approximately 20 minutes. Cool on a rack and cut into squares.

Disclaimer: A review copy of this book was sent to me free of charge. I was under no obligation to blog about it and received no compensation for doing so.

Spiced Hot Chocolate

January 19, 2011

Snow is a mandatory part of winter for me. If I’m going to be freezing my buns off, I might as well have something beautiful to look at. Cold with no snow kind of makes me think – why bother? I’d rather have a beach.

Now, keep in mind that I live in Kentucky and not in a northern state where snow fall is plentiful. However, I will say I spent many a winter day trekking through deep snow on Purdue’s campus.

There is a bit of a catch when it comes to enjoying snow in central Kentucky. What you get in beautiful horse farms covered in white, you pay for in the public freaking out when snow is predicted.
The state is on a bit of an imaginary line when it comes to winter weather and snow fall. Some years we get it and some years we don’t. It could go either way. Seeing how many people feel very strongly about their southern roots and warm temps, most would prefer that we didn’t get any at all. So you can imagine what it is like here right now with the recent prediction of 3 to 5 inches starting tomorrow afternoon.

Yes, I can hear my readers in the great white north laughing from here. Truth is it only takes a prediction of a half inch for the supermarket shelves to be wiped clean of milk, bread and toilet paper.

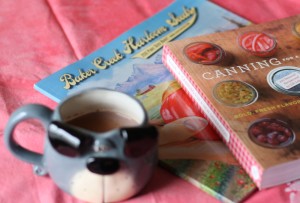
Despite the madness, there is nothing like a winter night in, awaiting snow. It happens to be the perfect moment for some really good hot chocolate. It also doesn’t hurt to put it in a really cute mug.

My limited time curled up on the couch so far this winter as been spent doing two things. Practicing my knitting which I just began to learn this month as part of a new years resolution, and planning our garden for this spring. I’ve been paging through seed catalogs and I think we are going to have to buy some more property to accommodate all I want to grow!

Whether you are spending your winter nights reading or working on your laptop, this spiced hot chocolate will warm you up.

Spiced Hot Chocolate

This recipe serves one. Double as needed and feel free to add more or less of any of the ingredients to your taste.

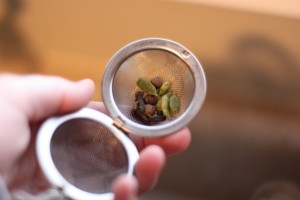
2 to 3 each of whole spices – clove, cardamom, black peppercorns, allspice
1 to 1 ½ cups milk
2 tbsp unsweetened cocoa powder
1 tsp sugar (I used Dememara)

Place the spices in a tea ball or in a piece of cheesecloth tied off at the top. Anything that will allow you to steep it is fine.

Heat the milk, cocoa powder and sugar over medium high heat. Whisk well to incorporate the cocoa. Place the spice ball into the milk.

Heat the hot chocolate 2 to 3 minutes being careful to keep it under a boil, just barely at a simmer. Stir often. Once hot and the spices have been given time to infuse the milk it is ready to serve.

Serve in your favorite mug, curl up and enjoy!

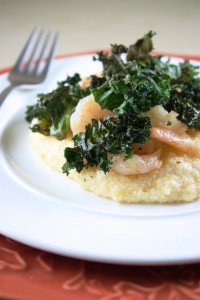
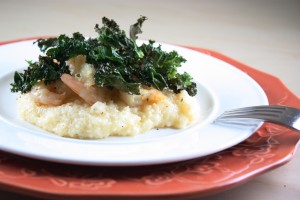
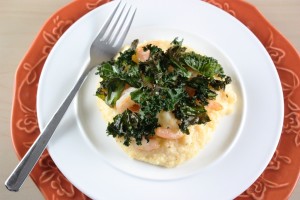
Shrimp and Grits with Kale Chips

January 17, 2011

Why in the world did it take me so long to try kale chips?!

I’ve seen them all over food blogs and kept thinking – oh, I need to try those at some point – but just never got around to it.

My husband did the grocery shopping last week and I had kale on the list. While I’d much rather buy local kale in the bunch this time of year, well, that just isn’t happening. The second choice, supermarket kale by the bunch, has looked awful lately. So he picked up one of those monster bags of chopped kale.

At first I thought, what in the world am I going to do with all this before it goes bad? I mean, I like kale, but that is A LOT of kale. Then I remembered kale chips. Perfect solution.

If you haven’t made them, it is so easy. Spread your chopped kale out on a baking sheet in a single layer. Drizzle with olive oil and toss gently to coat. Sprinkle with salt and pepper. Bake at 350 degrees F for 15 minutes.

There you go. Crispy, smoky little vegetable chips. Amazing that a veggie turns into such a great salty snack. We practically ate them all off the pan before dinner.

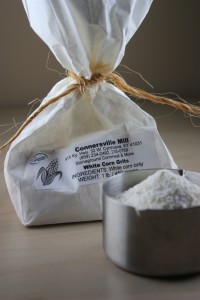
I picked up some locally ground grits from a festival a while back and I’ve had shrimp and grits on my mind. Once I had the kale chips I knew right away they would provide the perfect way to add a dark leafy green to this southern staple. The crispy green leaves add a crunchy texture and smoky flavor to the shrimp and creamy, cheesy grits.
Shrimp and Grits with Kale Chips

3 cups chopped kale leaves
1 cup dry grits
4 cups water
1 cup shredded cheddar cheese
2 tbsp olive oil
3 cloves garlic, minced
1 lb raw shrimp, peeled and deveined
½ tsp smoked paprika
¼ tsp crushed red pepper
½ tsp salt
¼ tsp black pepper

Preheat your oven to 350 degrees F and prepare kale as described above. Lay it out on a baking sheet, sprinkle with olive oil, salt and pepper and bake for 15 minutes. Set aside.

Meanwhile, bring the 4 cups of water to a boil. Add the grits and stir often until it reaches a porridge-like consistency, about 20 minutes. Stir in the cheese until mixed well. Add salt and pepper to taste, if you desire.

While the grits are cooking, heat the olive oil over medium-high in a skillet. Add the garlic, cook one minute.
Add the shrimp and cook until they turn opaque, or a whitish, pink color. Sprinkle in the paprika, red pepper, salt and black pepper.

To serve, divide the grits into 4 bowls. Top with ¼ of the shrimp. Layer on kale chips to your taste. Serves 4.

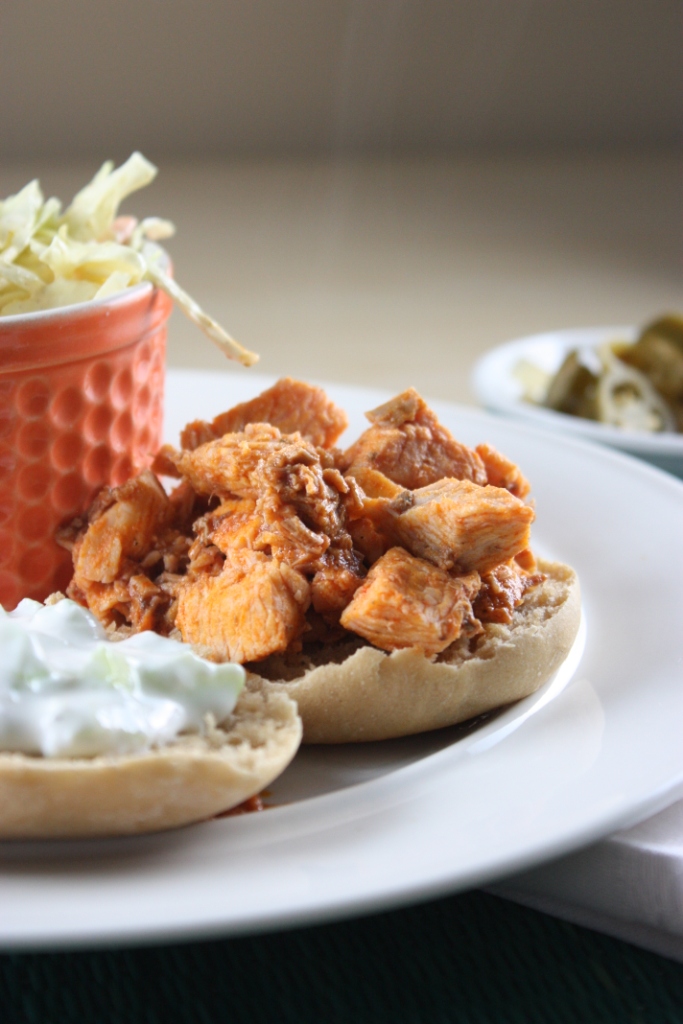
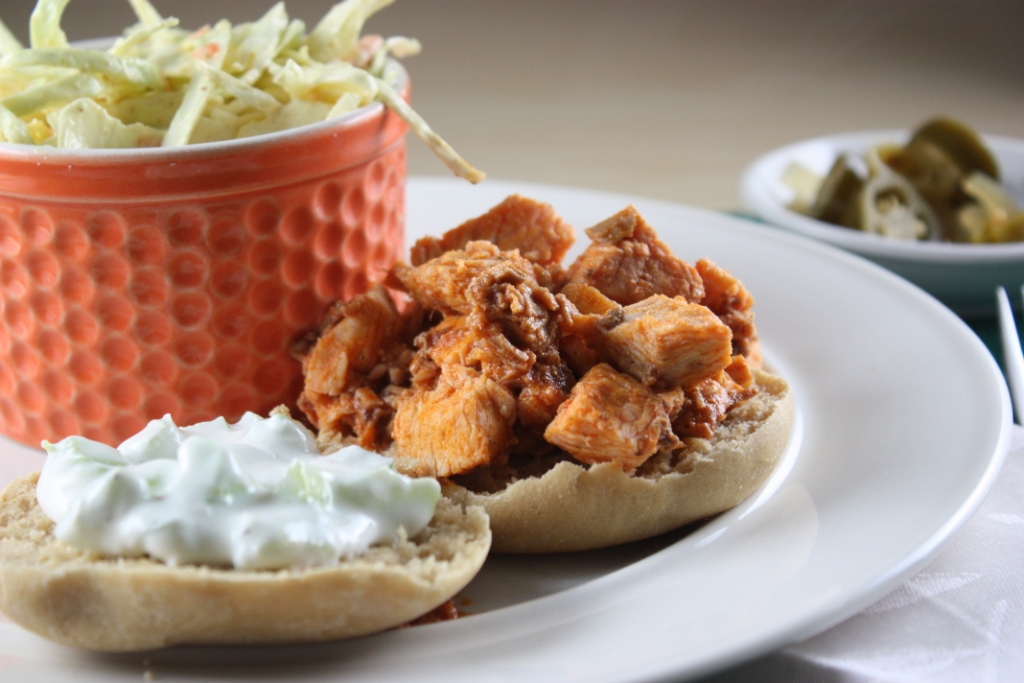
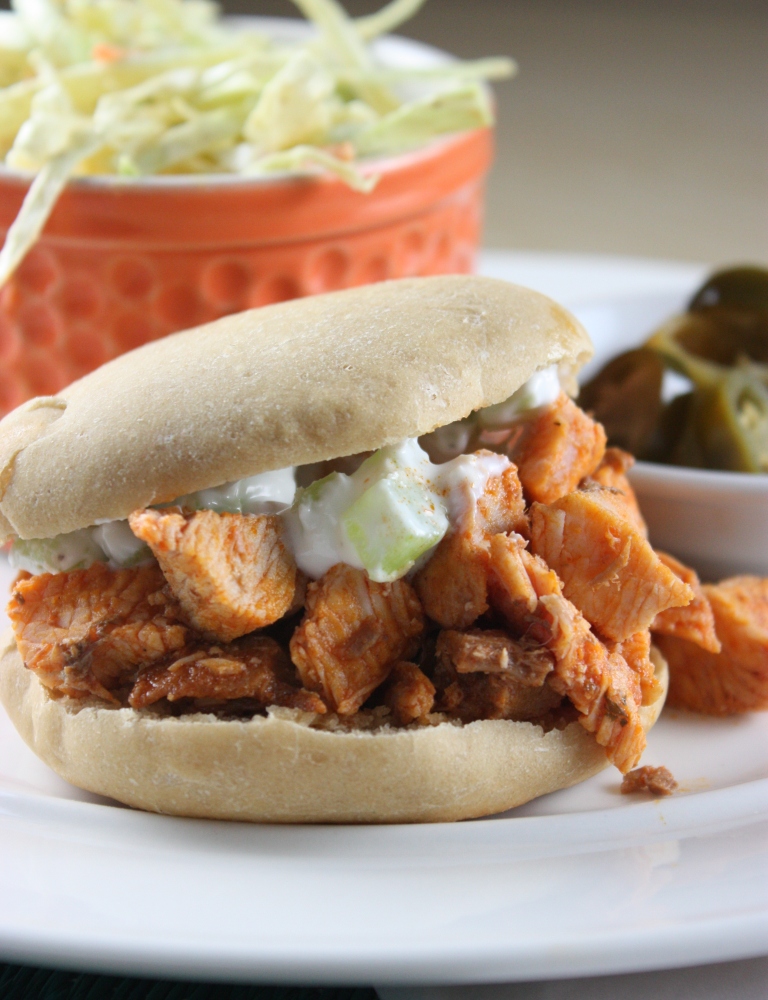
Buffalo Turkey Sandwiches with Celery Yogurt Spread

January 12, 2011

Buffalo Turkey Sandwiches with Celery Yogurt Spread Recipe | Fake Food Free

When it comes to flavors that I would consider truly US American, buffalo tops the list. No, not buffalo the meat, but buffalo the sauce. It is one taste that I haven’t found anywhere else in my travels, and it was one thing we did miss when we were living abroad.

There is just something about that spicy, buttery flavor that can only be cooled by celery and some ranch or blue cheese.

I’ve come to incorporate it in several of our meals at home. We love buffalo chicken pizza and sandwiches. Of course, chicken is usually the meat of choice with buffalo sauce, but I thought it couldn’t hurt to give it a try with turkey considering our recent over abundance.

Buffalo Turkey Sandwiches with Celery Yogurt Spread


We don’t buy bottled dressings anymore and although I know it is possible to make blue cheese and ranch dressing, I didn’t have the ingredients for either. Instead, I turned to some of that plain 2% Greek yogurt Chobani recently sent to me.

I mixed it with finely chopped celery and onion and flavored it with salt, pepper and garlic powder. Now, if I’d had some blue cheese to mix, that would have made it even better, but alone it went wonderfully with the buffalo turkey.

Recipe for Buffalo Turkey Sandwiches with Celery Yogurt Spread


The buns were made from the same recipe as used with the bread baking pottery I posted about last week. I just used white whole wheat instead of unbleached white flour, and then I split it into individual buns before the last time I let it rise. I placed the buns on a baking sheet in a hot 350 degree oven and they baked up in about 15 minutes.

I paired the sandwiches with a simple coleslaw and few of the pickled jalapenos I canned this summer. Delicious!

Buffalo Turkey Sandwiches with Celery Yogurt Spread

1 cup shredded or chopped cooked turkey
2 tbsp unsalted butter
¼ cup hot sauce (we use Frank’s Red Hot)
¼ cup yogurt
3 tbsp celery, finely chopped
1 tbsp onion, finely chopped
¼ tsp salt
¼ tsp black pepper
¼ tsp garlic powder

Place the turkey in a skillet. Add 2 tbsp of water to the skillet and turn on medium-high heat. Cook the turkey until it is heated through. Add the butter and stir until melted. Stir in the hot sauce and coat the turkey.

In a small bowl stir together the yogurt, celery, onion, salt, black pepper and garlic powder. Split two buns and place half of the yogurt spread on each bun. Add half of the turkey to each bun. Sandwich it together and enjoy. Serves 2, but can easily be doubled or tripled.


Disclaimer: Chobani sent me yogurt free of charge. I was not obligated to post about it and received no compensation for doing so.

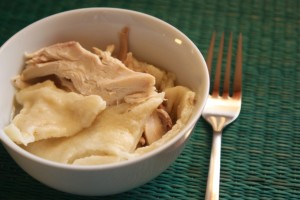
How to Make Homemade Chicken and Dumplings

January 9, 2011

In my family, a high standard has been set for Chicken and Dumplings. One so high that few people or recipes can successfully reach it. Why? Well, because we grew up with my mom making my great grandmother’s Chicken and Dumplings.

My mother did such a great job perfecting the recipe that even my grandmother would fail and call my mom to make them for her.

As you can imagine, we tend to judge other recipes by this high standard. Let’s start by saying that noodles that try to pass as dumplings are insulting. We’ll pass on those drop biscuit dumplings as well.

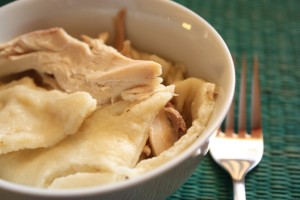
The dumplings must be flat, yet puffy with a firm bite, and most importantly, homemade.

I realize now that these dumplings are a lot like a large version of spaetzle. This makes complete sense considering my family is of German descent. There is a good chance that these dumplings were spaetzle at one point in my family history.

As a kid I would fish out all the dumplings from the pot and leave the chicken for my dad. I can’t say that this has changed too much, but as an adult I do include some chicken too, but mostly the white meat.

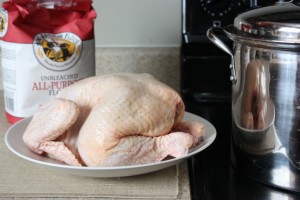
When we started buying locally raised, pastured chickens from nearby farms, and once I finally mastered cooking a full chicken and not just pieces, I knew it was time to try my great grandmother’s chicken and dumplings.

The whole process is actually quite simple and requires few ingredients. To summarize, you make a stock with the whole chicken, make your dough for the dumplings and cut it, remove the cooked chicken, cook the dumplings, then add the shredded chicken back in.

My mom warned me before I started that the key to the perfect dumplings is no stirring. Once you drop them in the boiling water, resist the urge to stir. Simply use a spoon to push them gently to the side and add more. If you stir them, they will break up and you’ll be left with a doughy mess instead of individual dumplings.

Are you ready to try it yourself? Well, here you go. It’s only 8 easy steps.

Homemade Chicken and Dumplings

1 whole chicken
3 eggs
1 tsp salt
3 tsp baking powder
¼ cup oil (I used olive oil, the original recipe calls for lard)
¼ to ½ cup milk
3 cups unbleached white flour

Step 1:

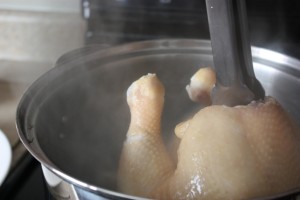
Place your chicken in a large soup pot. Cover it completely with water. Bring the water to a boil, reduce the heat to just above a simmer and partially cover the pot.

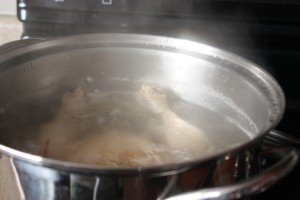
As the water begins to boil the chicken will be making your broth. Once the water is hot, the skin will begin to cook immediately and look a bit like this. Be sure you have a pair of tongs handy to work with the chicken.

Continue to cook the chicken for 45 minutes to 1 hour.

Meanwhile, begin your dumplings.

Step 2:

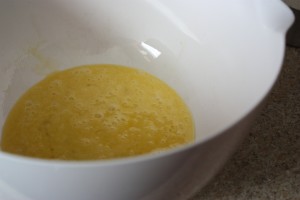
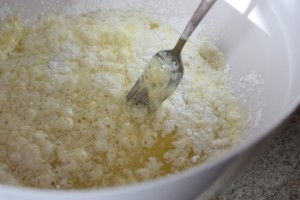
In a bowl, combine the eggs, salt, baking powder, oil and ¼ c milk. Whisk with a fork. Begin to add in the flour, a little at a time, until a dough is formed. It should be firm and only slightly stickier than a bread dough. If the dough is too dry, add in more milk until you reach the right consistency for the dough.

Step 3:

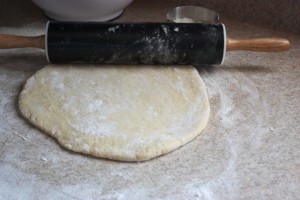
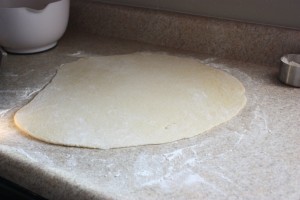
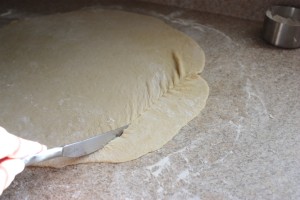
Place the dough on a floured surface and begin rolling it out into a large circle. You want it to reach about 1/8 to 1/4 inch in thickness. Continue to sprinkle the dough with flour as you roll to keep it from sticking.

Step 4:

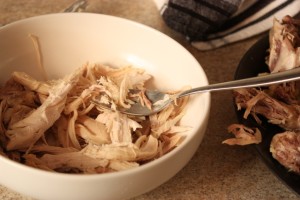
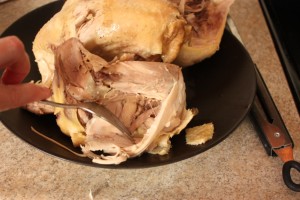
Next, check your chicken. It is best to allow it to cook until the chicken begins to fall apart. Use a large spoon and tongs to help you carefully remove it from the hot water. Transfer it to a plate and let it cool to the point where you can shred it with your hands or with a fork.

Ensure that your broth is at a low boil, you may need to increase the heat a bit after removing the chicken.

Step 5:

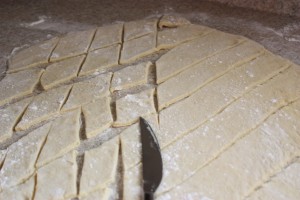
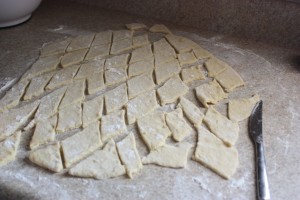
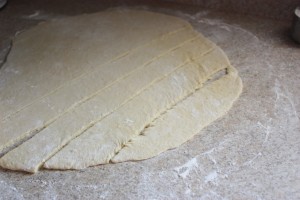
Return to your dumplings and begin slicing them. I used a steak knife with a serrated edge. Cut the dumplings into strips about 1 to 1 ½ inches wide. Cut across from the opposite direction to create diamond shapes.

Step 6:

If your chicken is cool enough to work with, begin shredding the meat you want to use for your dumplings. You can use all the dark and white meat you are able shred off the bone, or reserve some of the meat for later use. It really depends on how meaty you want your dumplings and how many people you are serving.

Shred the chicken and set aside. If all of the meat isn’t cool enough to touch continue on with the dumplings and you can shred the rest of the meat once the dumplings are cooking.

Step 7:

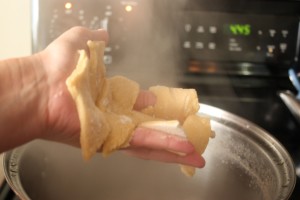
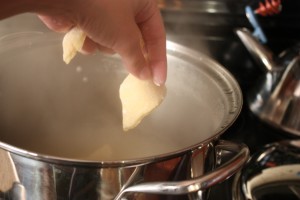
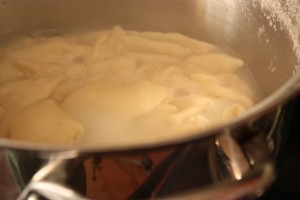
Carefully grab a handful of dumplings, keeping them somewhat separated and slowly add them to the boiling broth. Continue dropping the dumplings in one to two at a time and be cautious of hot water splashing out.

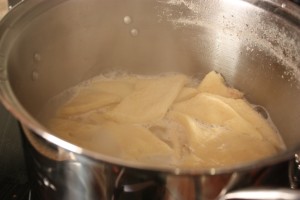
The dumplings will immediately rise to the top as they cook. As you need space, use a spoon to gently move the cooking dumplings to the side of the pot as you add in more. Do not stir! Continue this process until all your dumplings are in the pot.

Once they are all in the pot, allow them to cook 2 to 3 minutes and test one. They should be firm and cooked through, yet they will be soft and flexible, a little like a noodle.

Step 8:
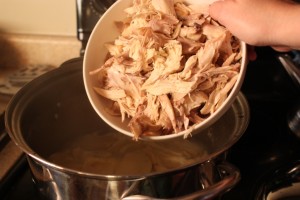
Once the dumplings are done, or are very closing to being done, begin to add in the shredded chicken. At this point you can gently stir the chicken and the dumplings.

Allow the chicken to heat through and the meal is ready to serve! Season with salt and black pepper to taste. Serves about 6.

Honey Pecan Baked Brie

January 7, 2011
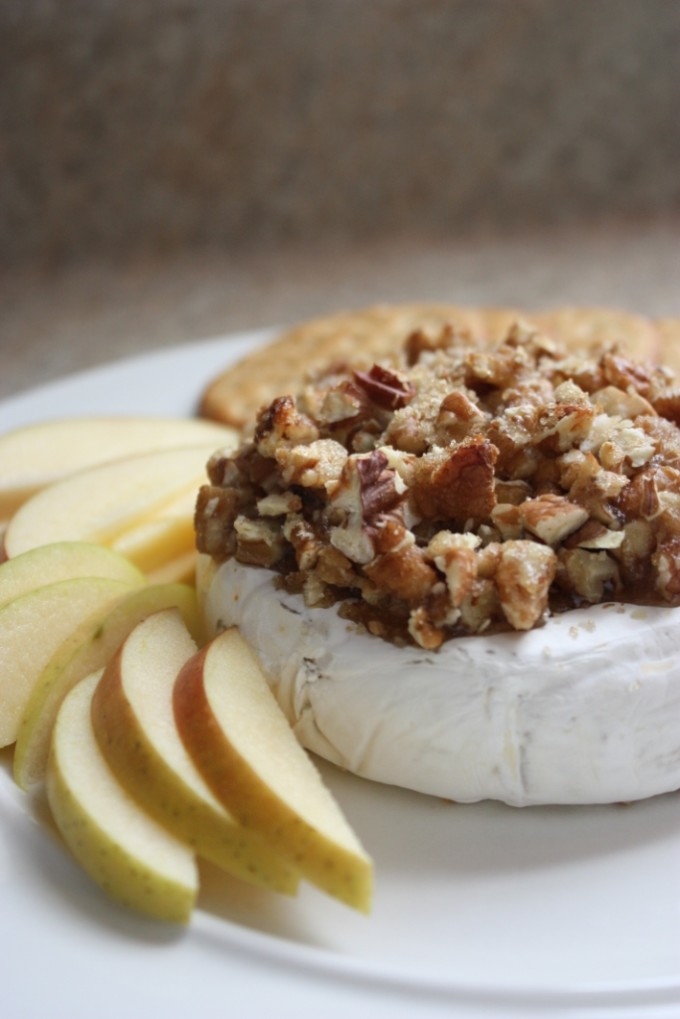
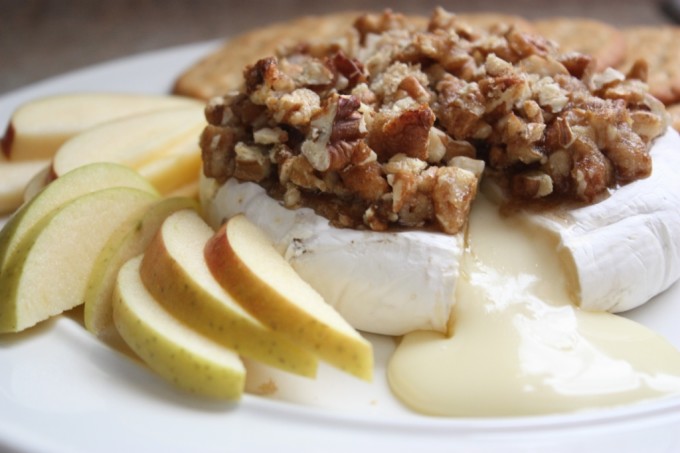
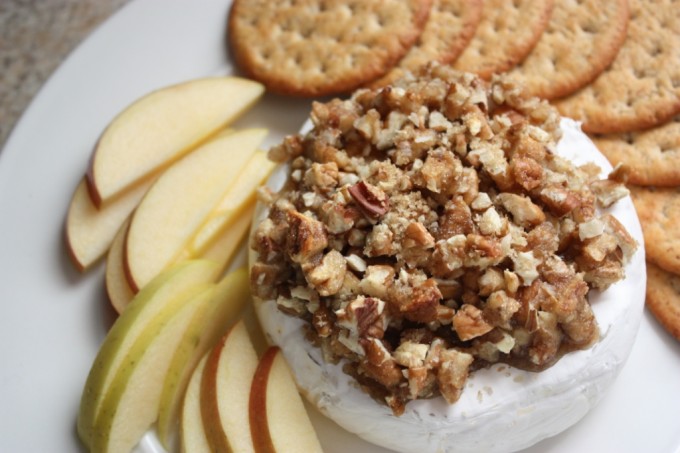
This easy baked brie is covered in sweet honey and crunchy pecans. Serve it with slices of crisp apple or your favorite crackers.  Honey Pecan Baked Brie Recipe | Fake Food Free | A simple appetizer on game day or for holiday parties!

When it comes to big sporting events I have to admit, it is all about the game food. Our game food has stepped up a notch in recent years. Sure, we still have nachos, and we can even find chicken wings and drummies from local farms which I can coat with buffalo sauce. But beyond that, I become a bit of a snack snob.

If I have my way there will also be some gourmet cheeses, maybe some bruschetta or pesto. This baked brie is a perfect example. 

Honey Pecan Baked Brie Recipe | Fake Food Free | A simple appetizer on game day or for holiday parties!
I’ve had baked brie at parties and restaurants, but I rarely make it myself. On New Year’s Eve I decided to give it a try and now (regardless of whether or not we care about the teams) I’ll be making it for game day, too!

There are lots of baked brie recipes out there. I originally wanted to make one with a jam on top, but couldn’t find the jam I wanted in an HFCS-free version. Instead, I combined pecans, mascavo sugar and honey. It formed a praline-type topping that was delicious with the cheese.

This recipe is super simple and you’ll have warm, gooey, sweet and salty goodness in a matter of minutes!

Honey Pecan Baked Brie Recipe | Fake Food Free | A simple appetizer on game day or for holiday parties!

Honey Pecan Baked Brie
Write a review
Print
Ingredients
  1. 1 round Brie cheese
  2. ¾ cup pecans, chopped
  3. ¼ cup mascavo (or brown) sugar
  4. 2 tablespoons local honey
Instructions
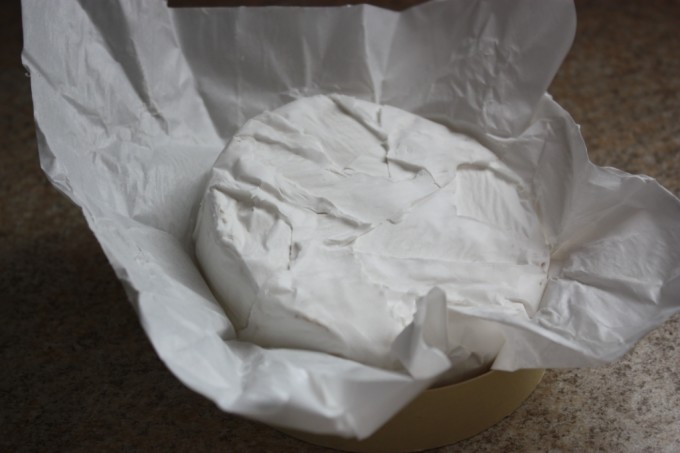
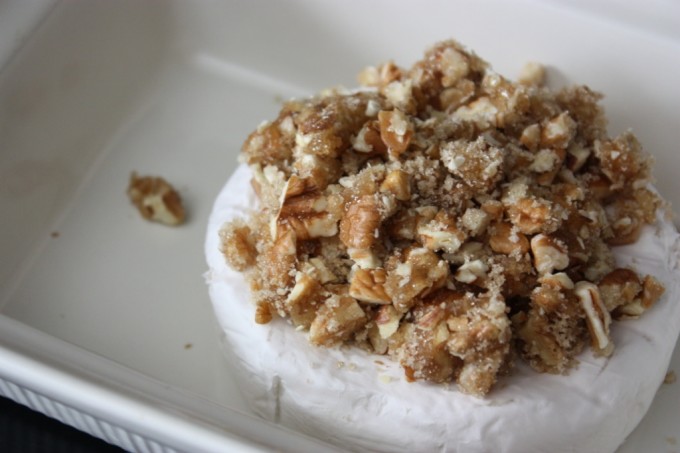
  1. Preheat the oven to 350 degrees. Place the unwrapped wheel of brie in a shallow baking dish. In a small bowl, mix together the chopped pecans, sugar and honey. It will form a thick, sticky paste.
  2. Spoon the pecans and sugars over the cheese and spread evenly. Bake the cheese for 10 to 15 minutes, until the pecans and sugar begin to caramelize. Let sit 3 to 5 minutes before serving.
Fake Food Free https://www.fakefoodfree.com/
 

Honey Pecan Baked Brie Recipe | Fake Food Free | A simple appetizer on game day or for holiday parties!

Honey Pecan Baked Brie Recipe | Fake Food Free | A simple appetizer on game day or for holiday parties!
 
Thanks for reading! All images and content are the property of Fake Food Free unless otherwise stated. Please do not republish full recipes and images without written permission. What is okay? Feel free to Pin images, share links to my posts or share the photo in a round up post with the title of this recipe and a link back to the post. Confused about copyright and food blogs? Here is some helpful information on Recipe Attribution. If you want to use a photo or full recipe, just ask. I’m sure we can work something out.  

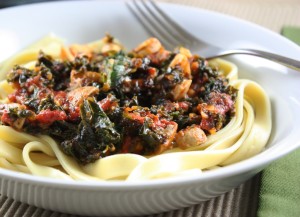
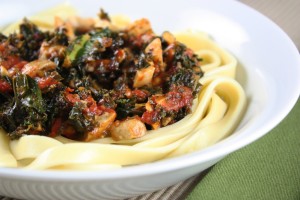
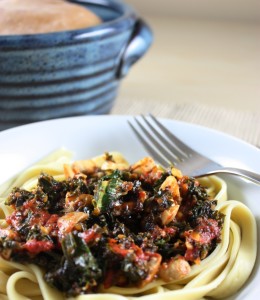
Hearty Tomato, Kale & Mushroom Sauce (Over Handmade Pasta)

January 6, 2011

Have you ever just thrown something together and it turned out great? I think I’m about 50/50 when it comes to experiment success. Sometimes I get ideas and begin throwing things in the skillet and the result in inedible. Other times, the cards seem to be stacked right and I end up with a great meal I can’t wait to make again.

Or in this case, a sauce.

We decided to close out 2010 with a homemade meal, and my husband and I tried making pasta for the first time. I put that part in parenthesis because a handmade pasta post will come later once I gather some good photos. I do have to say that it was so wonderful, I’d be willing to put in the effort on any busy week night to make pasta again.

But this post is about the sauce.

I love rich and hearty red sauces. The kind of sauce that is so good even a meat lover would forget that it is vegetarian.

This sauce is it. It was perfect for the pasta we made and I’m ready to try it with a different version like ravioli or lasagna.

Hearty Tomato, Kale and Mushroom Sauce

1 tbsp olive oil
2 medium tomatoes, peeled (I used thawed, frozen ones from the garden)
3 cloves garlic, minced
5 button mushrooms, chopped
2 cups kale, finely chopped
¼ cup water
1 tsp mascavo or brown sugar
1 tbsp balsamic vinegar
1 tsp dried oregano
1 tsp dried parsley
1 tsp salt
½ tsp ground black pepper
¼ tsp crushed red pepper

Heat the oil in the skillet, add the garlic. If using a thawed, frozen tomatoes place them in the skillet and break up with your spoon. Otherwise, roughly chop the tomato and place in the skillet. Add the mushrooms and cook for 2 to 3 minutes over medium heat.

Add the kale, stir to coat with any oil and the other ingredients. Add the water, place a lid on the skillet. Simmer for 10 minutes stirring occasionally. The tomato should break down completely and the kale should be tender.

Remove lid and stir in the sugar, balsamic vinegar, basil, oregano, salt, black pepper and red pepper. Cook for 1 to 2 minutes more and serve over pasta. Makes 2 servings.

Want to create beautiful food and product photos that you can't wait to share?!
Discover your style, control the light, and shoot using the tool you know how to use (yes, your phone included). Learn about free resources, Live Q&As with Lori, and online courses you can take from anywhere in the world!
We respect your privacy. Unsubscribe at any time.