About a year ago I caught a post on The Kitchn called How Cookbooks Are Made: A Peek Into a Cookbook Photo Shoot. Since reading that story, I’ve had my eye out for Faith Durand’s, Bakeless Sweets.
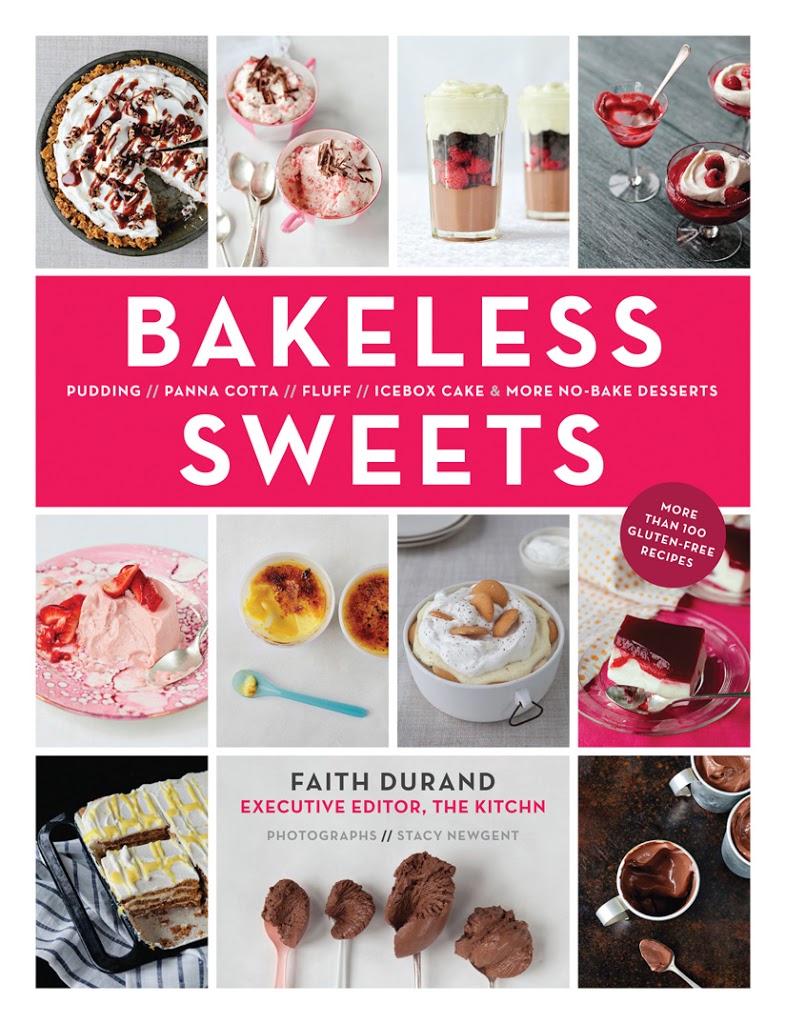
I received a copy a few days ago, and there is already a good chance that I will refrain from turning on the oven all summer so that I can try every recipe in this book.
It has reintroduced me to a world of desserts that were somehow lost in my past. We ate many scratch-made puddings growing up so I debated why bakeless desserts had failed to get my attention in adulthood. The reason soon dawned on me.
After the scratch-made puddings of my youth, somewhere along the line bakeless desserts became fake. As in, they meant boxed pudding, jellos, and oil-based whipped cream — things that no longer have a place in my kitchen. It turns out that when those things went, so did all my desire to make bakeless desserts.
And that is what makes this cookbook brilliant. There is not a box of pudding required among its pages. In fact, Faith offers her own recipe for making pudding mix at home to keep on hand, eliminating the need for even the busiest cook to turn to the boxes.
As delicious as the many pudding recipes sound, don’t think for a minute that they are all this book has to offer. Every creative combination of stove-top and refrigerator desserts you can think of (and many more you never imagined) are in this book.
As Faith pointed out in that post I read a year ago, there is no cookbook like this on my shelf. It is truly unique, and not to mention, eye-opening when it comes to dessert.
A few of the recipes I plan to try out this summer include — Salted Caramel Risotto, Goat Cheese Panna Cotta with Cranberry-Port Glaze and Papaya Filled with Coconut Cream and Mango.
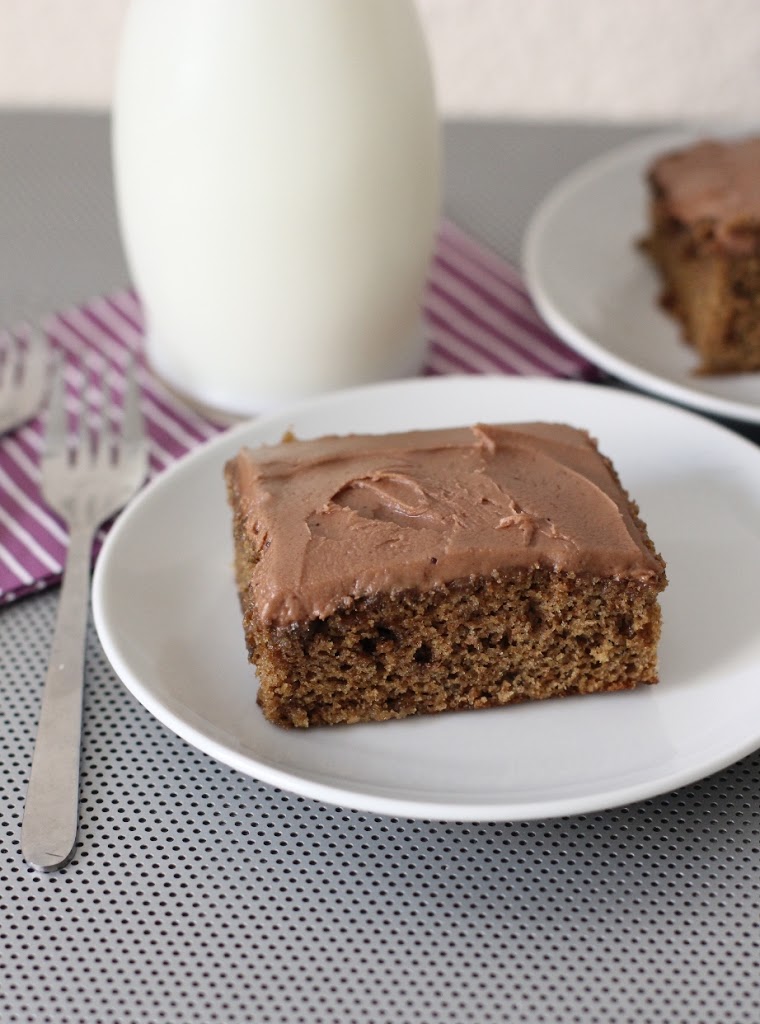
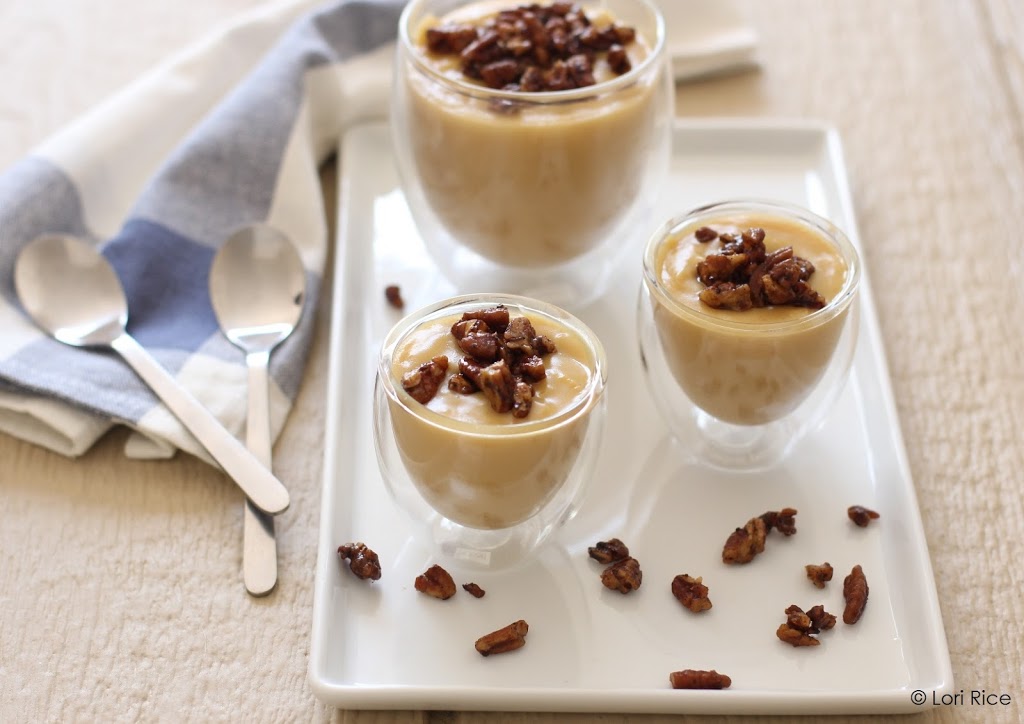
The book is also filled with gorgeous photos by Stacy Newgent. To be honest, I never thought mousse and jellies could be so pretty. The spoon selection used in the photographs is enough to make you want to spend the day shopping at an antique store so you can make your finished bowlful as beautiful.
I flipped through the pages admiring the photos as I tried to decide what to make. It didn’t take long before something on page 62 gave me a few flashbacks to my Old Kentucky Home. After living there for 10 years, I welcomed the change that came with moving to California, but there are two times a year that I know I will always miss.
Spring and autumn — when the horses are running.
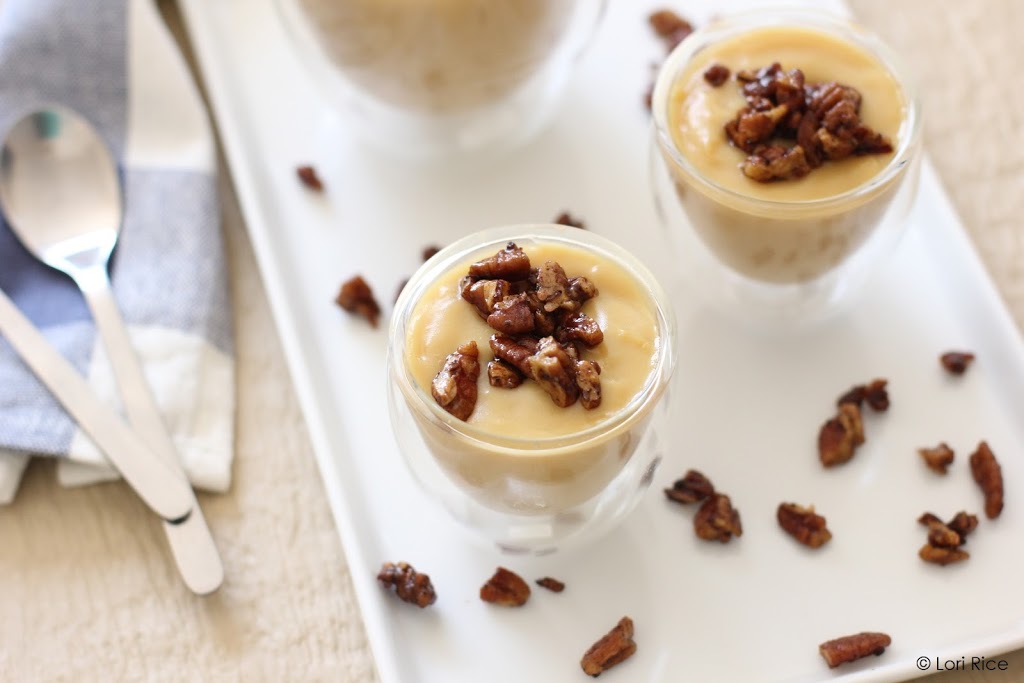
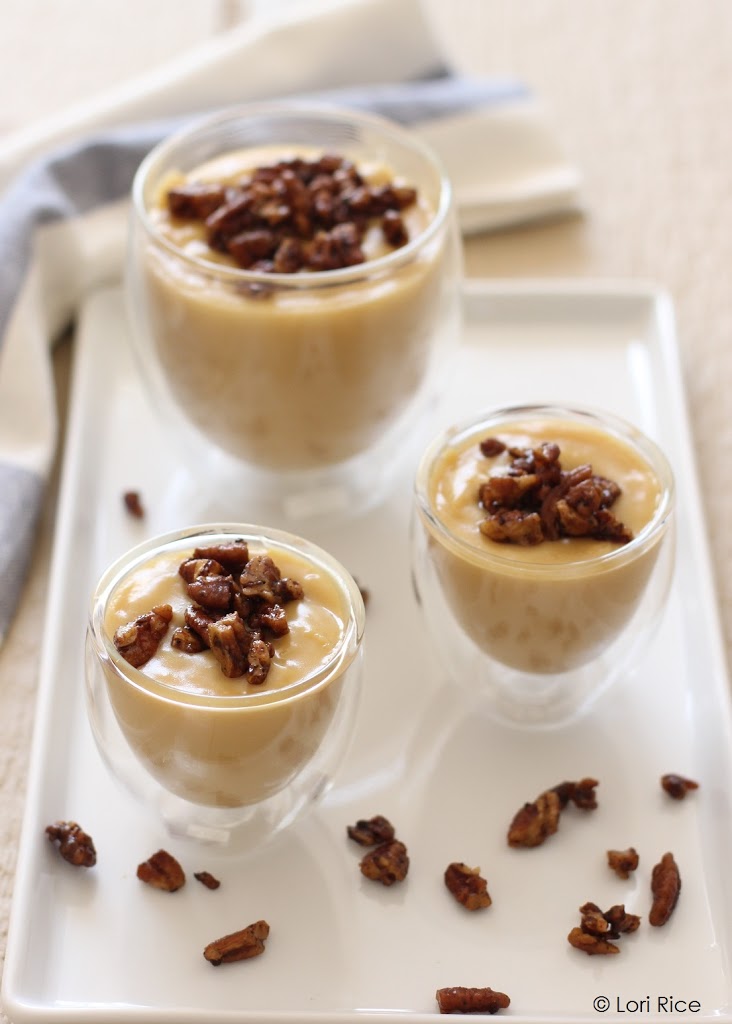
I’m not exactly a true racing fan, but no one can deny the spirit in the air as Derby nears each May. So when I saw a recipe for Maple-Bourbon Budino with Spiced Pecans I knew I needed to add it to my long distance Derby celebration. (Budino is an Italian dessert that is similar to pudding, in case you were wondering like I was.)
A few tips. Just go ahead and make two batches of the pecans because you’ll have a hard time keeping your hands out of them before you finish the pudding. Also, don’t be scared of pudding. I have to admit the whisking, tempering and boiling all get me a bit nervous because I’ve failed so many times in the past. But thanks to Faith’s step-by-step instructions, I finally had a true pudding success. No lumps to be found. And the flavor of this rich, sweet and salty budino can’t be beat. Thanks to this book I was quickly reminded that I LOVE pudding, too!
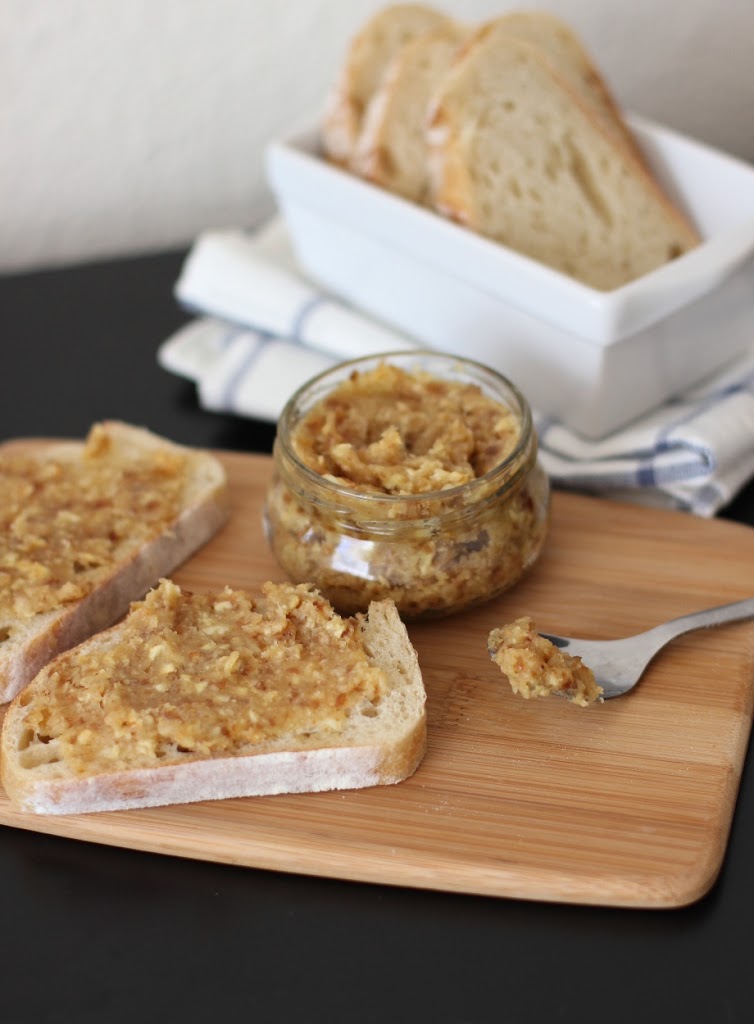
Maple-Bourbon Budino with Spiced Pecans
(Both recipes reprinted with permission from Abrams Books.)
Maple and bourbon were meant to go together, with maple’s sweet fragrance and bourbon’s vanilla smoothness. They pair especially well in this intensely rich and sweet budino, which mounds up on the spoon like creamy maple syrup. It’s best eaten warm.
Makes 2 cups (480 ml) or eight servings.
Gluten-free.
1/4 cup (55 g) packed dark brown sugar
1/4 cup (60 ml) Grade B maple syrup
1 cup (240 ml) cream
2 tablespoons cornstarch
1/2 teaspoon kosher salt
3/4 cup (180 ml) whole milk
3 large egg yolks
1 teaspoon pure vanilla extract
2 tablespoons bourbon
Warm and sweeten the cream: Bring the sugar and maple syrup to a boil over medium heat in a 3-quart (2.8-L) saucepan. Turn the heat to low and simmer for 10 minutes, or until the mixture is reduced by about half. Whisk in the cream and heat until the surface begins to quiver. Turn off the heat.
Make a cornstarch and egg yolk slurry: Meanwhile, whisk the cornstarch and salt together in a medium bowl. Slowly whisk in the milk, making sure there are no lumps. Whisk in the egg yolks. It is important that this mixture be as smooth as you can make it.(To be really sure, reach into the bowl and gently rub out any lumps between your fingers.)
Temper the slurry: Pour 1 cup (240 ml) of the hot cream into the bowl with the slurry and whisk vigorously to combine. They should come together smoothly, with no lumps. If you see any, add a little more liquid and whisk them out. Pour the tempered slurry back into the pan slowly, counting to 10 as you do and whisking vigorously.
Thicken the pudding: Turn the heat back on to medium. Bring the mixture to a simmer, whisking constantly and vigorously, working all the angles of the pot and scraping the bottom. It will take 2 to 5 minutes for the custard to come to a boil, with large bubbles that slowly pop up to the surface. Boil, whisking constantly, for 2 minutes.Turn off the heat. Stir in the vanilla and bourbon.
Chill the pudding: Immediately pour the custard into a shallow container. Place plastic wrap or buttered wax paper directly on the surface to cover it, and refrigerate. This recipe is best served warm—almost immediately, or after 30 minutes in the refrigerator. Serve it with a spoonful of spiced maple pecans (recipe follows) scattered on top.
Spiced Maple Pecans
These lightly toasted spiced pecans are just piquant enough to balance the sweet richness of the Maple-Bourbon Budino.
Makes 1 cup (240 ml).
Gluten-free.
1 cup (110 g) roughly chopped pecans
1/4 teaspoon cinnamon
1/8 teaspoon ground ginger
1/8 teaspoon chipotle powder
1 tablespoon (14 g) unsalted butter
2 tablespoons Grade B maple syrup
1/2 teaspoon kosher salt
Butter a baking sheet and have it ready. Heat a large skillet over medium-high heat and add the pecans. Cook for about 3 minutes, stirring frequently, until they smell nutty and toasted. Add the spices and cook for 10 seconds, stirring. Add the butter and maple syrup and stir until melted, then bring to a simmer. As soon as the liquid bubbles down into a thick glaze, remove the pan from the heat.
Stir in the salt. Turn out onto the baking sheet. Store in an airtight container for up to 1 week.
Disclosure: This book was sent to me for review purposes. I was not required to write about it and received no compensation for doing so. Thoughts are my own, and I also love pudding.