Lately, I find myself being associated more with beer, given my new book. But truth be told, I love cider, too!
I’ve done a bit of cider writing this year and I’m intrigued not only by the varieties cider but by the varieties of cider apples. There are so many types I’m just beginning to learn about them along with the type of flavors they bring to the finished product.
So I drink cider, but I have yet to attempt making cider on my own.
When that time comes, though, good news. I have the perfect resource.

My friend Emma published her new book, Modern Cider, a few months ago. This follows up her first two great books, True Brews and Brew Better Beer. Modern Cider is loaded with the coolest recipes for homemade cider. But not only that. There are shrubs, fruit wines, and vinegars, too!
Emma transforms the cidermaking process into simple and approachable steps. I have several on my list to make.
For now, though, I don’t have all of the equipment that I need. (There is a great resource list in the book when I’m ready to get set up.) Luckily, there are all those other options I mentioned!
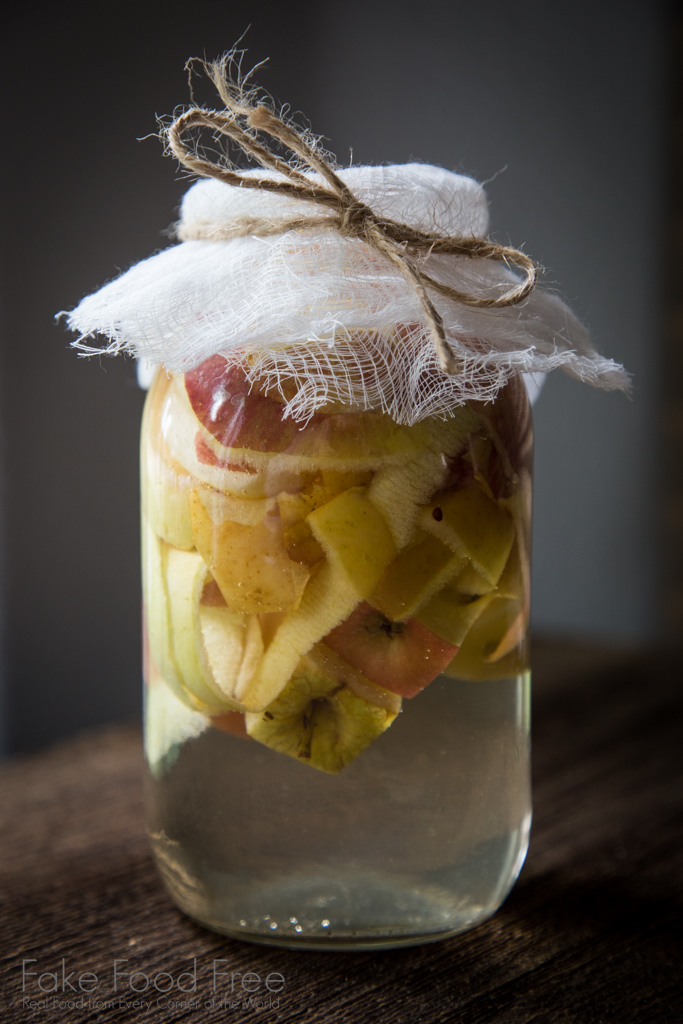
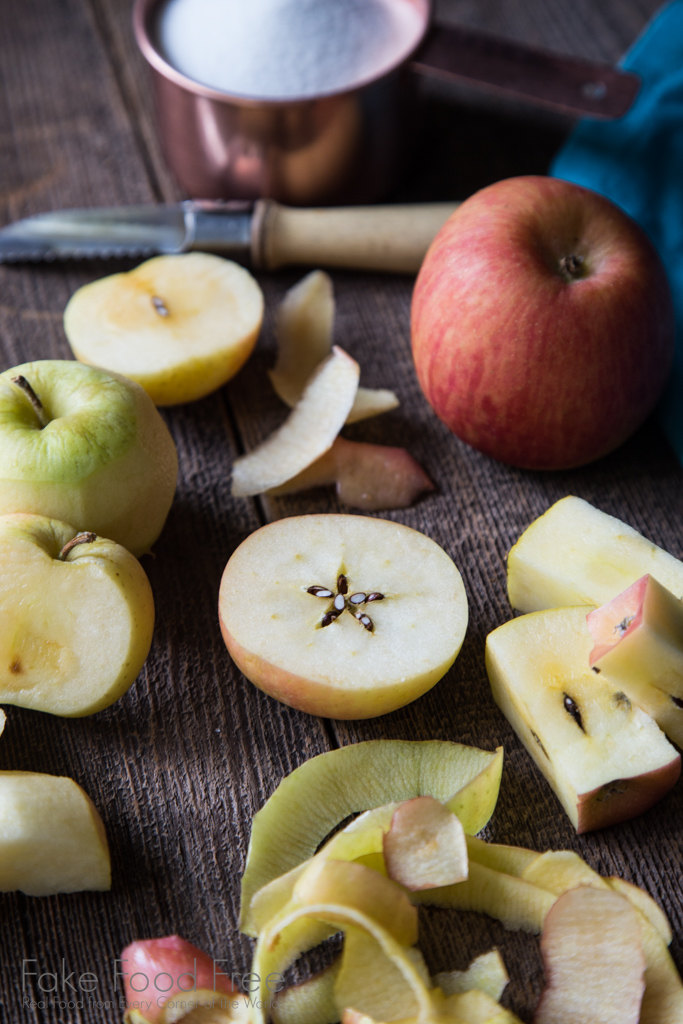
As soon as I saw it, I loved the idea of apple scrap cider vinegar. Anything that puts waste to use is a plus for me. It’s also super simple. Aside from a little stirring, it’s a sit and wait situation. You are rewarded with tangy vinegar that is great for salad dressings.
If you have any cider lovers and diy-ers on your list this year, this beautiful book is a great option.
With recipes like this, not only will you have great cider to drink, but you’ll have vinegar for dressings ready to go when we all resolve to step up our salad game in the New Year!
Apple Scrap Cider Vinegar
What you’ll need:
2 c (230 g) packed apple scraps
1 qt (0.9 L) warm water
1⁄2 c (100 g) white sugar
1⁄4 c (60 ml) raw cider vinegar, such as Bragg’s (optional)
How to make it:
Pack the apple scraps into a clean glass container, such as a canning jar, leaving about 4 inches of headroom.
Combine the water and sugar and stir until the sugar dissolves. Pour the sugar water over the apple scraps. Cover
the scraps by an inch or two, but leave a few inches of headroom in the jar.
Cover the mouth of the jar with a clean, tightly woven dishtowel or cloth napkin secured with a rubber band. Place the
jar somewhere out of direct sunlight, at room temperature (70° to 75ºF), and away from any other fermentation
projects.
After a few days, you will see the liquid begin to bubble and ferment. Stir the liquid daily and push the apple scraps
back under the surface. This prevents mold from forming, but if any do
es, you can just scoop it away before stirring the scraps.
When the bubbling slows, strain the liquid to remove the apple scraps, and transfer the liquid to a new jar. If you’d like
to speed up the vinegar process, add the raw cider now. Stir the liquid vigorously with a wooden or plastic spoon until
it becomes foamy. Re-cover the jar with the cloth and secure with a rubber band.
Let the liquid stand until it turns into vinegar, 3 to 6 weeks. Check occasionally. You may see a white or beige-colored film forming on the surface; this is called the “mother” and it’s a natural part of the vinegar process. If you see any mold forming on the surface, scoop it away and continue. (If your vinegar develops a mother, you can save it in a closed container in small amount of cider vinegar and use it in your next batch in place of the raw cider vinegar.)
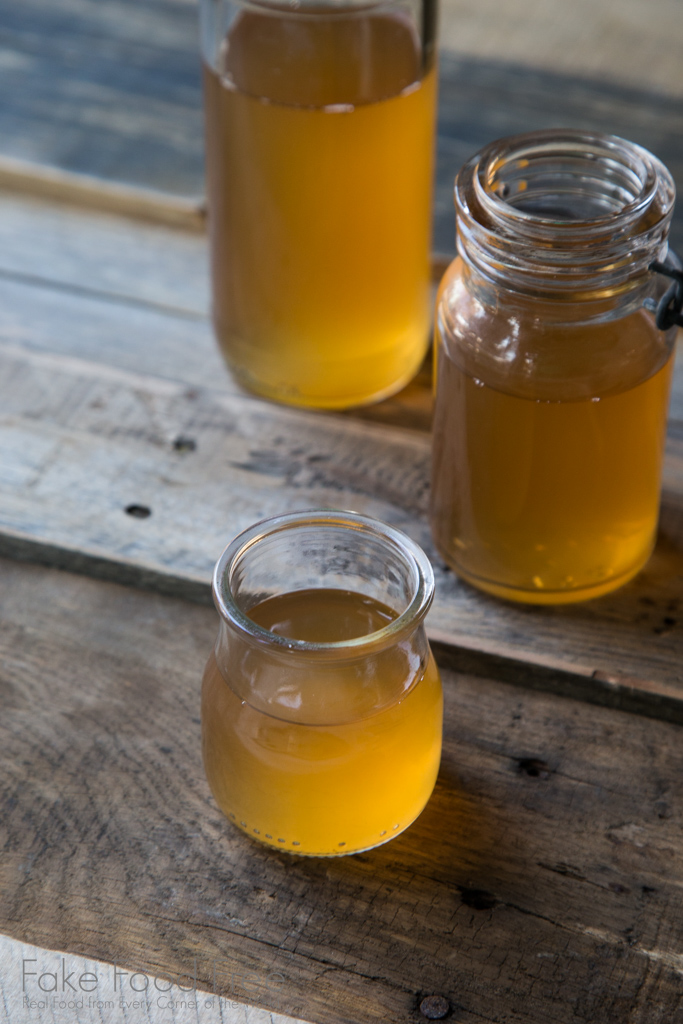
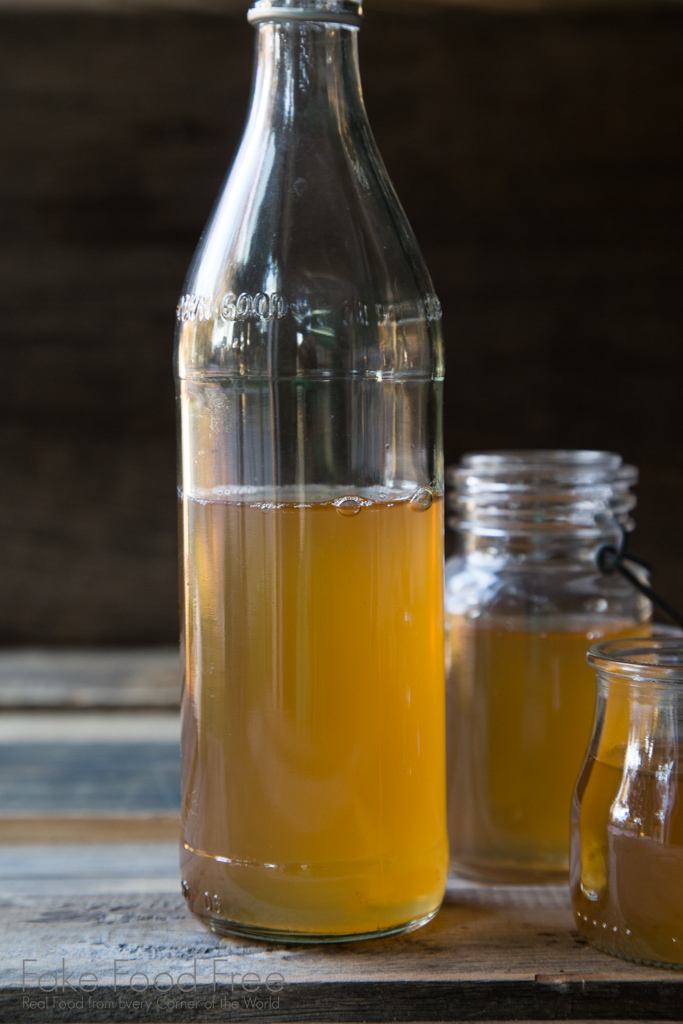
When the liquid smells and tastes like tart cider vinegar, it’s ready. Transfer it to a small, airtight container, like an old
vinegar jar or a swing-top bottle. Store in a cool, dark cupboard and use within a year.

